


|

|
(#76)
|
|
RC-Monster Carbon Fiber
Offline
Posts: 247
Join Date: Dec 2007
|
06.21.2010, 08:29 PM
not too late to look dy-no-MITE man. Absolutely wicked with those sway bars on there!
|
|
|

|
|
|
|
|
(#77)
|
|
Guest
Posts: n/a
|
06.22.2010, 06:31 PM
haha Thanks killa. I was scared the sway bars would make the front look terrible.. guess they don't look too bad. Performance over style I suppose.
|
|
|
|
|
|
|
|
(#78)
|
|
RC-Monster Aluminum
Offline
Posts: 655
Join Date: Jan 2008
Location: foothills, North Carolina
|
06.23.2010, 12:00 AM
if it was a full sized car, with a driver, i would love to see what kind of view the driver would have with the shocks and sway bars! haha and i'd love to drive it too

|
  |
|
|
|
|
|
(#79)
|
|
Guest
Posts: n/a
|
06.23.2010, 03:58 PM
At first I thought hmm he wouldn't be able to see.. but then I thought about it and it wouldn't be very bad. I would hope that one of the shocks wouldn't blow off the mount on the landing of a big jump.. that ='s paralyzed driver haha
My friend received the buggy today and so as soon as he sends me pictures of it with the electronics in it I will post them. |
|
|
|
|
|
|
|
(#80)
|
|
Guest
Posts: n/a
|
07.01.2010, 10:24 PM
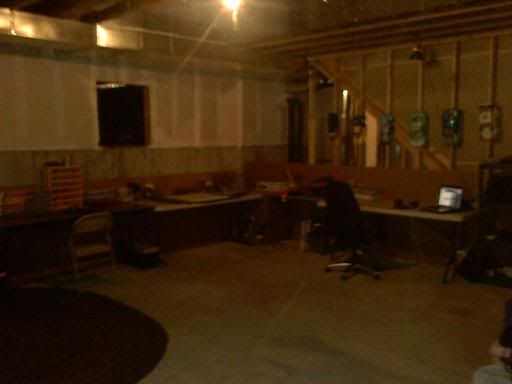
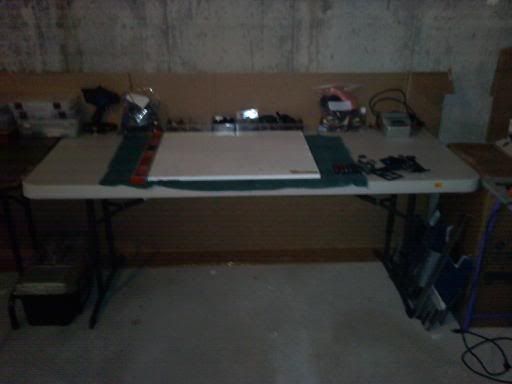
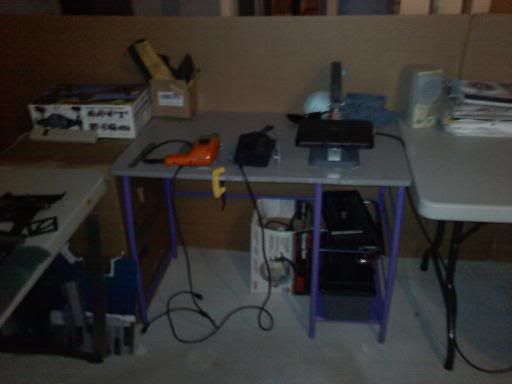
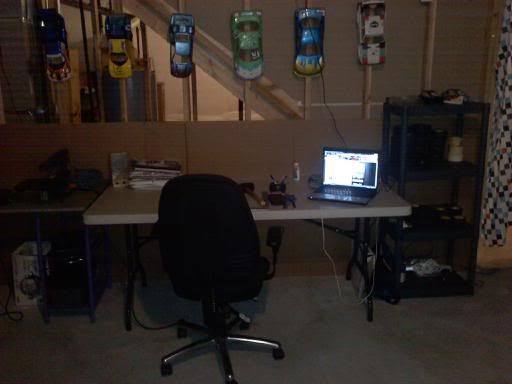
After 3 days of driving and 1400 miles I'm back in Colorado. I got moved into my new room. The basement in my new house is unfinished so my parents said I can put my room and workshop down their. Figured I would show you guys some pictures. Should have plenty room to spread out.
      Now that I got set-up I'm going to start making a one piece upper chassis for the Evo8..Chewie (my friend who I sent the buggy to) let me know their is too much flex in the chassis. Too much for him to drive it. We are afraid if he did drive it the front end would get crushed. So I'm going to be making a one piece upper deck to replace the front and rear upper decks. I will also be doing some new thicker chassis braces. Haven't been able to get a hold of my friend to see if he has installed electronics. I'll pictures up once he gets that done. Then pictures of the upper deck. Once my buddy gets the new upper deck installed he will start the testing. |
|
|
|
|
|
|
|
(#81)
|
|
|
Guest
Posts: n/a
|
07.02.2010, 11:46 AM
Quote:
.dk |
|
|
|
|

|
|
|
|
(#82)
|
|
|
Guest
Posts: n/a
|
07.02.2010, 05:33 PM
Quote:
|
|
|
|
|
|
|
|
|
(#83)
|
|
RC-Monster Carbon Fiber
Offline
Posts: 123
Join Date: Mar 2009
Location: Michigan
|
07.04.2010, 12:29 AM
i think im gona have to turn my revo into a buggy now. yours looks really good
|
|
|
|
|
|
|
|
(#84)
|
|
Guest
Posts: n/a
|
10.22.2010, 01:59 AM
I FINALLY got this buggy back into my hands. I have already started to tear it down partially so that I make the needed changes. Next week I have off from school and will be working on this. Soo this will be running in the next couple weeks. I'll post updates once progress is made.
|
|
|
|
|
|
|
|
(#85)
|
|
RC-Monster Carbon Fiber
Offline
Posts: 453
Join Date: Mar 2006
|
10.28.2010, 08:03 PM
keep us posted
|
|
|
|
|
|
|
|
(#86)
|
|
Guest
Posts: n/a
|
11.02.2010, 02:06 AM
My buddy that was going to test the buggy recommend that I throw out the 2 piece upper chassis's and replace them with a single upper chassis. This is because their was way to much flex front to back and he was afraid the buggy the chassis would bend if it nose dived. So..
For the last about week or so I have slowly been making a single piece upper chassis for the buggy. Next to the main chassis this part is the largest and the most difficult to make. That's why it has taken so long. The hardest part is figuring out where the shocks need to be mounted and getting the holes aligned correctly. The process I used to make this part is I drew it out on a piece of graph paper and also drew where all the holes need to be. I then made a copy of the drawing and taped it to a piece of aluminum using packaging tape so I could see where I needed to cut. I then used a hand held jigsaw to make all the cuts. After filing and drilling the piece and re drilling holes I have finished the piece. Now after bolting down the piece the buggy is very still and I don't even think I need to make chassis braces for it.. though I'm not positive about that yet because of how thin the main chassis is. Mind you I still have to finish filing the edges and I also will be covering it with the same flat black vinyl that I covered the last upper chassis's with and the main chassis. In these pictures you can also see the Feigao 8xl motor with rc-monster heatsink I purchased for the buggy and my new bluebird servo. 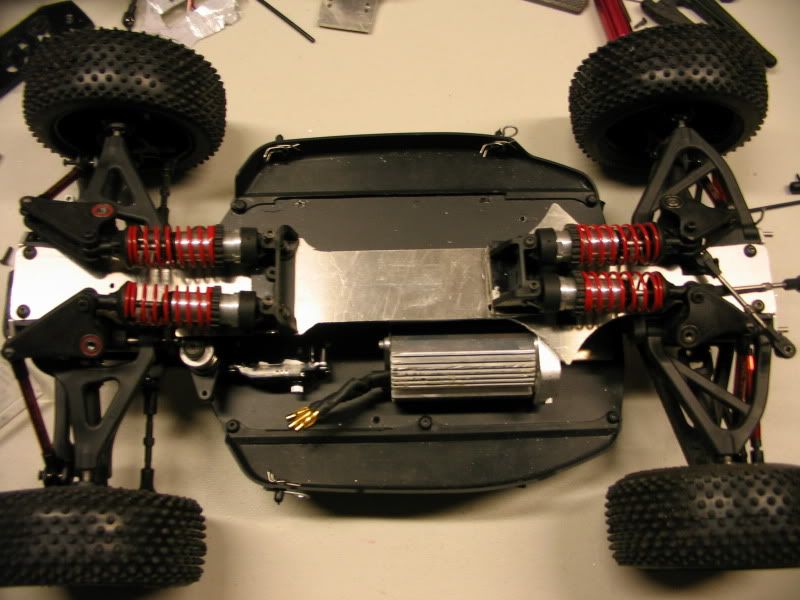 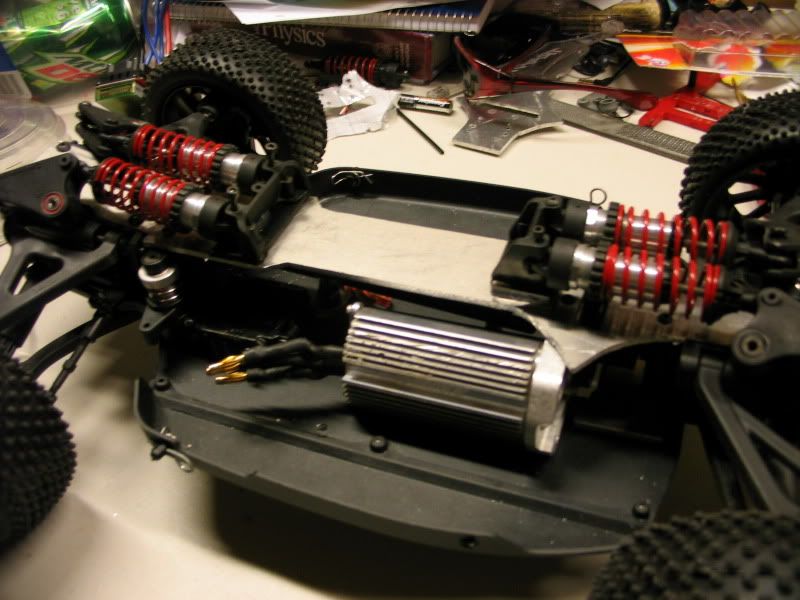 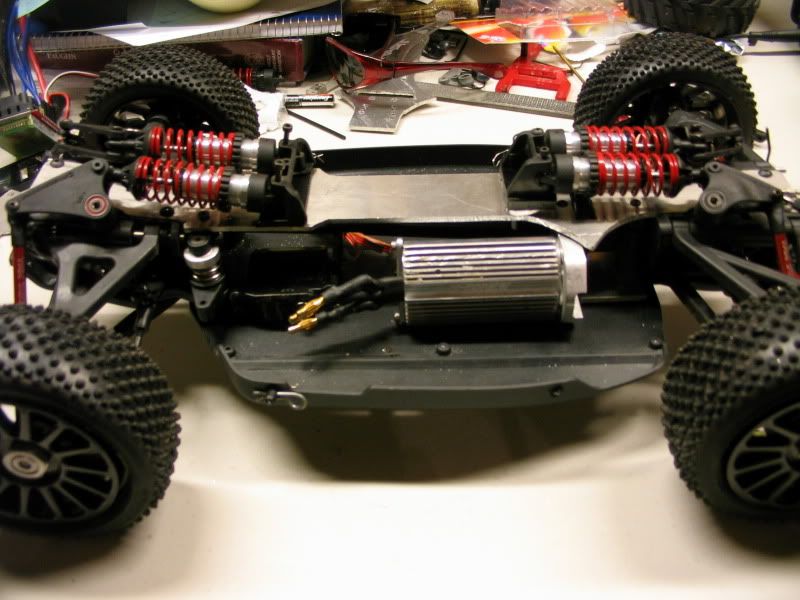 Next I will be working on reworking the battery compartment and taping my saddle pack batteries together. |
|
|
|
|
|
|
|
(#87)
|
|
Guest
Posts: n/a
|
11.03.2010, 12:18 AM
Today I didn't have any homework so I was able to make further progress on the buggy. I redesigned the battery tray and decided to keep it simple. I just used some 1/4" lexan to make a "craddle"/Tray then used some tekno velcro straps I had laying around. This holds the battery in very securly and I am able to hold the buggy upside down by the battery haha
I also taped and vinyled the batteries together and I also go the upper deck covered with the vinyl too. 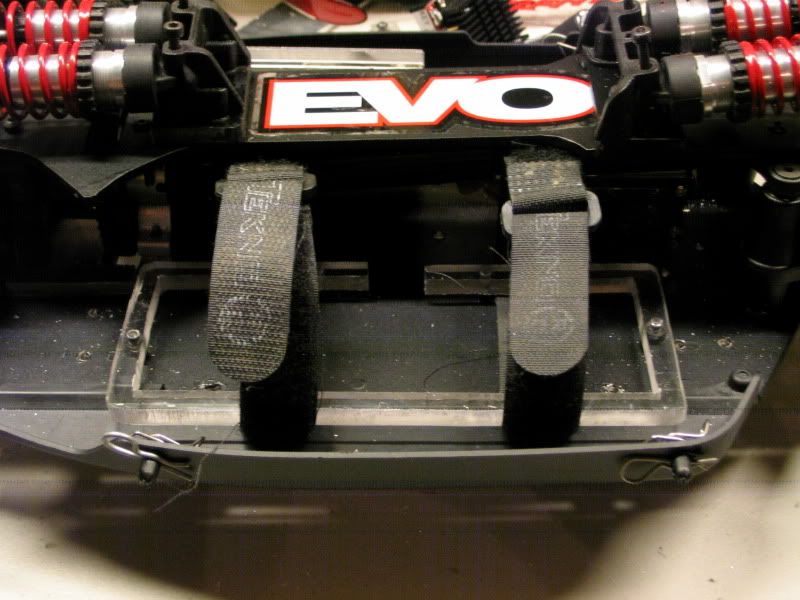 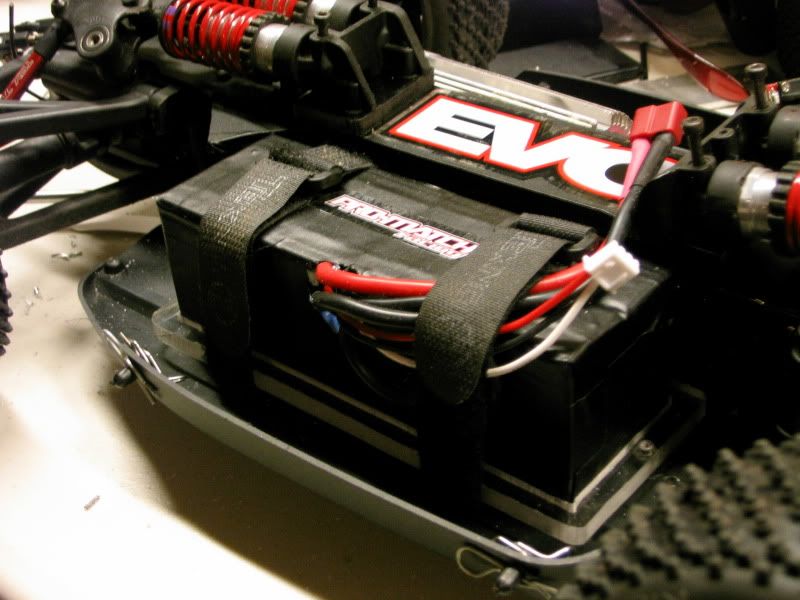 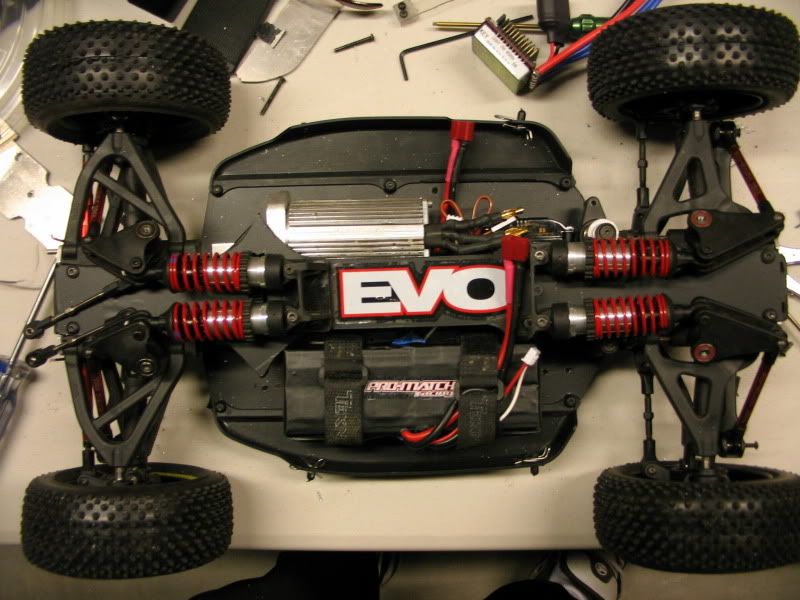 The last custom work I have to do is make a new wing mount. After that its just little stuff like filling the diffs and shocks, mounting the esc and receiver, doing some soldering, and setting up the buggy. The buggy will be shipped out to location X next week after testing. |
|
|
|
|
|
|
|
(#88)
|
|
RC-Monster Carbon Fiber
Offline
Posts: 453
Join Date: Mar 2006
|
11.03.2010, 10:31 AM
Nice. I'm definitely going to copy that battery tray idea!!
|
|
|
|
|
|
|
|
(#89)
|
|
RC-Monster Titanium
Offline
Posts: 1,419
Join Date: Dec 2008
Location: Louisville, KY
|
11.03.2010, 10:35 AM
I love it man! It looks totally factory.
|
|
|
|
|
|
|
|
(#90)
|
|
Guest
Posts: n/a
|
11.06.2010, 12:57 AM
Thanks guys
Wednesday I filled the shocks with oil and the diffs with fluid. Yesterday I spent alot of time installing the electronics. I tried to wires the best I could. To make room for the hobbyking 100a esc I decided to stand the servo up. So I had to make lexan servo mounts and then extend the servo saver arm upwards to make for a better angle.  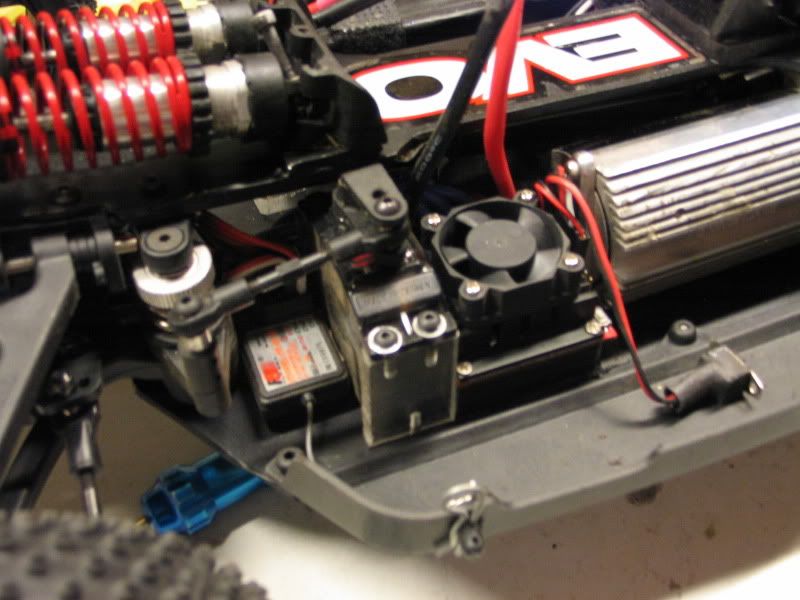 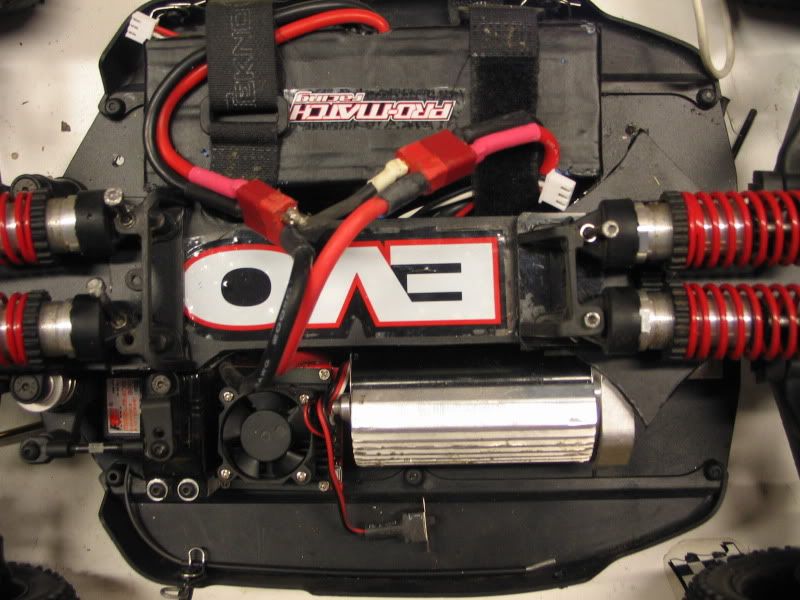 Today I glued up the tires which went horribly because the Losi Step Pin tires didn't fit the Jconcepts wheels very good. I believe the losi's use a different bead type then the wheels but I did my best.. Afterwards I charged up the battery and took it out for a test run even though I had a couple things to finish up on like the wing mount and drilling out the shock mount screws ( the ones that go thru the shocks) The test runs went surprisingly well! Everything in the transmission held up. I definatly need put the front sway bars back on because it easily traction rolled but this is also because it was on the street. I broke the shock mounts because the screws to hold the shocks on weren't in all the way and I couldn't drive it with the body on becuase I have to save the body for when its sent to location X. Thus when the buggy traction flipped it slid on the rockers and shock screws. The buggy is fast at full throttle. Everything worked great. The real test will come in the next couple of days when I take it to the track.. I will be trying to get a video of it but it probably won't be a great video because I will have to use a digital camera. Video soon though =) |
|
|
|
 |
«
Previous Thread
|
Next Thread
»
| Currently Active Users Viewing This Thread: 1 (0 members and 1 guests) | |
 Linear Mode

|
|

Powered by vBulletin® Version 3.8.11
Copyright ©2000 - 2025, vBulletin Solutions Inc.
vBulletin Skin developed by: vBStyles.com
Copyright ©2000 - 2025, vBulletin Solutions Inc.
vBulletin Skin developed by: vBStyles.com