


|

|
(#31)
|
|
Guest
Posts: n/a
|
07.30.2011, 09:59 PM
Thanks for the compliments guys.
Its nice to see that you guys are reading the updates and are interested in the project. As far as posting I don't mind if you guys don't post.. I just felt silly becuase it felt like I was talking to myself. I am majorly guilty of lurking I just wanted to see if there was any interest on Rc-monster for it. Looks like there is, so I will continue to post my updates for you guys :) |
|
|

|
|
|
|
|
(#32)
|
|
RC-Monster Carbon Fiber
Offline
Posts: 401
Join Date: May 2011
Location: Houston Tx,USA
|
07.30.2011, 11:07 PM
I think the best thing on this forum are the build threads.
|
|
|
|
|
|
|
|
(#33)
|
|
RC-Monster Aluminum
Offline
Posts: 738
Join Date: Oct 2010
Location: Williston, ND
|
07.31.2011, 01:03 AM
thanks for continuing with the build thread! I've always wanted to do one, but I don't have the patience to stop and take photos at each step, haha, need to get on with it! I also haven't done anything really note worthy, just repairs and bolt on parts and such...
Your work looks great! I know how it is, I have to do any custom plastic work with a mini hack saw and a small file set. Need to get a dremel here some day... |
  |
|
|
|
|
|
(#34)
|
|
Guest
Posts: n/a
|
08.01.2011, 12:19 AM
Yeaa brainanator these types of projects takes LOTS of patience. I have been lucky enough with this build where I haven't had to re-make parts because I messed up on the first one..on some projects I have to remake a single part two or three times.
Yep, I definitely don't have the money to get stuff CNC'ed so hand tools it is... amazingly though..to this day I still don't own a Dremel. Perhaps that would make stuff easier. I finally got the front chassis braces done and mounted today. These parts took some time because I had to make sure that I had the holes in exactly the right spots so that that the center differ would be straight and would spin freely. I also had to make sure the tops and bottoms where completely flat and that my cuts where straight so that these parts would fit flush and weren't crooked. 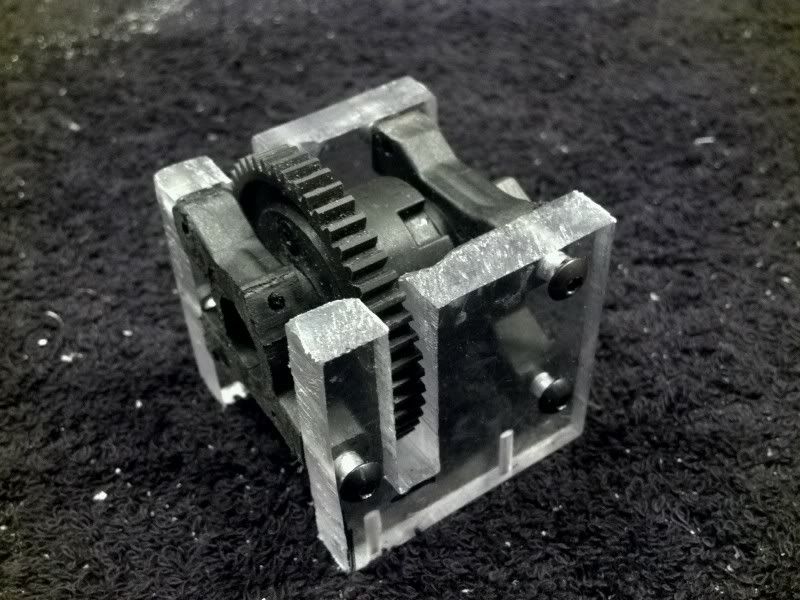 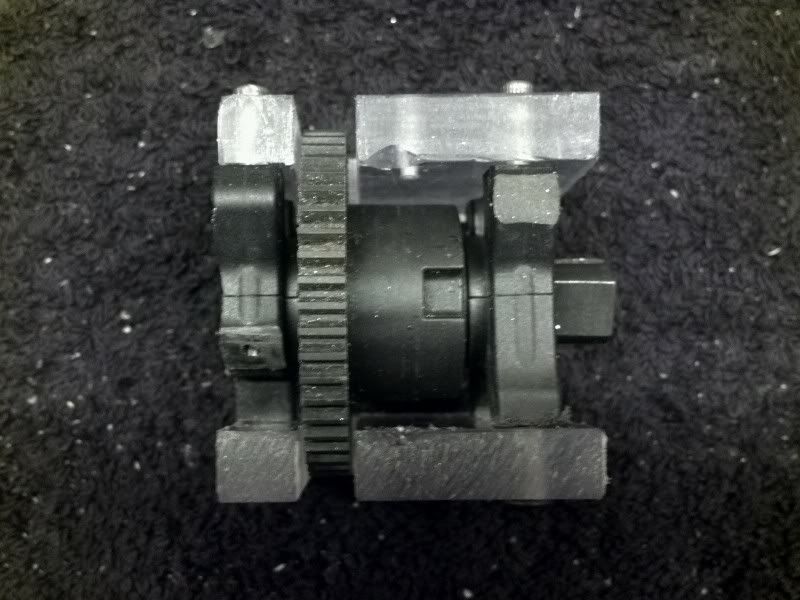 Once I got the pieces cut and drilled then it was another challenge to mount them to the upper and lower chassis. These parts have to be square and straight so that the TVP's will be parallel and won't be crooked. I think I ended up doing a pretty good job considering that I'm useing hand tools and I'm happy with how it fits together. I think it will prove to be very durable 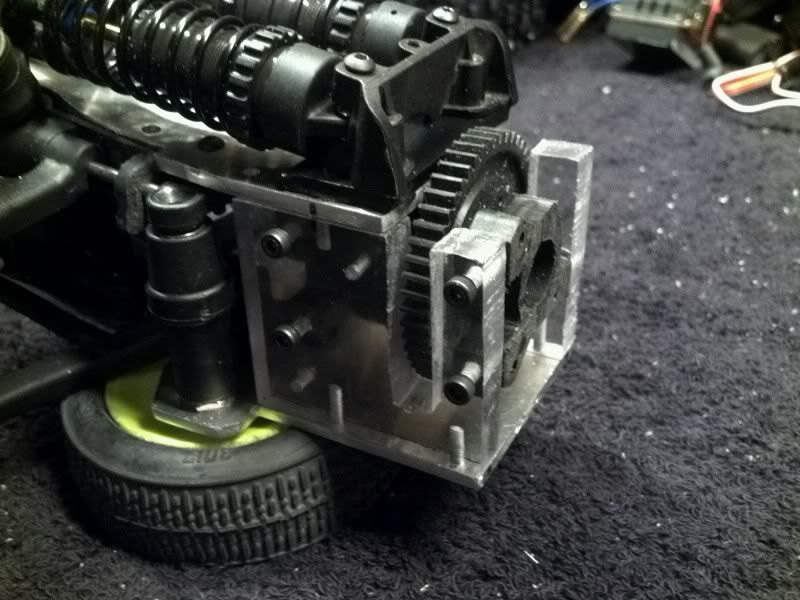 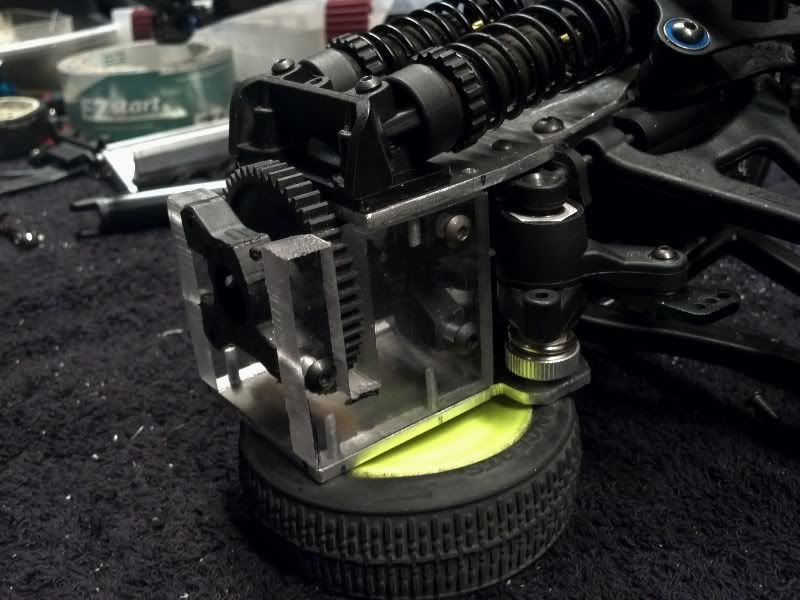 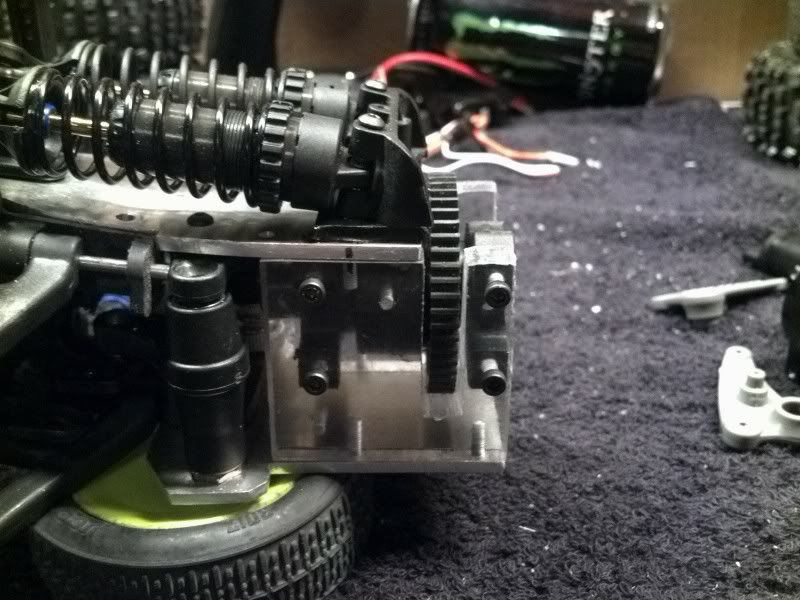 I also discovered today that Long Travel Rockers fit the front of the Slayer but will NOT fit the rear becuase the push-rods interfere with upper a-arm. So I will be have to use P2 rockers on the front and back. The front clip as it stands.. 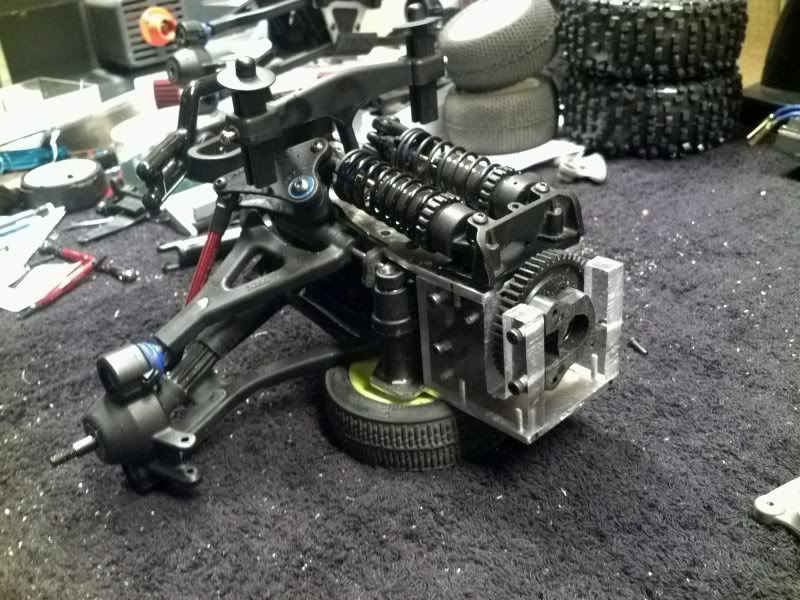 Now that I have the majority of the front clip completed I'm going to start working on the rear clip. Once I get the rear clip done I will finally be able to design and fabricate the chassis plates! |
|
|
|
|
|
|
|
(#35)
|
|
Guest
Posts: n/a
|
08.05.2011, 12:53 AM
Today I started off the day by a nice trip to the hobby shop. Knowing that I couldn't move on with the project until I knew how far from the rocker posts the shock mounts were placed on a Revo or Slayer. So I picked up a Revo rear bulkhead. Took it out of the package and measured it. I was talking to my girlfriend about how I just bought this part for $15 and won't even be using it on my project..and that I just needed it to get the measurement. She was like " Uh...Ethan why didn't you just measure the part at the store and not wasted $15?" I responded.."umm I didn't think of that" haha
 Since I had opened the package I wasn't able to return the part..she thought it was hilarious. Since I had opened the package I wasn't able to return the part..she thought it was hilarious. Anyway..knowing the distance of how far I should mount the shock mount from the rock posts on the rear and I got to work and mounted the rear shock mount along with the shocks, rockers, and Push rods. I also put the a-arms on and the hubs. Then, I bent the rear lower skid plate up to allow for better ground clearance to finish the day off. The rear clip as it stands... 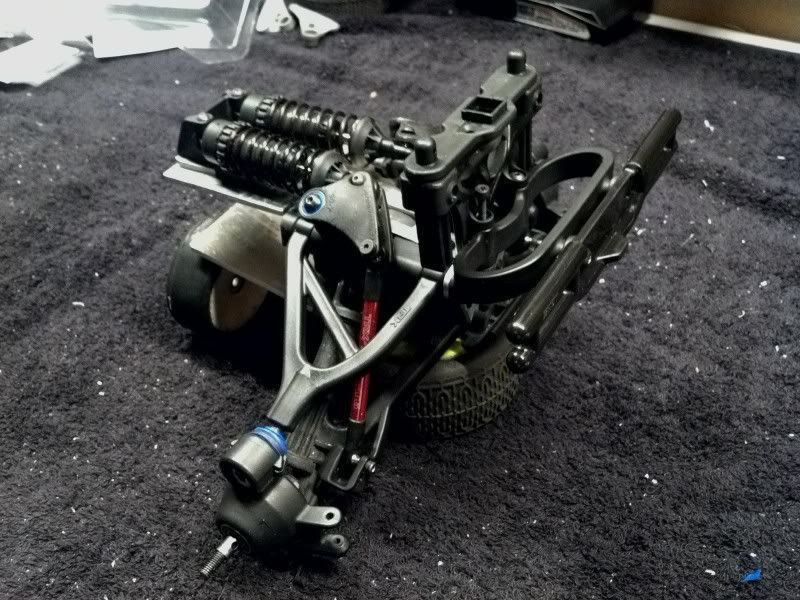 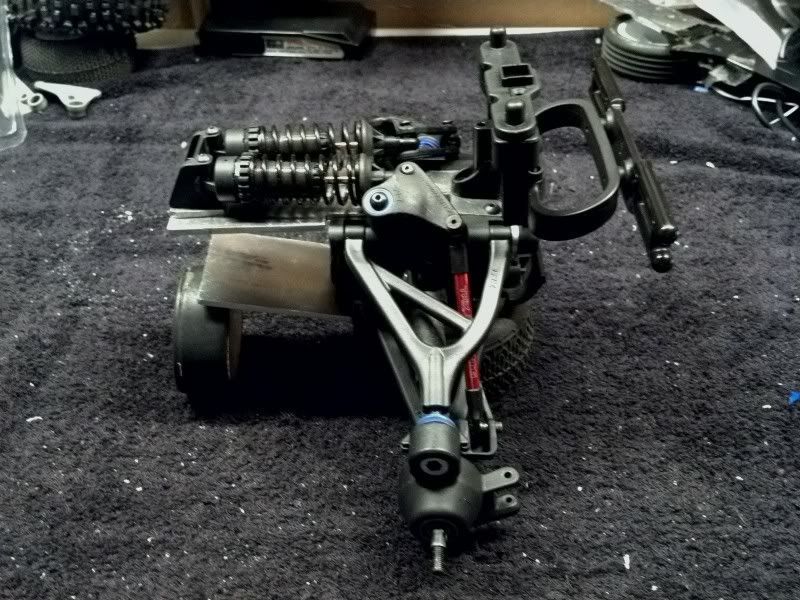 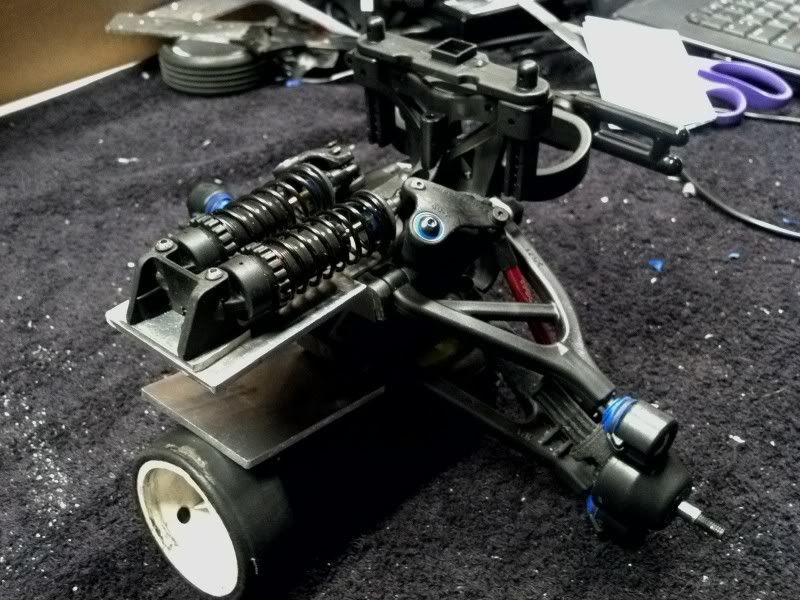 The front and rear clips.. 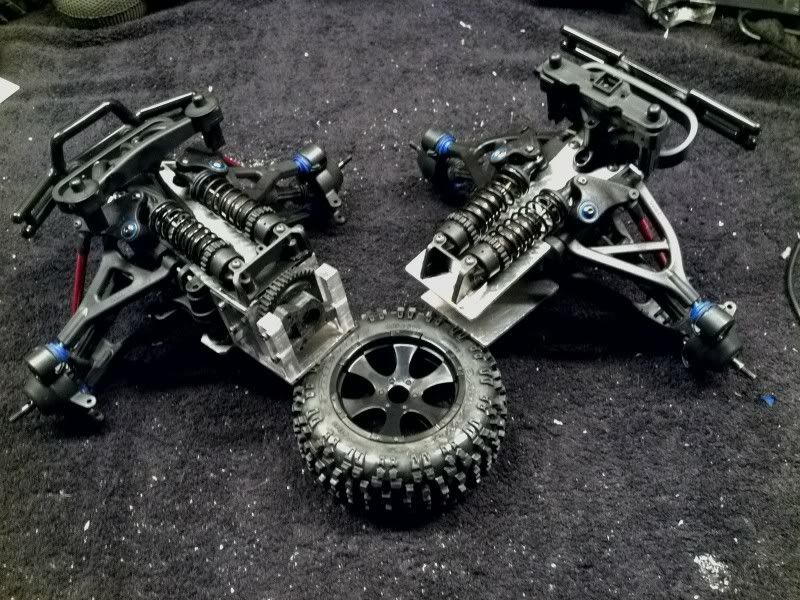 Tomorrow my goal is to get the rear chassis braces drawn up , cut out, filed/sanded, and mounted. Once I do that....I can FINALLY start designing the TVP's. |
|
|
|
|
|
|
|
(#36)
|
|
Guest
Posts: n/a
|
08.06.2011, 01:40 AM
Another small update today. I got the rear chassis braces designed, cut, and mounted just as I had wanted to. I bent the rear skid-plate up dramatically to increase the ground clearance. I then cut the skid-plate and bolted the other end to the brace. The pieces aren't the best looking because in order for the lexan and aluminum to be flush I had to file the aluminum while the lexan was mounted. It doesn't matter though since the lexan parts will be covered by the Tvp's
Here's a of pictures of the rear chassis braces. 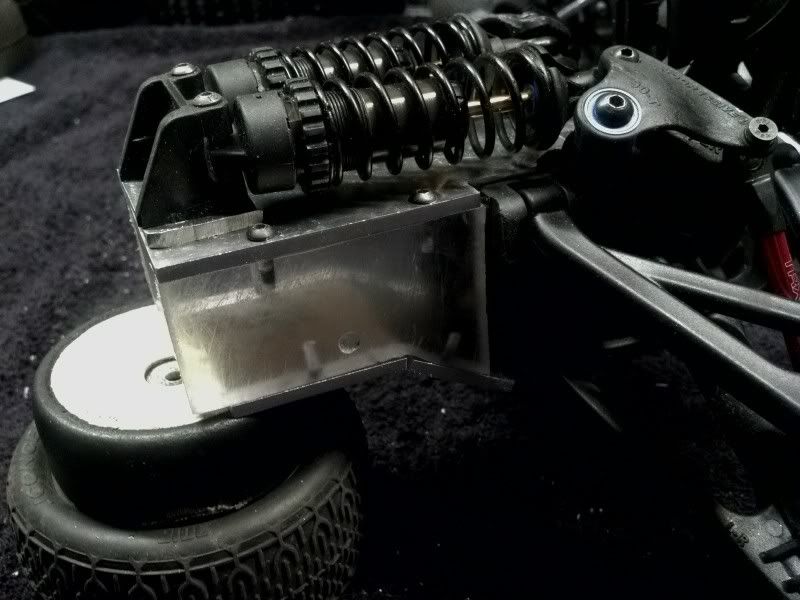 The front and rear clips in there respected positions.. 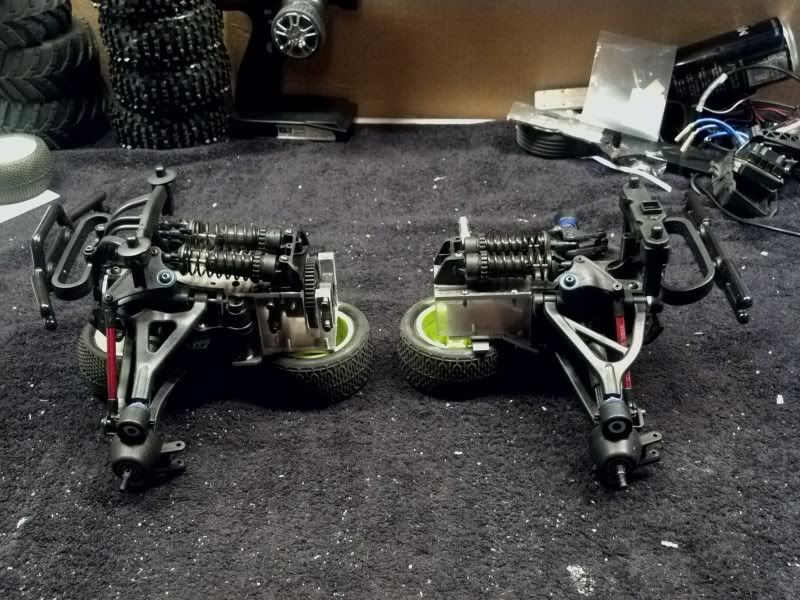 The picture makes the truck look pretty short but in reality I am shooting for a wheelbase around 12 inches. Considering that the Stampede 4x4 has a wheelbase of 10.83 in. I believe that 12 inches should be perfect. I'm currently designing the TVP's as we speak. I'm not sure when I will be able to work on them but it should be in the next few days. Stay tuned..once I get the TVP's done..this thing will really start to come together quickly. |
|
|
|
|
|
|
|
(#37)
|
|
Guest
Posts: n/a
|
08.08.2011, 10:36 PM
Over the past couple days I have been gradually working on the Twin Verticle Chassis Plates (TVP's). I started out with a basic drawing with dimensions I knew the Tvps had to fit into. I then made a couple copies of that drawing and taped them to the 3mm (1/8") 6061-T6 Aluminum sheet I bought off of ebay.
Once I got the basic rectangles cut out and I drew the cut at the bottom of the plates that increase the ground clearance. At this point I was ready to mount them to the lexan pieces. I won't explain the boreing and lengthly method I used to get all the holes in the right places and to make sure they line up..so i will skip to the pictures... *Keep in mind that these Tvp's aren't even close to being finished.. once I get the motor, battery, servo,etc mounted I will take everything back off and finish the design, shorten them, cut sections out to reduce weight, and file the pieces* 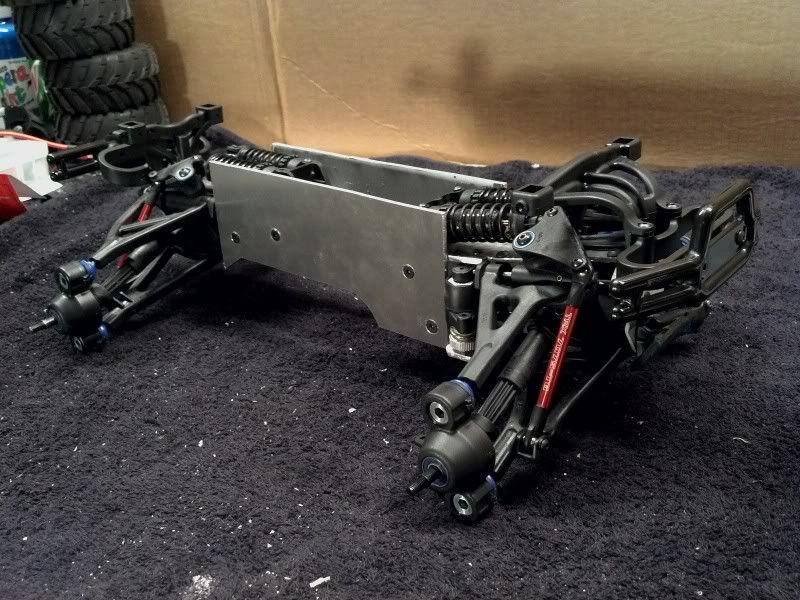 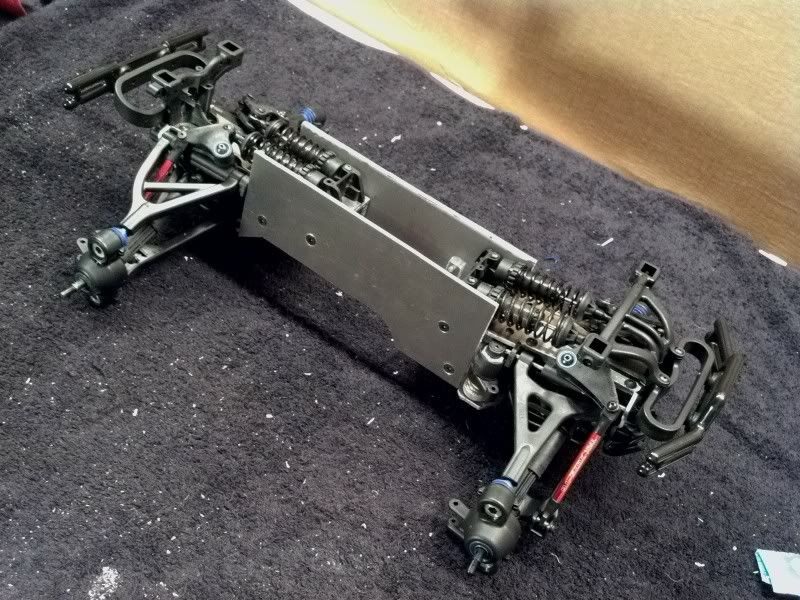 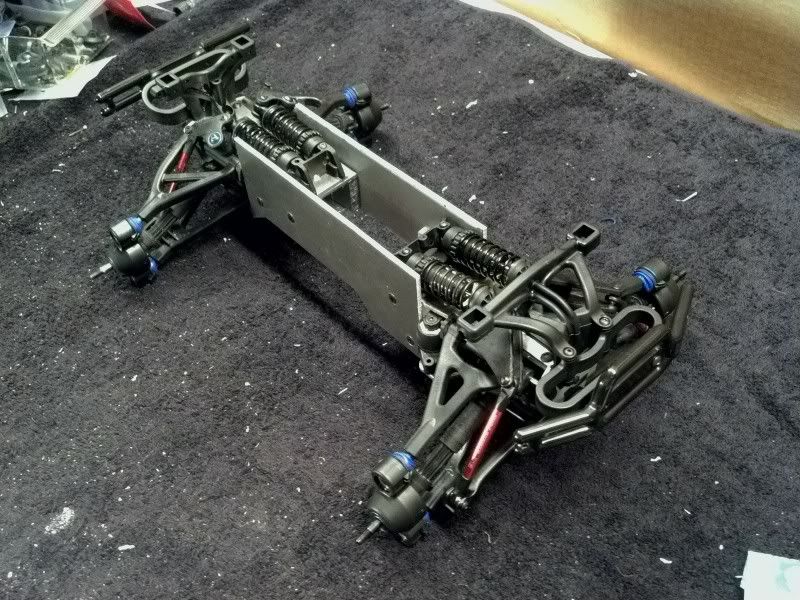 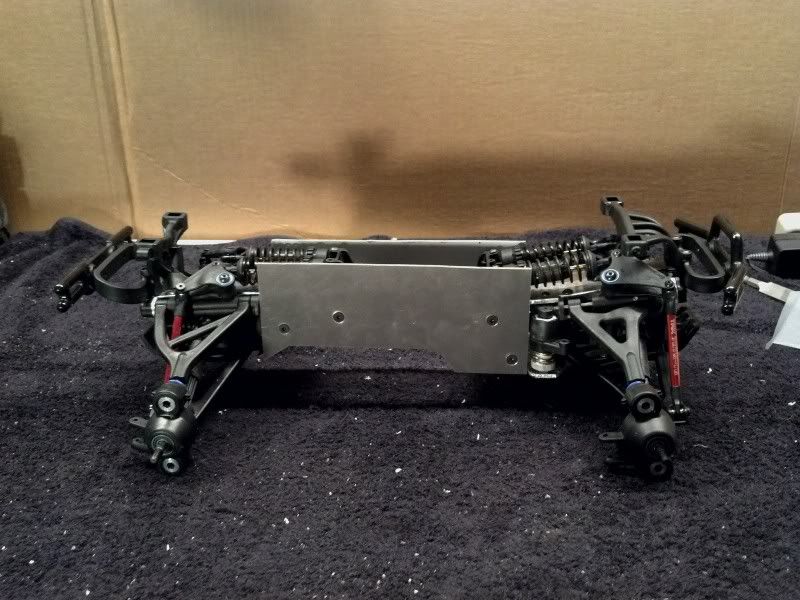 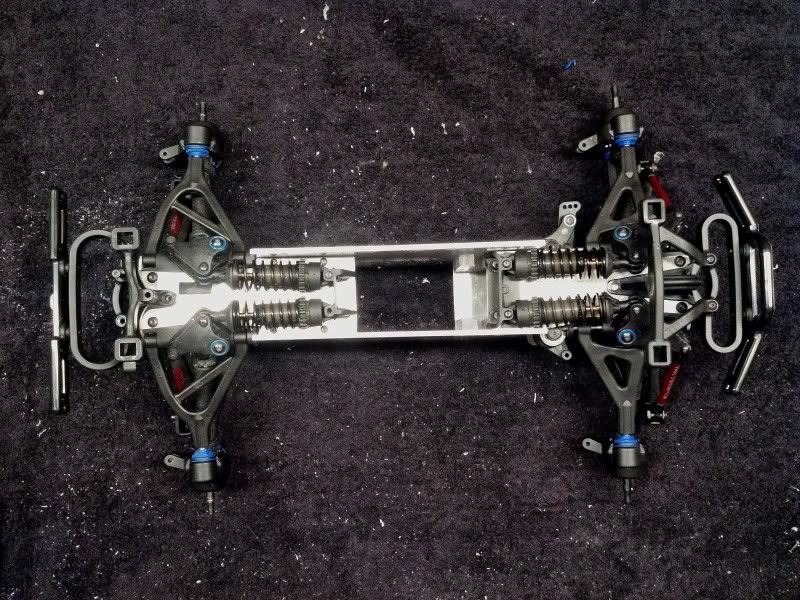 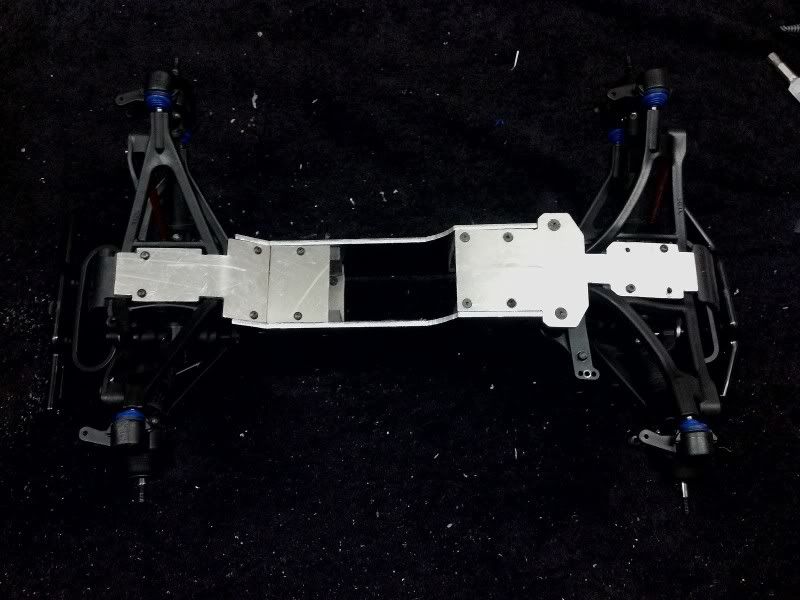 The next task on the list is to cut a section out of the left TVP for the motor to fit through and also get the motor mounted up. |
|
|
|
|
|
|
|
(#38)
|
|
Check out my huge box!
Offline
Posts: 11,935
Join Date: Aug 2007
Location: Slidell, LA
|
08.09.2011, 04:09 PM
Very interesting. Your work looks good!
How do you plan to mount the batteries? On the outside, a-la flux? Sould be a solid performer. I have a pede 4x4 and it just leaves alot to be desired as far as arm and driveshaft strength goes. I did have a slayer/revo hybrid a while back and it was a great basher, so I think you will have alot of success here. My only advice will be never use the al pivot balls (they are costly and like to break), and you will likely have to play with the spring rates and shock oils to get it to handle just right. |
|
|
|
|
|
|
|
(#39)
|
|
RC-Monster Carbon Fiber
Offline
Posts: 127
Join Date: Jun 2010
|
08.09.2011, 04:46 PM
Looks to be quite stout. Bet it will handle pretty darn well too!
|
|
|
|
|
|
|
|
(#40)
|
|
RC-Monster Aluminum
Offline
Posts: 738
Join Date: Oct 2010
Location: Williston, ND
|
08.09.2011, 04:46 PM
Looks nice! Really thick stuff all around...has to be tough! haha
|
|
|
|
|
|
|
|
(#41)
|
|
Guest
Posts: n/a
|
08.13.2011, 09:57 PM
Linc: I do plan to mount the battery on the side like a flux.
I agree..I don't have a Stampede 4x4 but I think this will be a tank compared to it. Thanks for the suggestion about the pivot balls Mamba and Brainator: It is is thick and stout..but that's what I'm shooting for. I need this thing to survive..insane bashing Would you guys by opposed to the idea of this being a dual battery (4s) car instead of a single 3s battery truck? Thinking possibly a Mamba 2650 or 2400 on 4s in this..? I personally have always been not so fond of dual battery set-ups..as you have to buy more batteries and have to charge more..I have a charger that can charge two batteries at the same time..and I already have the batteries..plus I think this thing would be insane on 4s. The other thing is that it would make mounting the motor a lot easier.... So I need your opinions...? Dual battery (4s) or single 3s? |
|
|
|
|
|
|
|
(#42)
|
|
RC-Monster Aluminum
Offline
Posts: 738
Join Date: Oct 2010
Location: Williston, ND
|
08.14.2011, 12:28 AM
I've liked my dual batt savage a little more now that I made a 4S balance adapter for 2 2S batts. Lets me charge twice the amount of batts in the same amount of time.
I agree it would make it way easier in figuring out the motor placement, and give a pretty good left/right balance. You're choice in the end, the single batt is tempting if you can squeeze it somewhere. |
|
|
|
|
|
|
|
(#43)
|
|
Guest
Posts: n/a
|
08.15.2011, 01:21 AM
Yea..I have a 4s balance adapter so I can charge in series so that shouldn't be a problem.
I have decided to go with 4s. Since this truck is going to be close to the same weight as a 1/8th e-buggy I think 4s will be required to give it enough power. The speedpassion silver arrow motor will be sold. After much research I have found an inexpensive motor which I think will give this thing plenty of power. I don't want to spend a ton of money on the electronics because well.. this thing will be beaten and I don't want to feel guilty when I take this monster to the skate park..or jump it off a 20ft ledge,etc. Anyway.. I believe I will be using this motor along with two 2s batteries. Looks like a great deal for $50 http://www.hobbypartz.com/96m802-4074-2150kv.html I just hope 2150kv is enough. |
|
|
|
|
|
|
|
(#44)
|
|
Check out my huge box!
Offline
Posts: 11,935
Join Date: Aug 2007
Location: Slidell, LA
|
08.16.2011, 12:32 AM
Good choice on the motor, that will be plenty on 4s.
|
|
|
|
|
|
|
|
(#45)
|
|
Guest
Posts: n/a
|
08.22.2011, 09:24 PM
Well I ordered a motor today but its not the tacon 2150kv motor that I showed you guys earlier...that's because I found a steal of a deal on a used original neu 1515 1y/f 2200kv motor for $50 shipped! For those who aren't well versed on neu motors...(most of you on RCM probably are) neu is the company which castle creations partnered up with to make the castle mamba monster line of motors. Neu is known for making arguably the best brushless motors you can buy..but they are also known for having very high prices. The motor I just bought is very similar to the castle 2200 motor. So...basically..im getting perhaps one of the best motors you can get for the same price as the tacon motor...im pretty psyched!
Right now im working on the motor mount so that I can mount the motor once it gets here. |
|
|
|
 |
«
Previous Thread
|
Next Thread
»
| Currently Active Users Viewing This Thread: 1 (0 members and 1 guests) | |
 Linear Mode

|
|

Powered by vBulletin® Version 3.8.11
Copyright ©2000 - 2026, vBulletin Solutions Inc.
vBulletin Skin developed by: vBStyles.com
Copyright ©2000 - 2026, vBulletin Solutions Inc.
vBulletin Skin developed by: vBStyles.com