


|
|

|

|
(#1)
|
|
RC-Monster Mod
Offline
Posts: 4,217
Join Date: Apr 2006
Location: Chicago, IL
|
02.27.2010, 02:00 PM
Havok,
Moving the steering servo linkage to the top of the arm works perfectly. Only downside is the the threads for the ball stud that stick out the bottom of the servo saver arm aren't long enough to reach the nylon lock inside the nut that goes on the bottom. So you need to use some threadlock on it. But it works perfect and the linkage alignment is perfect. We payed close attention to get the alignment of the llinkage in the correct position to have ideal geometry. Mike should have included a couple 3mm flat nuts in the package. take one of those nuts and thread it all the way onto the threads of the ball stud so its up against the flange on the ball stud. Then when you put the stud through the servo saver arm it will fill the gap that was intended for the nut when the linkage is installed on the bottom of the arm. Durability is not an issue. Ive been driving mine like this for almost a year and have had no problems or ill effects from it. Here is a quick picture of it flipped and installed on mine. 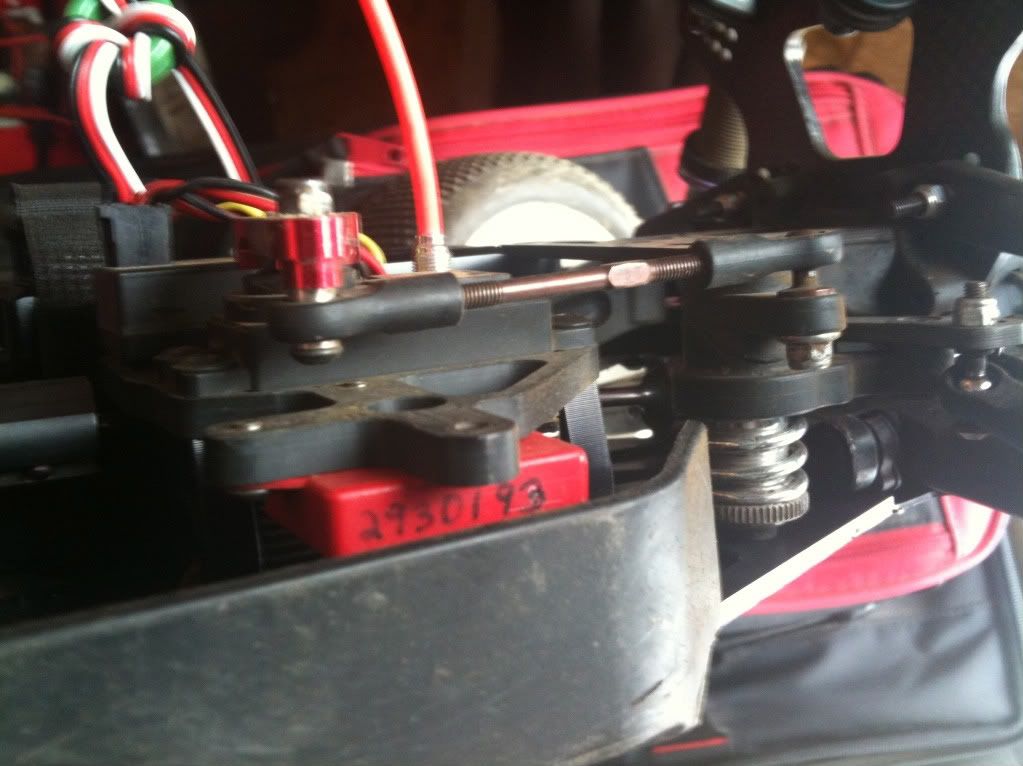 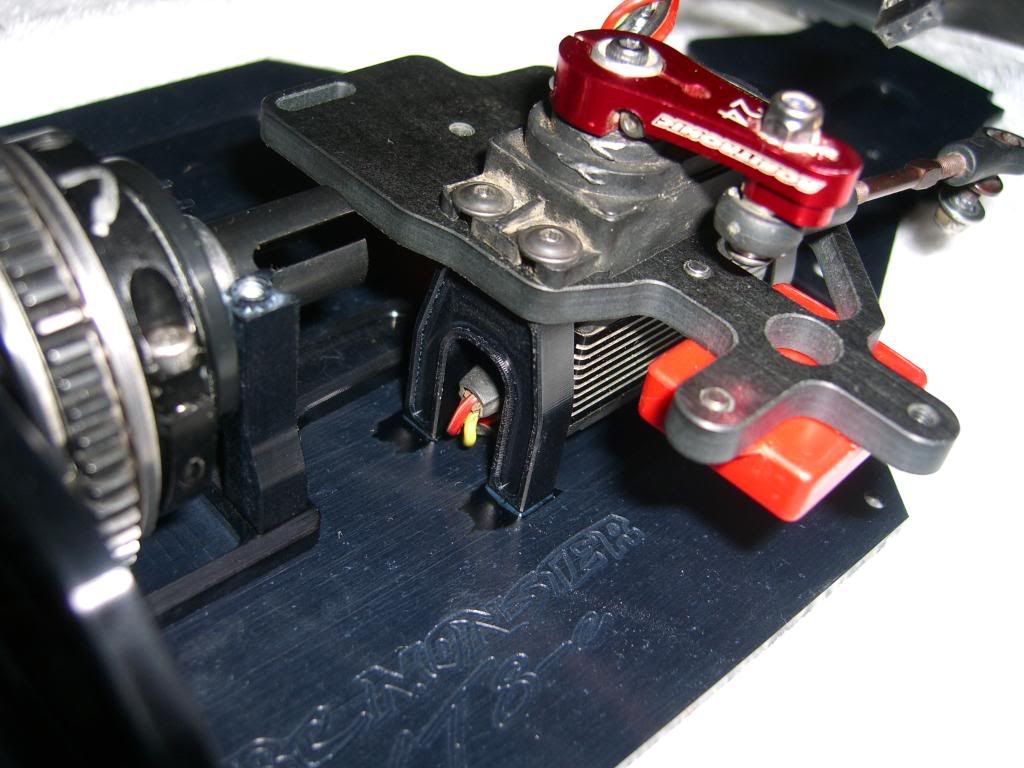 I will post up an instruction sheet on how to do this install in the next day or so to avoid any future confusion. to make it... or break it... Silent...But Deadly |
|
|

|
|
|
|
|
(#2)
|
|
Smokless Nitro
Offline
Posts: 61
Join Date: Sep 2009
Location: San Antonio, TX
|
02.27.2010, 09:45 PM
I was messing with it off and on all day. I got the servo mounting setup as you guys intended and it works great. I do need to fill the hole on the servo saver arm, that does have me concerned. I don't have 3mm flat nuts, but I may dremel out the arm so the ball stud (ahh, the name!!) fits flush. That way the nut can be threaded to the nylon portion.
I included a pic, I am not done yet, I am going to rotate and velcro the ESC and tie down all the lose wires. I still have to loctite a few things as well. Please ignore the anodized purple servo arm, I was young and needed the money :) It had been sitting in a box for 10 years, it was meant for some other 1/10th scale car. |
|
|
|
 |
«
Previous Thread
|
Next Thread
»
| Currently Active Users Viewing This Thread: 1 (0 members and 1 guests) | |
| Thread Tools | |
| Display Modes | Rate This Thread |


 Hybrid Mode
|
|

Powered by vBulletin® Version 3.8.11
Copyright ©2000 - 2026, vBulletin Solutions Inc.
vBulletin Skin developed by: vBStyles.com
Copyright ©2000 - 2026, vBulletin Solutions Inc.
vBulletin Skin developed by: vBStyles.com