


|

|
(#601)
|
|
RC-Monster Titanium
Offline
Posts: 1,419
Join Date: Dec 2008
Location: Louisville, KY
|
05.01.2012, 11:50 AM
Okay after looking further into this I have answered my own question...
I do understand that nitro truggies have a hole underneath the spur gear to get it to the starter box. This seems to be just about its only purpose. I was assured after seeing Mike's chassis. They don't have this hole so neither do I. I will use a piece of carbon fiber that I have similar to the above picture. Great! Problem solved. I'll post pics in a few weeks. -Zack |
|
|

|
|
|
|
|
(#602)
|
|
RC-Monster Stock
Offline
Posts: 47
Join Date: Nov 2011
Location: wa.
|
05.01.2012, 12:15 PM
nitro's start at the flywheel next to clutch bell. cut out for big spur??
|
|
|
|
|
|
|
|
(#603)
|
|
RC-Monster Titanium
Offline
Posts: 1,419
Join Date: Dec 2008
Location: Louisville, KY
|
05.01.2012, 12:45 PM
Oh nevermind. lol Still Rc-Monster Mike's chassis don't have the spur cut out so neither will I for this next evolution of my Maxx.
|
|
|
|
|
|
|
|
(#604)
|
|
|
RC-Monster Carbon Fiber
Offline
Posts: 183
Join Date: Sep 2008
|
05.04.2012, 03:40 PM
Quote:
with the answer I was about to type ......  |
|
|
|
|

|
|
|
|
(#605)
|
|
RC-Monster Titanium
Offline
Posts: 1,419
Join Date: Dec 2008
Location: Louisville, KY
|
06.02.2012, 01:22 PM
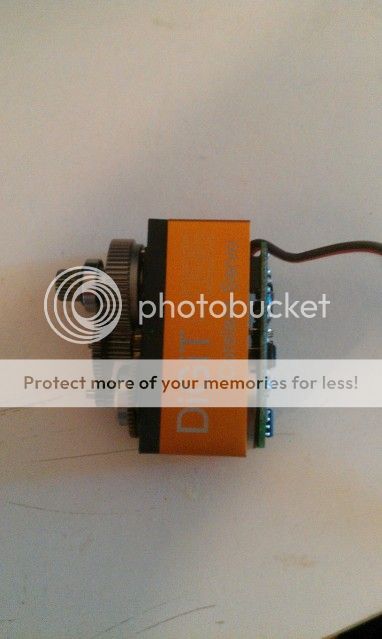 I want to di-anodize this heatsink. I don't really have an under the hood color scheme, but I don't want the orange. I can't get the heat sink off. Can I apply oven cleaner to the sink with a paper towel? or can someone tell me how to get the heat sink off, so that I can soak it. I will be dianodizing a couple things with ez-off. I should have a new layout as well as soon as I get that tray from Mr. Mike! |
|
|
|
|
|
|
|
(#606)
|
|
RC-Monster Titanium
Offline
Posts: 1,419
Join Date: Dec 2008
Location: Louisville, KY
|
06.02.2012, 01:26 PM
If I could get the gears off that would help. I don't know how. I think the motor is mounted with two screws to the black plastic between the gears and the heat sink.
|
|
|
|
|
|
|
|
(#607)
|
|
RC-Monster Carbon Fiber
Offline
Posts: 183
Join Date: Sep 2008
|
06.02.2012, 02:26 PM
Uups, I posted my comment in the wrong place
Morten |
|
|
|
|
|
|
|
(#608)
|
|
Old Skool
Offline
Posts: 7,494
Join Date: Feb 2007
Location: Devon, England
|
06.02.2012, 11:24 PM
I'd tape it up, then use wet & dry fine sand paper to remove the orange anodizing ( tape the paper to a piece of glass or other flat surface, then rub back & forth in the same direction ); nice brushed aluminium finish with little chance of fecking it up with nasty liquids getting into the wrong places...
|
|
|
|
|
|
|
|
(#609)
|
|
UE Supermaxx Addict!
Offline
Posts: 1,006
Join Date: Feb 2009
Location: Gadsden, Alabama
|
06.02.2012, 11:39 PM
The servo comes apart very easily, and goes back together just as easily...just take it part, de-anodize (and polish) and then re-assemble! I am sure there are instructions, manuals and/or blown-up diagrams on the web!
PM ME IF YOU HAVE THE BELOW: VBS, CVDs, GM Single-Speed, OTB, Ultramaxxed, Super6, Strobe, Sprong, CNR Brake, UE Hex, DUH Towers, Predator, Blackbird, GA Blue Screws, HCR F/R Skids & Mutant |
 |
|
|
|
|
|
(#610)
|
|
RC-Monster Carbon Fiber
Offline
Posts: 183
Join Date: Sep 2008
|
06.03.2012, 05:44 AM
Chad I couldn't find any exploded drawings other than this
 Morten |
|
|
|
|
|
|
|
(#611)
|
|
RC-Monster Titanium
Offline
Posts: 1,419
Join Date: Dec 2008
Location: Louisville, KY
|
06.03.2012, 07:06 PM
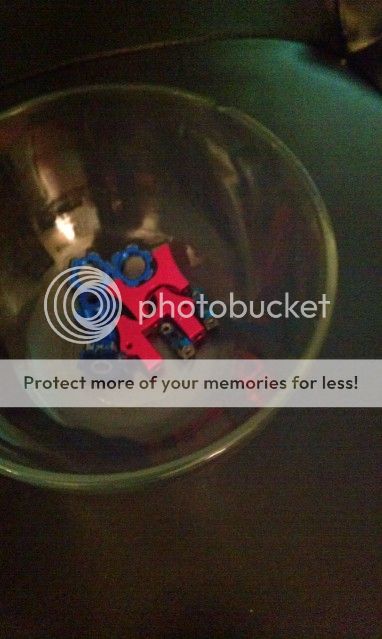 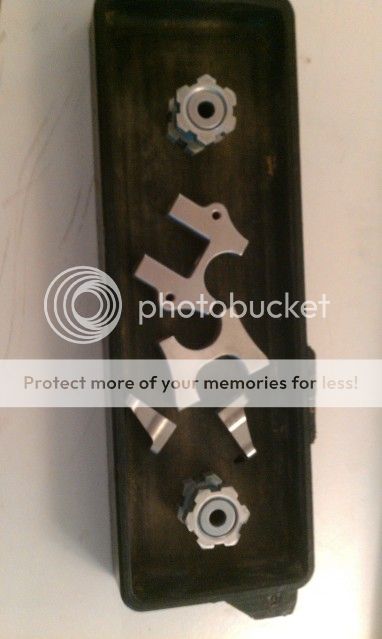 That is my old tray. New one is being built. Check out the deandozing. I am going to sand and polish the servo heat sink! That thing will not come apart without force and I don't want to ruin the bearing. Thanks guys!! |
|
|
|
|
|
|
|
(#612)
|
|
RC-Monster Titanium
Offline
Posts: 1,419
Join Date: Dec 2008
Location: Louisville, KY
|
06.03.2012, 09:37 PM
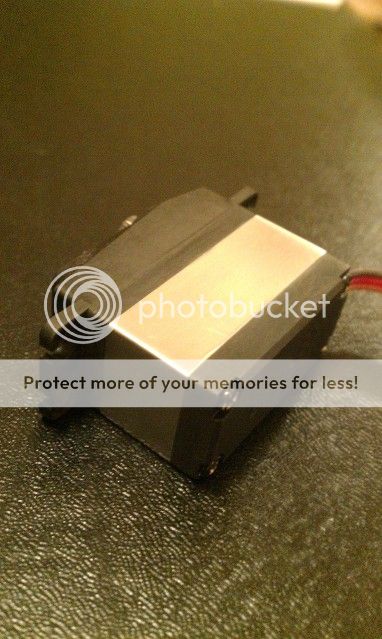 Done!! I just put the case back on and started rub it down, I will have to go back over it later with something less corse but I may leave it as is. What do you think? I can't wait to get the truck together! |
|
|
|
|
|
|
|
(#613)
|
|
Old Skool
Offline
Posts: 7,494
Join Date: Feb 2007
Location: Devon, England
|
06.03.2012, 10:27 PM
Looks good- some mothers metal / aluminium polish polish would bring that & the plastic up nicely ( T-cut is good for plastic polishing apparently, though there are no doubt proper guides around )...
|
|
|
|
|
|
|
|
(#614)
|
|
Guest
Posts: n/a
|
06.04.2012, 05:08 AM
nice job on the servo...autosol metal polish would be good to polish it up with.
or a wax based polish like farecla g3...then it wont seep in and ruin the internals of the servo. chris |
|
|
|
|
|
|
|
(#615)
|
|
UE Supermaxx Addict!
Offline
Posts: 1,006
Join Date: Feb 2009
Location: Gadsden, Alabama
|
06.06.2012, 03:23 PM
Everything looks great! Are those Associated servo-mounts? I have a few sets that look just like those, and they are AE...they are great for all kinds of stuff!
PM ME IF YOU HAVE THE BELOW: VBS, CVDs, GM Single-Speed, OTB, Ultramaxxed, Super6, Strobe, Sprong, CNR Brake, UE Hex, DUH Towers, Predator, Blackbird, GA Blue Screws, HCR F/R Skids & Mutant |
|
|
|
 |
«
Previous Thread
|
Next Thread
»
| Currently Active Users Viewing This Thread: 1 (0 members and 1 guests) | |
 Linear Mode

|
|

Powered by vBulletin® Version 3.8.11
Copyright ©2000 - 2026, vBulletin Solutions Inc.
vBulletin Skin developed by: vBStyles.com
Copyright ©2000 - 2026, vBulletin Solutions Inc.
vBulletin Skin developed by: vBStyles.com