


J1A1H XXL Torque Monster Buildup........ |

|

|
(#1)
|
|
RC-Monster Titanium
Offline
Posts: 1,007
Join Date: Apr 2010
|
J1A1H XXL Torque Monster Buildup........ -
04.27.2010, 07:36 AM
[b]Ok, my build is coming together now... Ive decided to list everything i have bought for this truck so i remember exactly how much effort i have spent on this truck.
The 1 picture i have when it arrived at my door. 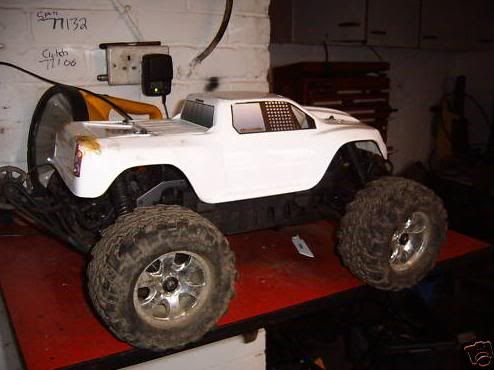 by the way this : ? = a british pound sign Complete List So Far: Second Hand Savage Flux ?500.00 It came with 6 Lipo Batteries 4x2s & 2x3s Spare tranny Proline Dirt Bonz Wheels Fibre Glass Shell in white Ansmann GHZ Trans and Rx Cheapo Charger Power supply ?35 Motor & Power HYPERION G3VX 3s/6500mah/35c lipos ?140 Neu Castle Creations 1520 1600kv Motor ?120 Chassis Kit GCM DB-17 Chassis Kit C$96 GCM Batt tray C$24 GCM Skid Plate C$23 GCM servo mounts x2 C$15 Rims & Tires SPI Basher Wheels $115 Dirt Claws Tires ?50 Proline tire inserts ?10 Steering & Handling HPI RSC suspension conversion kit ?85 "Good Fake" aluminium BIg bores from HK (only for road use) ?35 HPI XL Axle Extenders $15 Shock Springs (white) X8 $15.56 Ace DS 1015 Servo ?60 Ansmann alu servo horn ?10 HPI front and rear sway bar kit ?25 Aluminium steering tie rod ends ?11 Titanium turn buckles ?15 GPM Steering Assembly ?13 Shock Socks Tranny, Gearing & Mechanical Brakes Bullet Proof Diffs x2 $50 HPI HD 18-23t Drive Gear $11 HPI 39t high speed idler gear ?25 HPI Light weight idler gear 29t ?7 HPI Light weight drive gear 32t ?7 17t pinion (Bashing & Jumps) ?11 21t pinion (Grass and dirt surface) ?11 25t pinion (Road use) ?11 Ofna throttle mod ?8 HPI Dual Fibre glass brake & Discs, piston, cam & hex ?15 Bodies & Wing White stock size fibreglass body Came with flux Custom Silver Fibre glass body ?75 Proline DesertRat body for slayer ?30 Monster Energy Decals ?10 PRC carbon wing mount ?25 Hot bodies wing mount & screws ?10 Traxxas carbon revo wing ?10 Extra Stock parts & EXTRA BITS Castle Link USB ?13 Servo Y harness ?2.39 Spider Gears x2 $6.70 Steering Bearings $8.45 Servo Saver $2.22 Diff gaskets $2.25 velcro straps x6 ?10 Corrosion X for waterproofing ?20 Diff Oil 30k & 50k ?5 Car Stand ?5 Adjustable Upper Arms ?6 Savage X Arms ?12 Shock oil 35wt x2 ?2.75 Green Slime ?3.50 Traxxas ESC mounting Plate ?3.50 Alloy chassis bulk supports ?6.00 HPI Gold Washers and nuts ?9.00 Re enforced strapping tape for tires ?2.00 Extra nuts and bolts for HPI ?15 Rush Battery box ?7.65 HPI Front and rear skid plates ?6.35 8x wheel bearings ?5 Extra suspension screws ?5 Shrink Tubing ?3 Fuel tubing 1m ?1.50 Battery Foam ?2 As the parts arrived i got very excited... took some pics and here they are before they were fitted.... Rims, Tires & Inserts 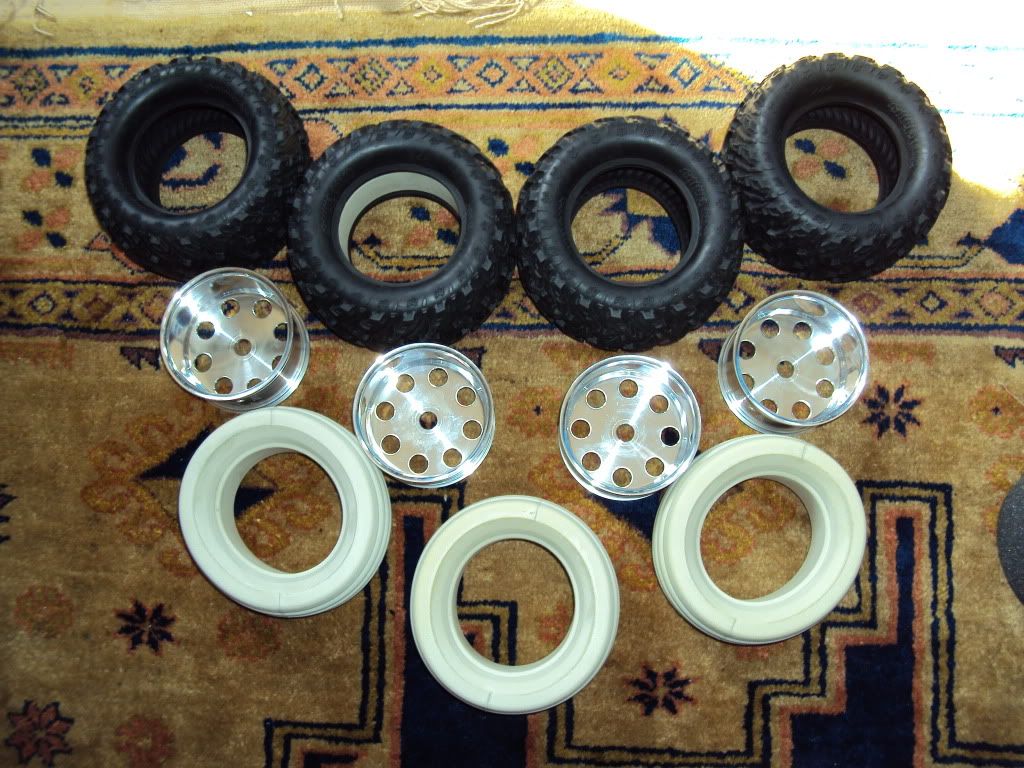 Comparison Between stock inserts and proline 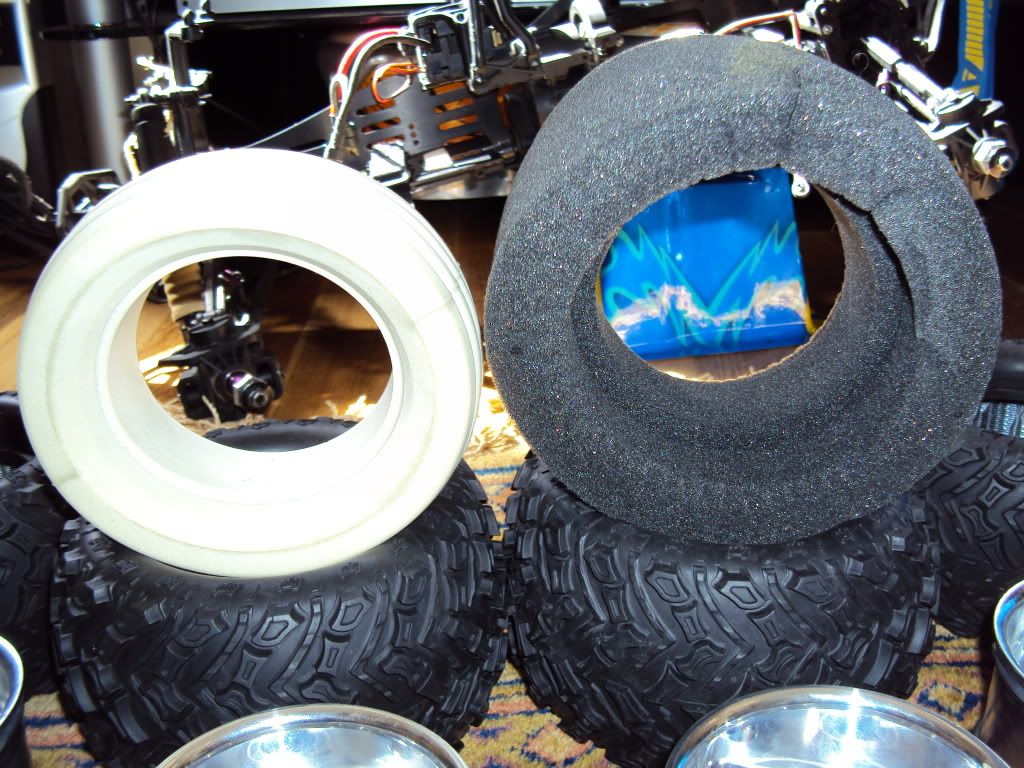 Tire Weight Comparisons  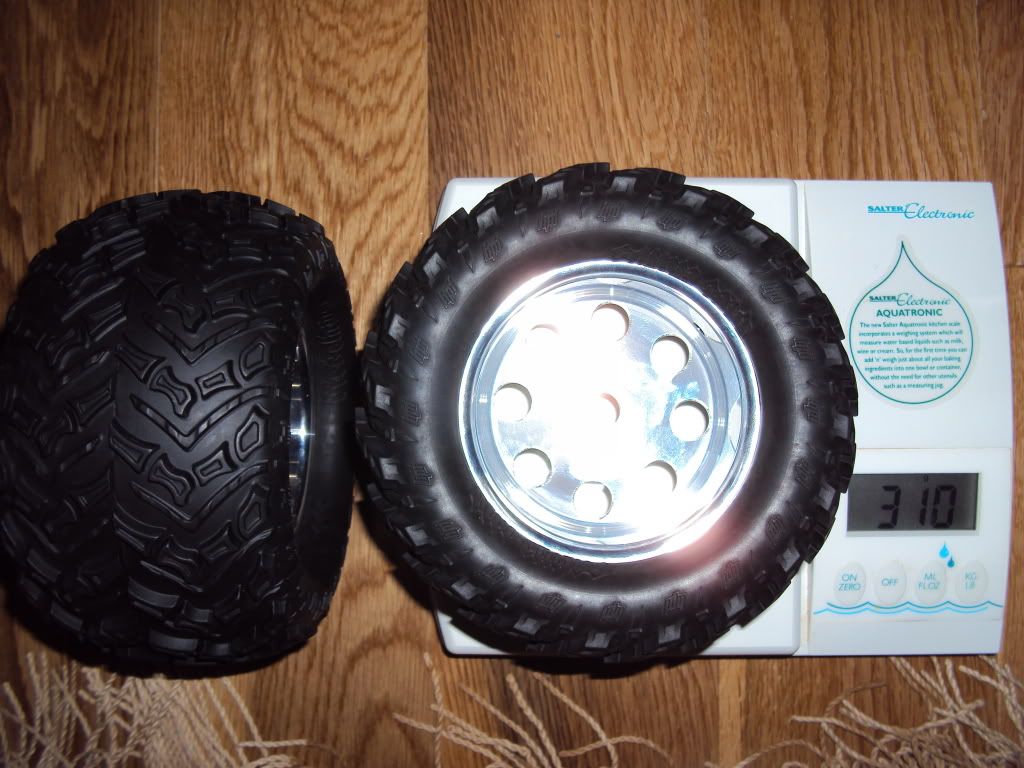 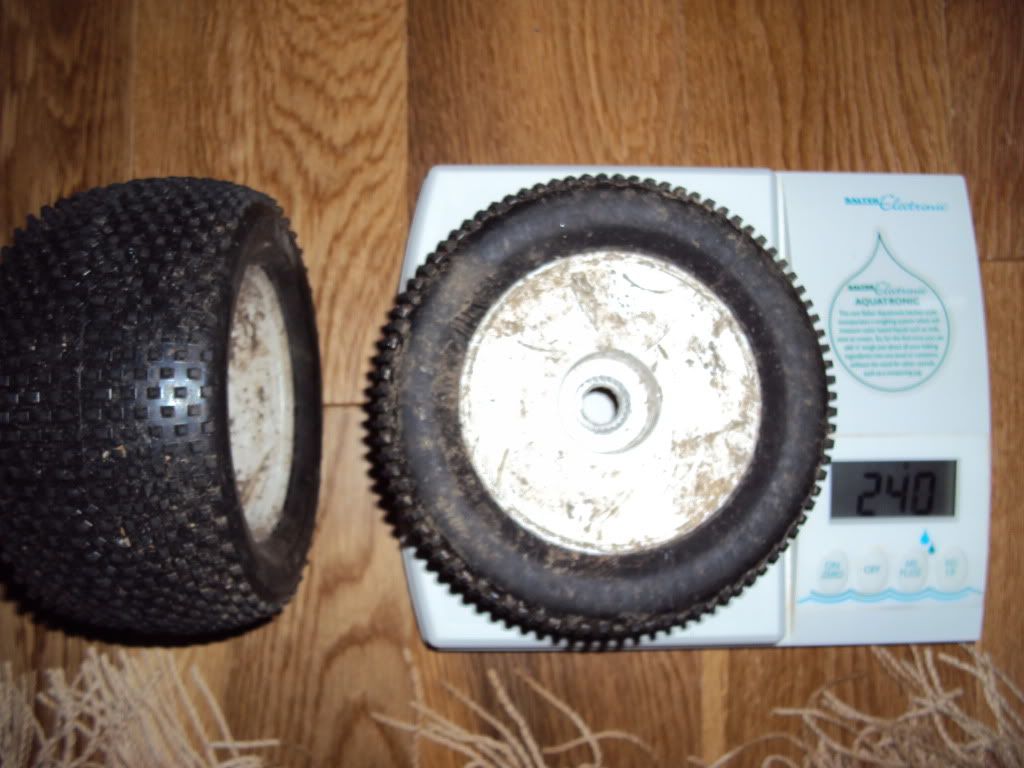 Strapping my tires  Sway Bar kit 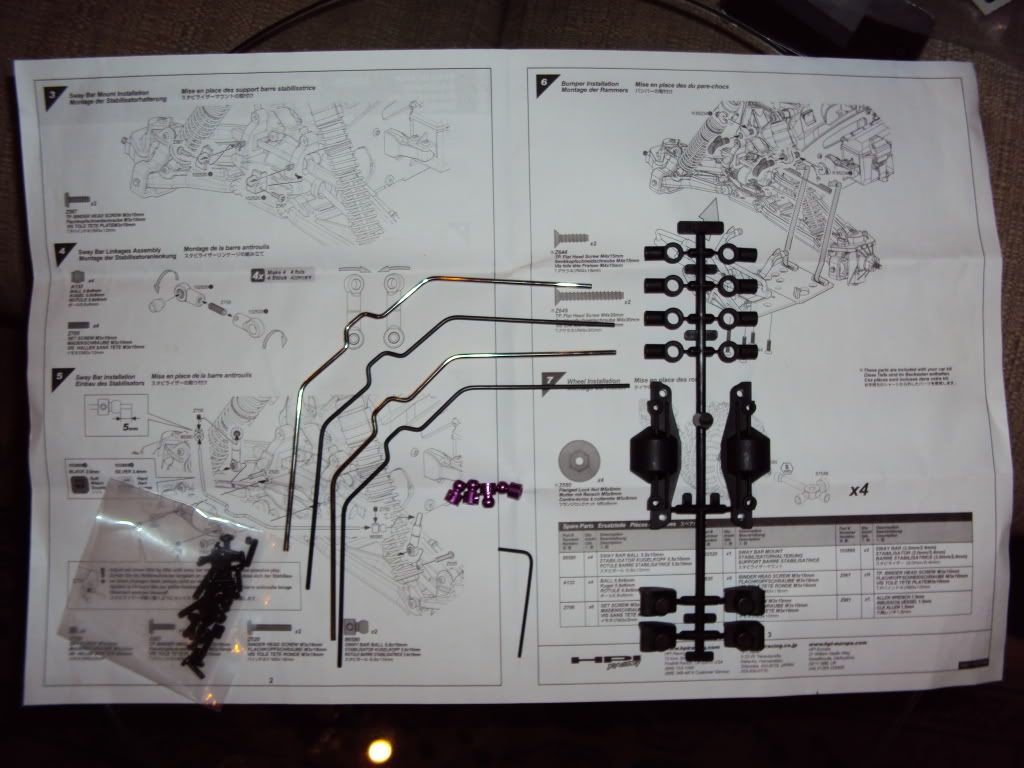 RSC Goodies 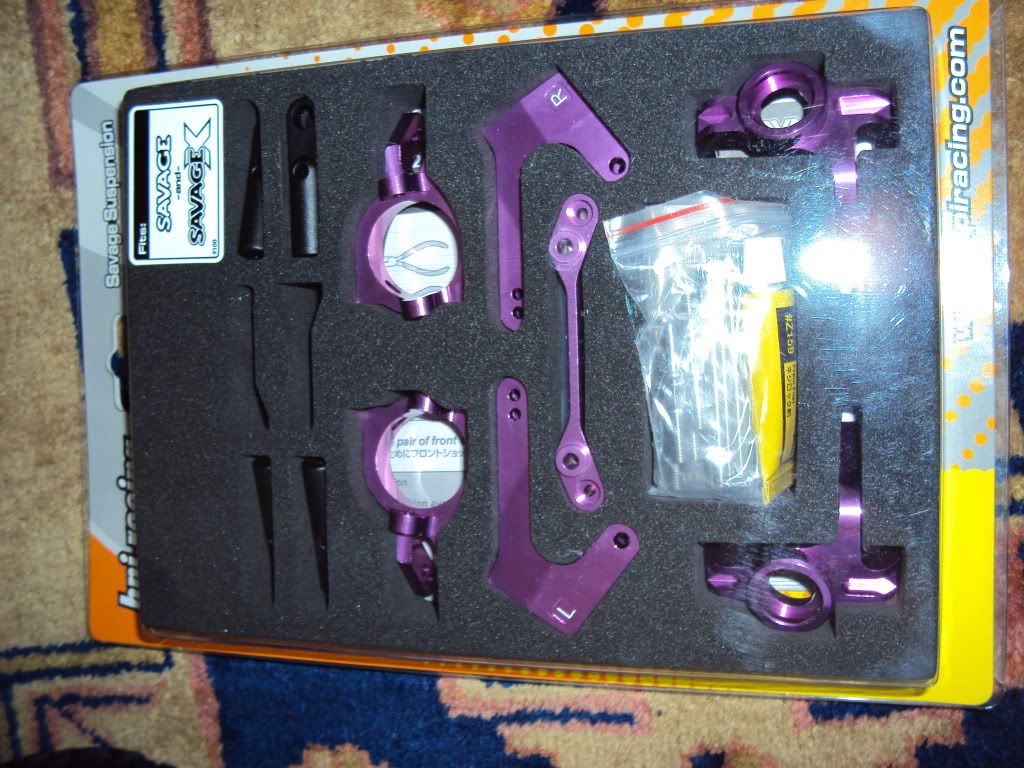 Stock fibreglass body vs XL Fibre glass body 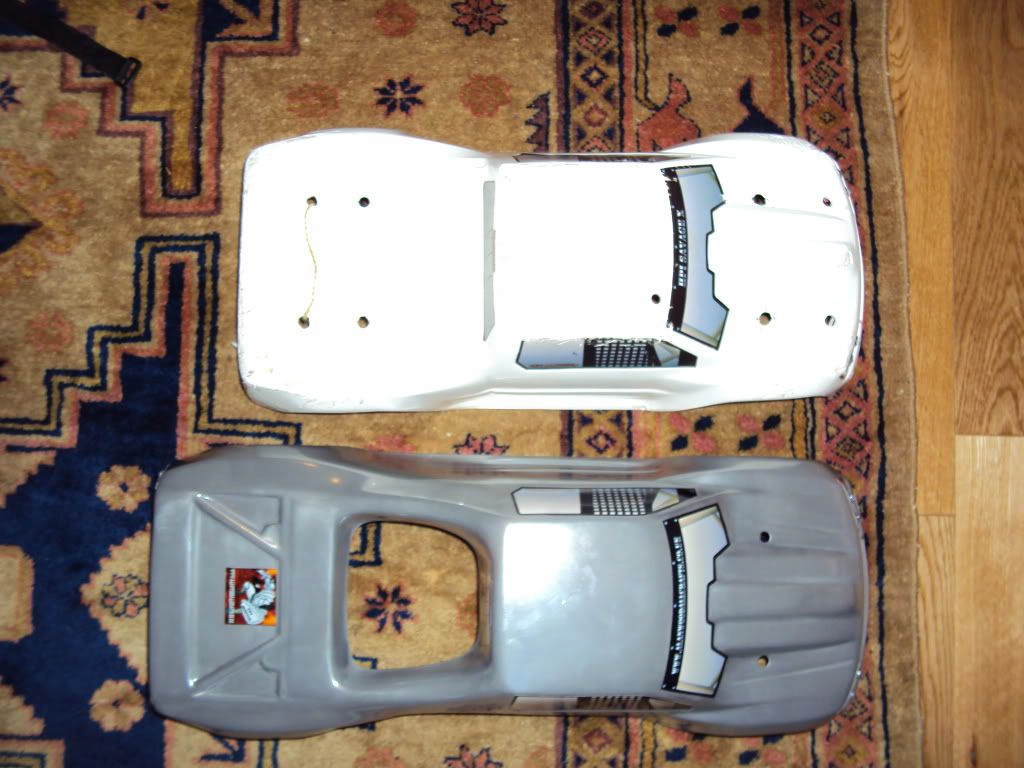
|
|
|

|
|
|
|
|
(#2)
|
|
RC-Monster Titanium
Offline
Posts: 1,007
Join Date: Apr 2010
|
04.27.2010, 07:38 AM
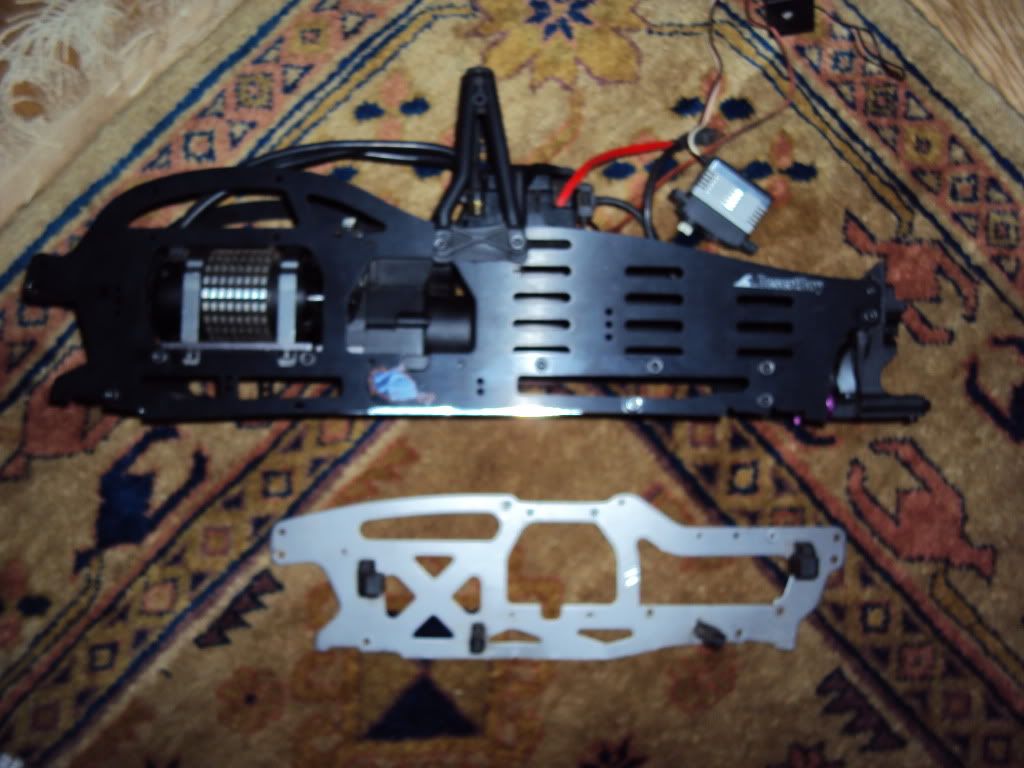
Comparison of db-17 and stock tvps
 Mounted some LEDs for a bit of fun when im bashing at the carpark at night 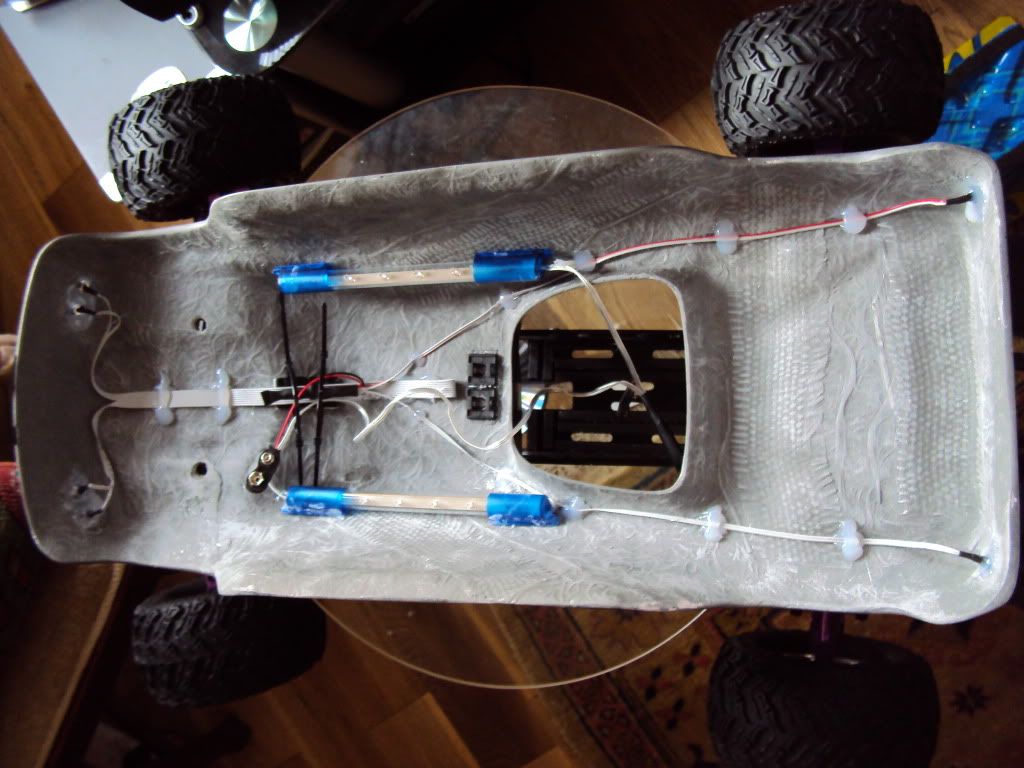 "Good Fake" Alu BB Shocks vs Stock Plastic Shocks 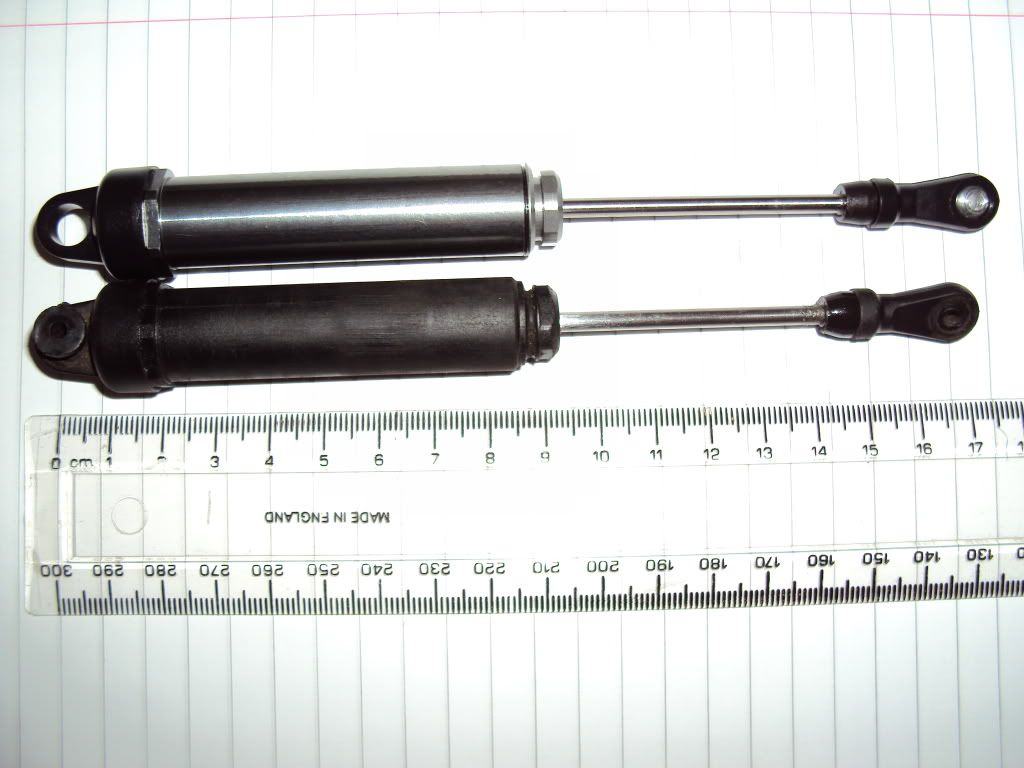 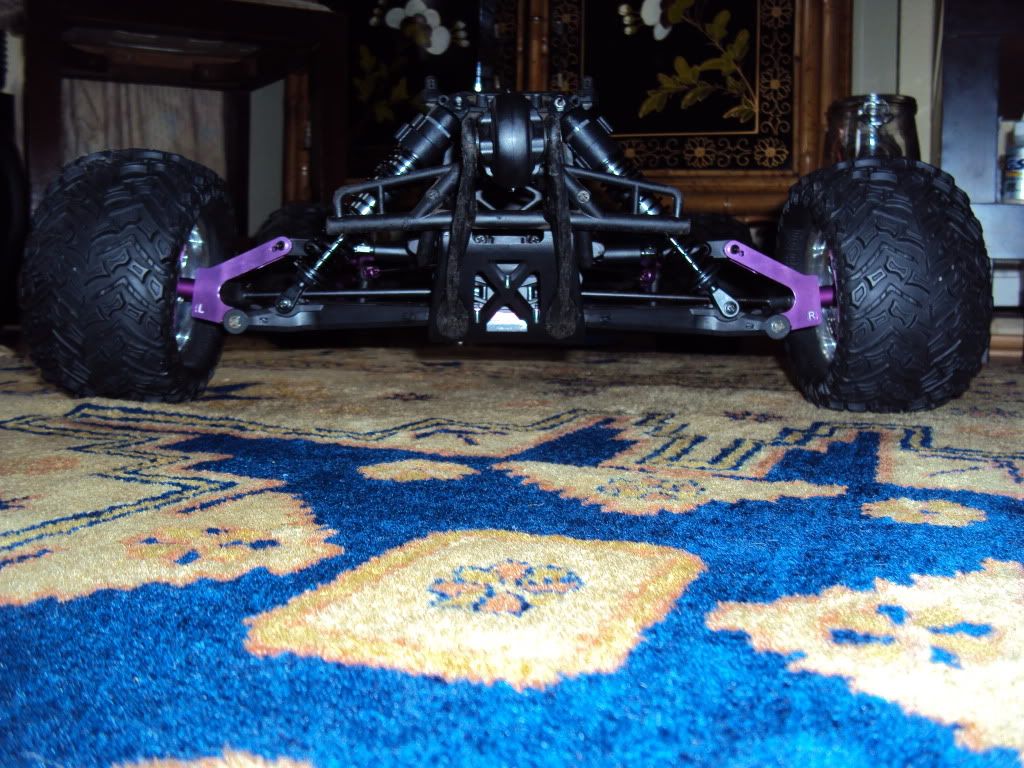 When i put the new motor in and get my batteries all soldered up with the deans... then ill be getting some vids up... But in the mean time... some motor porn 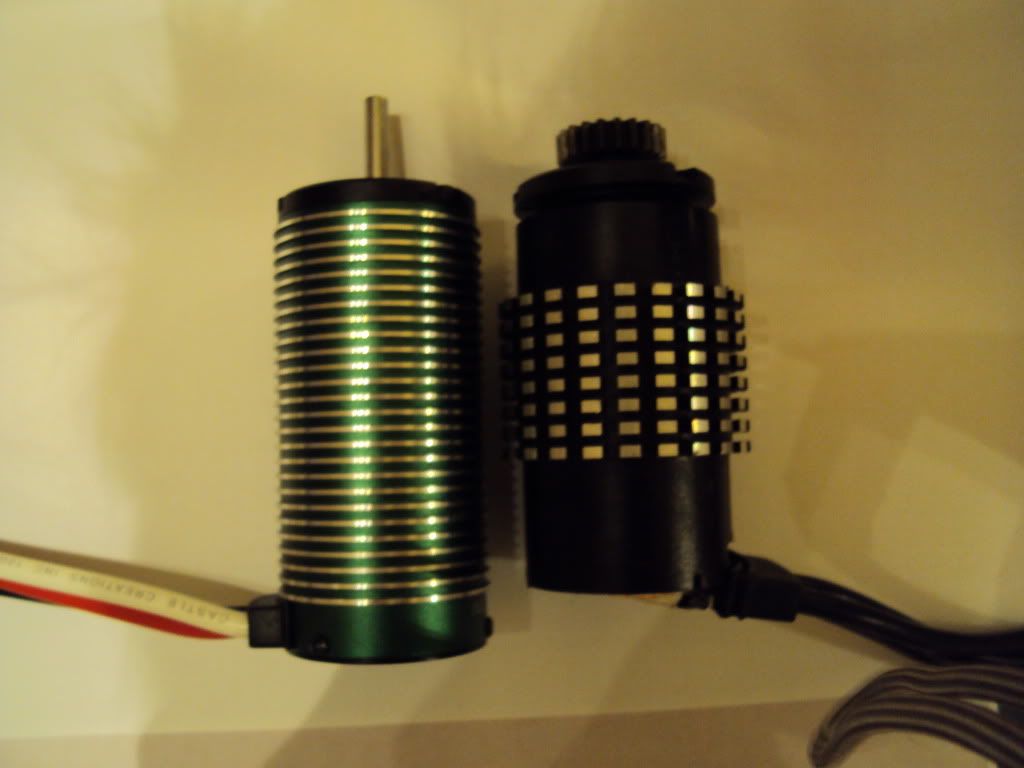 Thanks again to all that have help me build the savage! All build up pics will come by the weekend I havent managed to fit the motor yet, but i finished the rest of my shocks using the fuel tube mod... 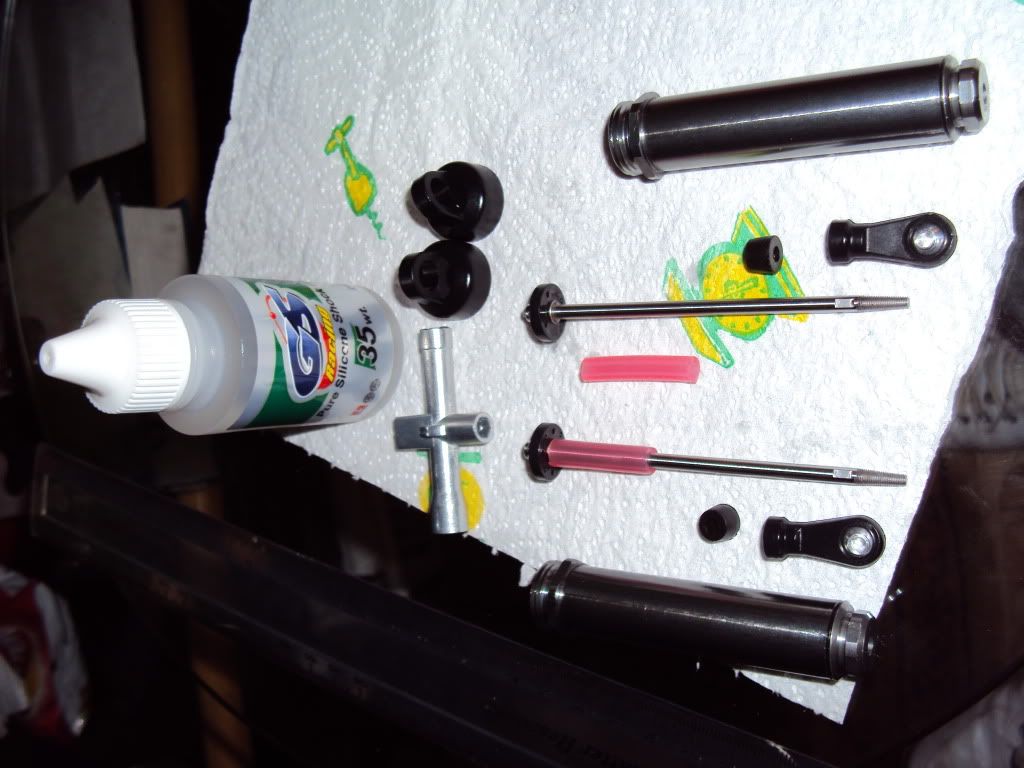 Also i thought i would take some body and light pics... might as well have some nice pics before this truck gets bashed up... lets face it, the body will never look as clean, nor will the wheels and tires *:twisted: *:twisted: *:twisted: 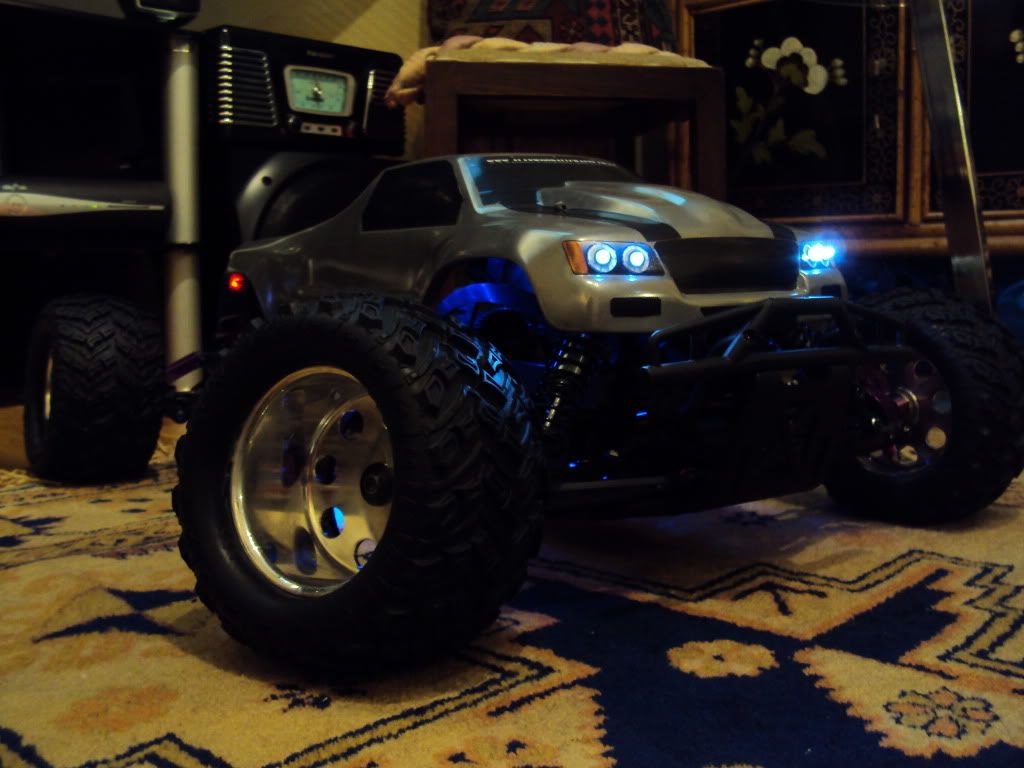 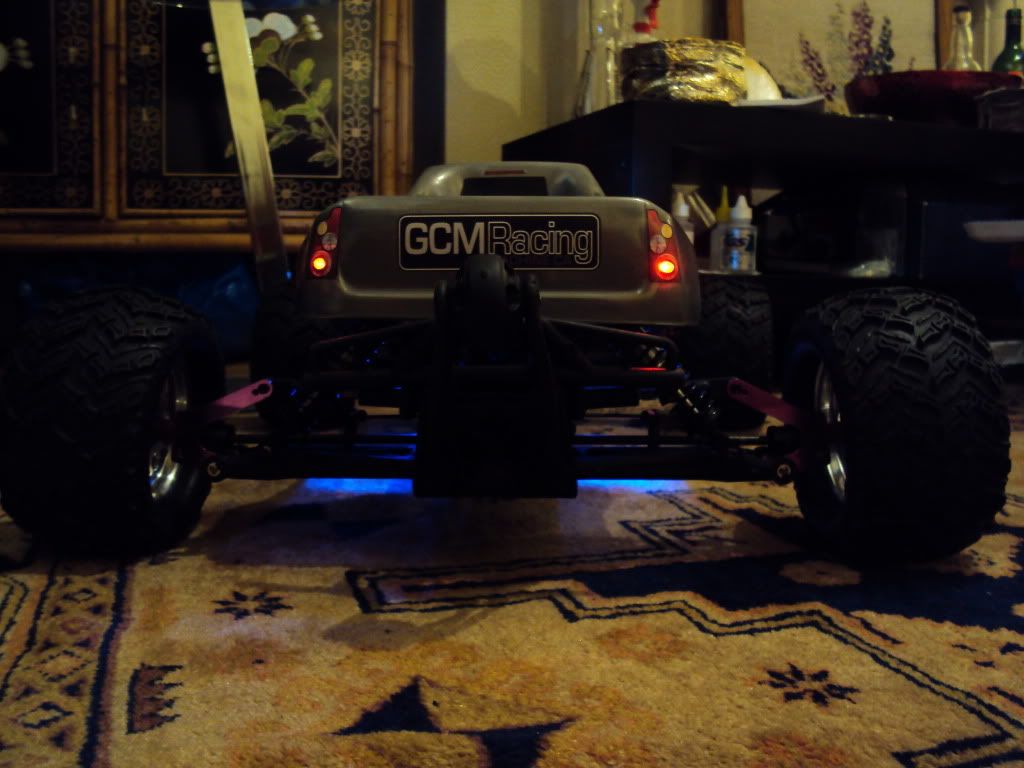 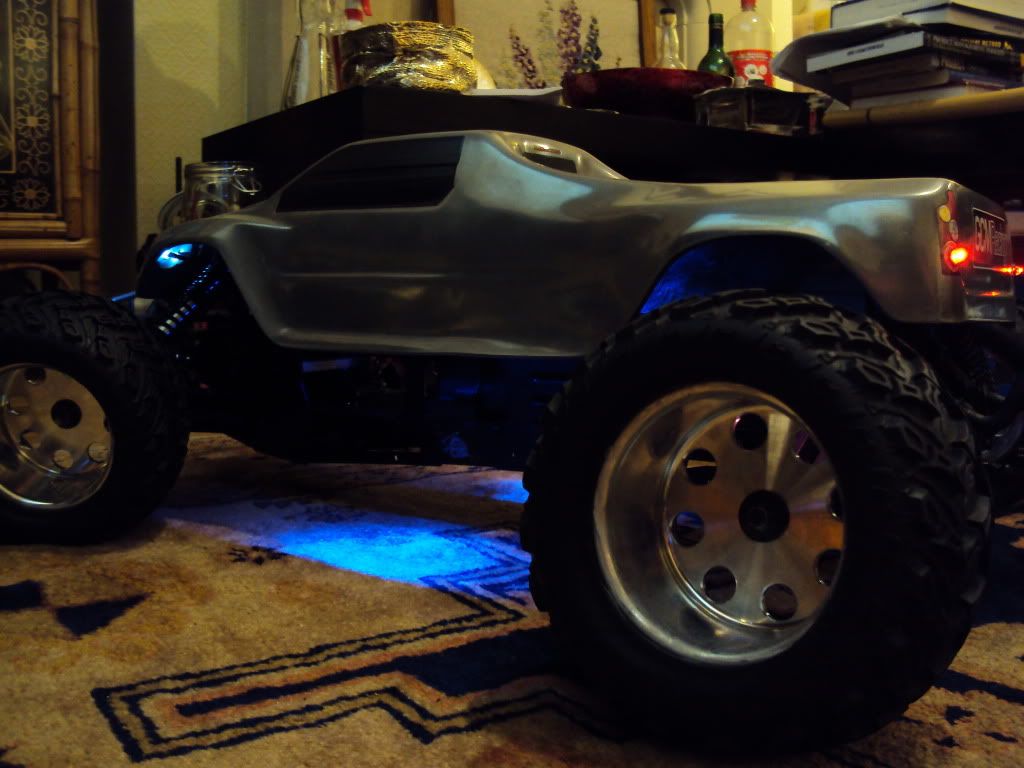 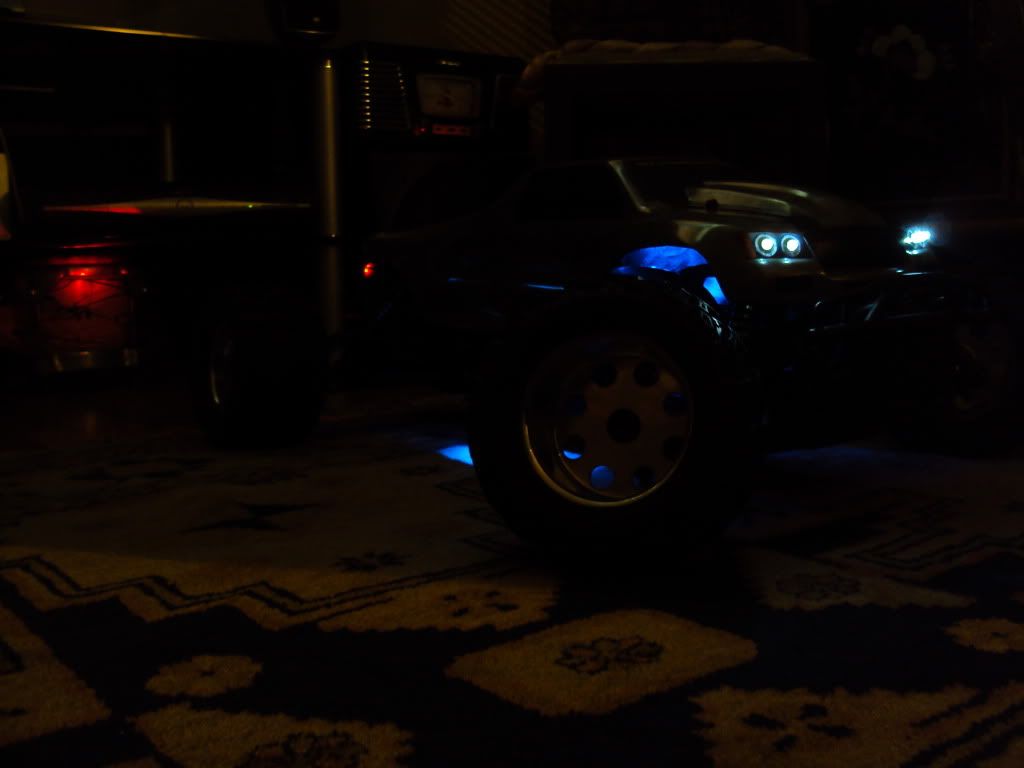
|
|
|
|
|
|
|
|
(#3)
|
|
RC-Monster Titanium
Offline
Posts: 1,007
Join Date: Apr 2010
|
04.27.2010, 07:38 AM
Just got a few things sorted and repaired... Have a little looksy
I have decided to use bullet connectors as thats what my LHS Stock more of, and for some reason i just prefer them. Dont know why... Anyway i got my ESC RX wire re soldered inc bullet connectors 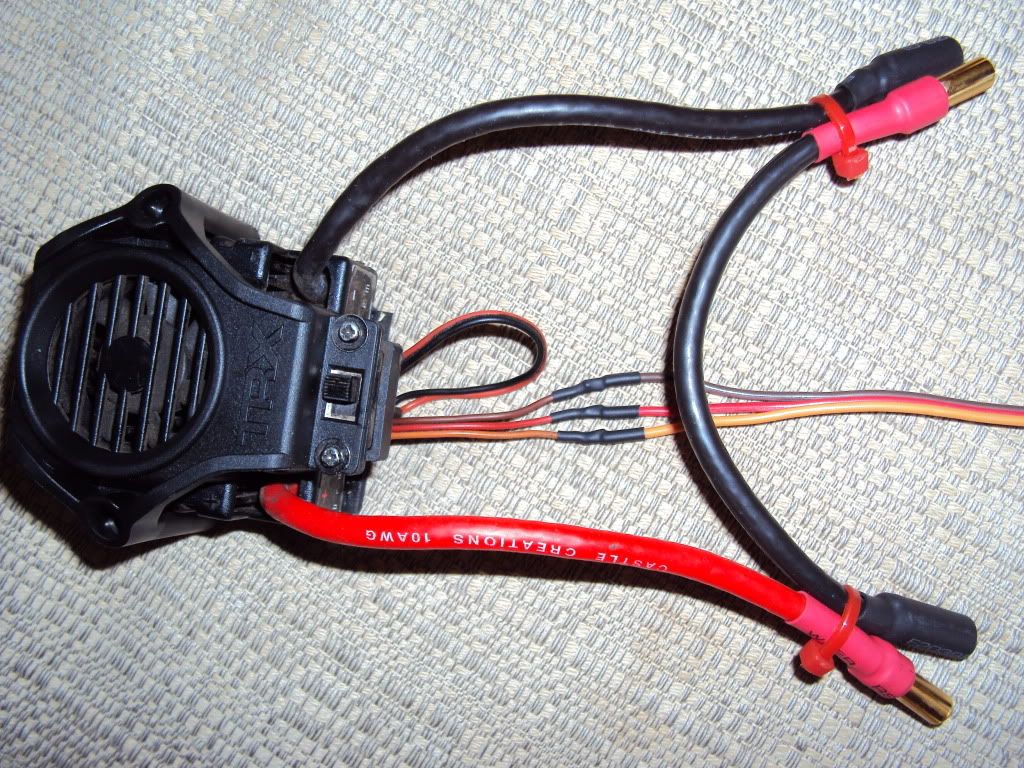 My batteries now with bullet connectors too... 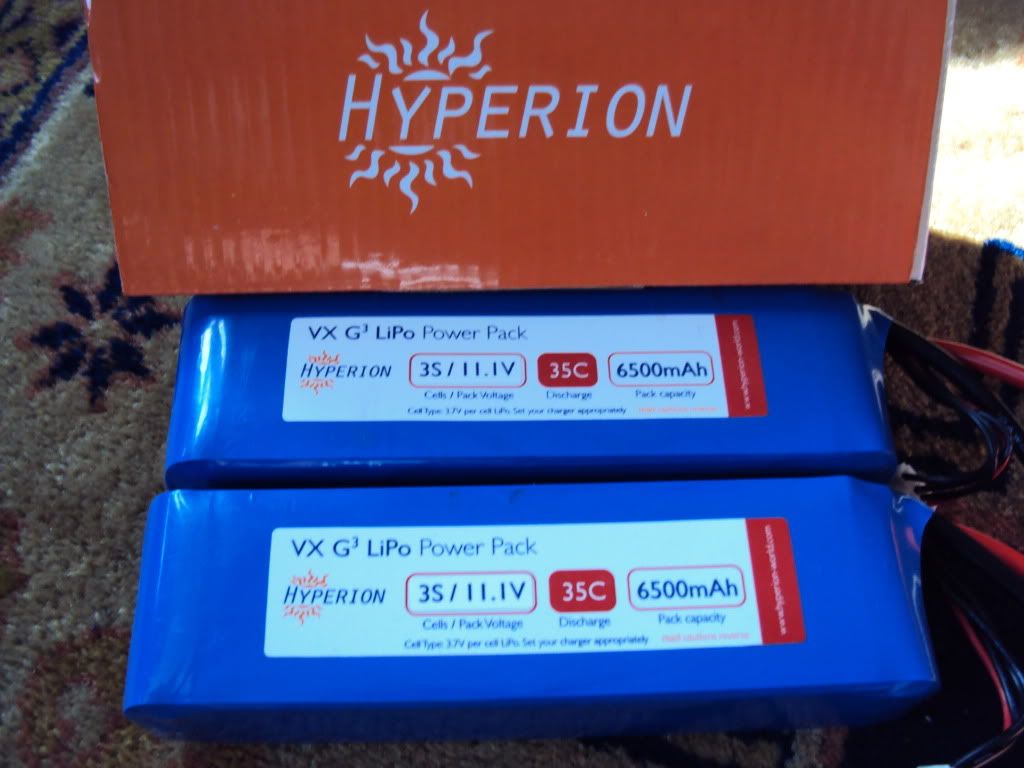 These batteries are HUGE!!! Not only are they fatter they are longer than my usual batteries!!! As you can see... its a very very tight squeeze in there  Still in the process of grinding down the motor mounts, but its taking much longer than expected... I have gone through 4 dremel sanding drums and havent even finished one mount yet!!!! This is going to take a while... i need more drums! Here is a pic of the length of the motor in the chassis 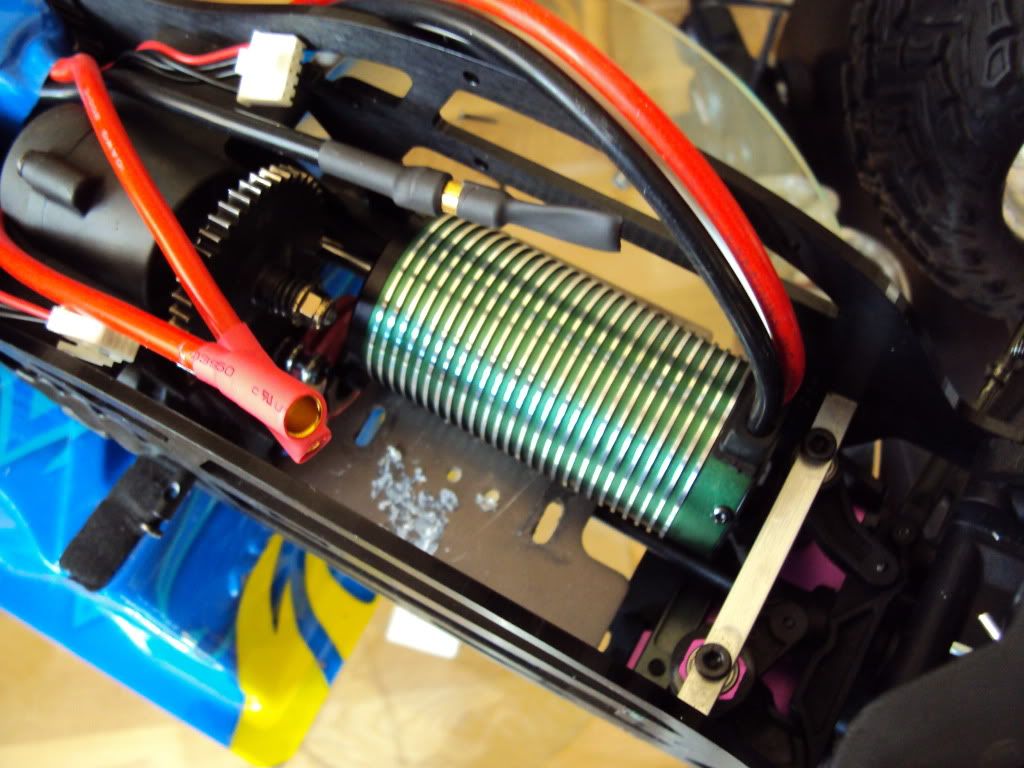 And last pic of it all sitting in their correct place minus ESC and servos..... 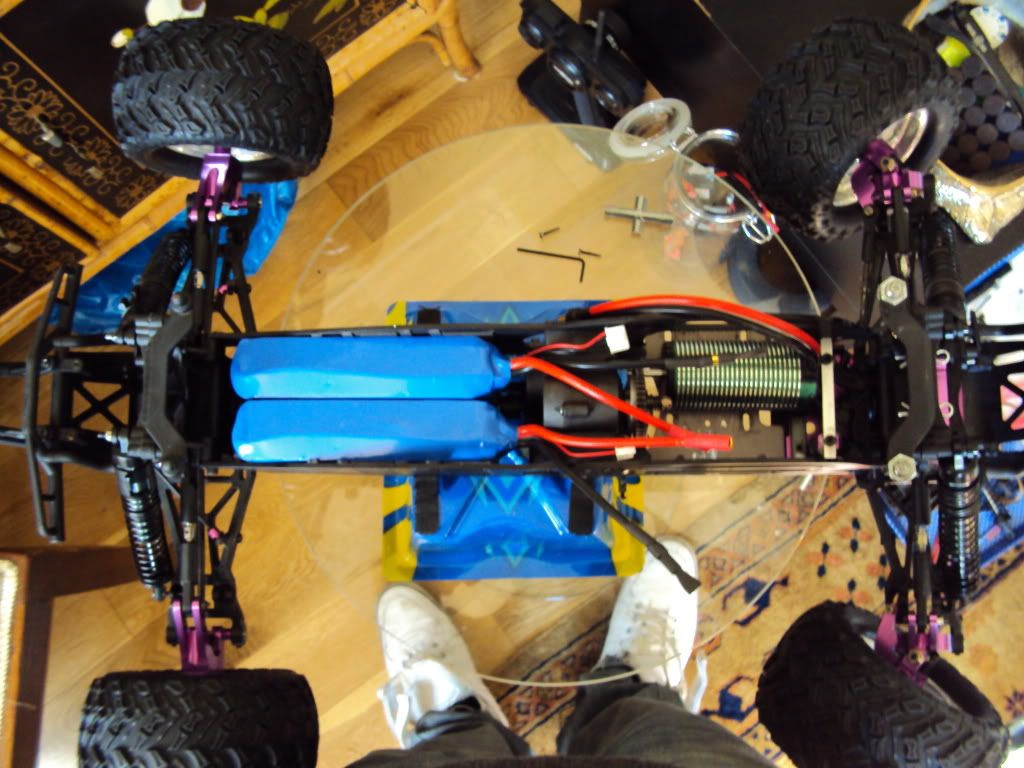 Hopefully all will be done over the weekend..... Thanks for looking Josh |
|
|
|
|
|
|
|
(#4)
|
|
RC-Monster Titanium
Offline
Posts: 1,007
Join Date: Apr 2010
|
04.27.2010, 07:39 AM
A little update... I decided to mount my ESC and work out a mounting position for the mechanical brake servo. I also found that my new steering servo arm is so long that it would come into contact with the motor. So i had to work out another way of mounting it.... Here is what i came up with... your opinions are much apprciated if you can better what i came up with...
OK FIRSTLY... The servo arm and relocation.... 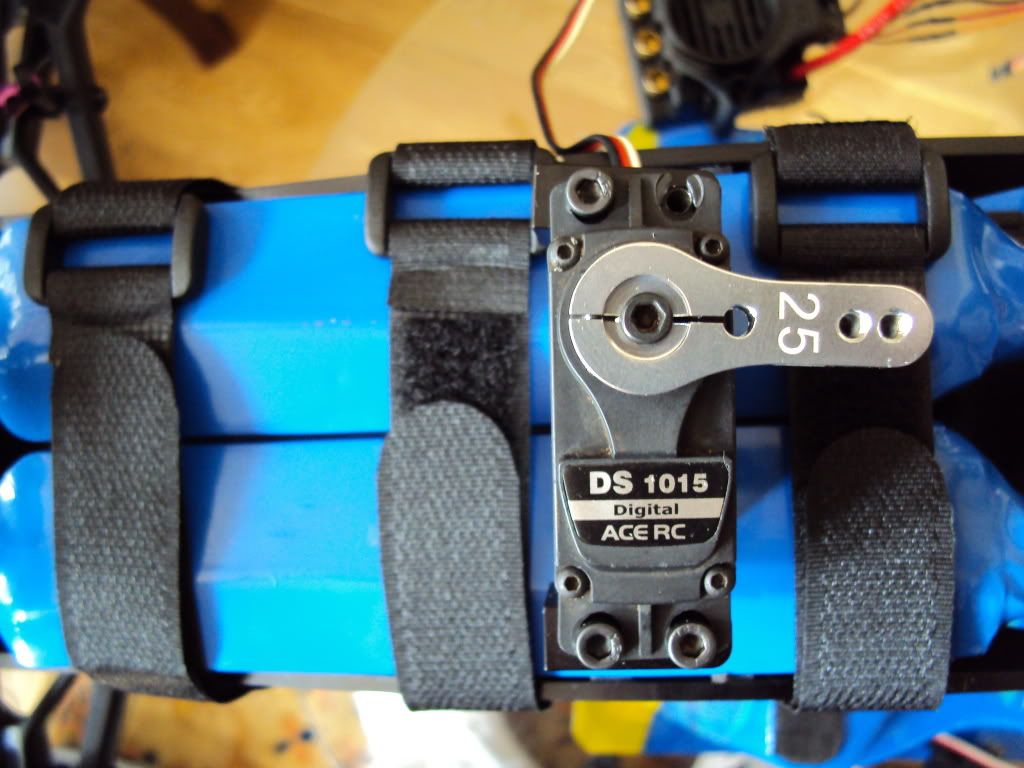 When its mounted it is obstructed by the motor... 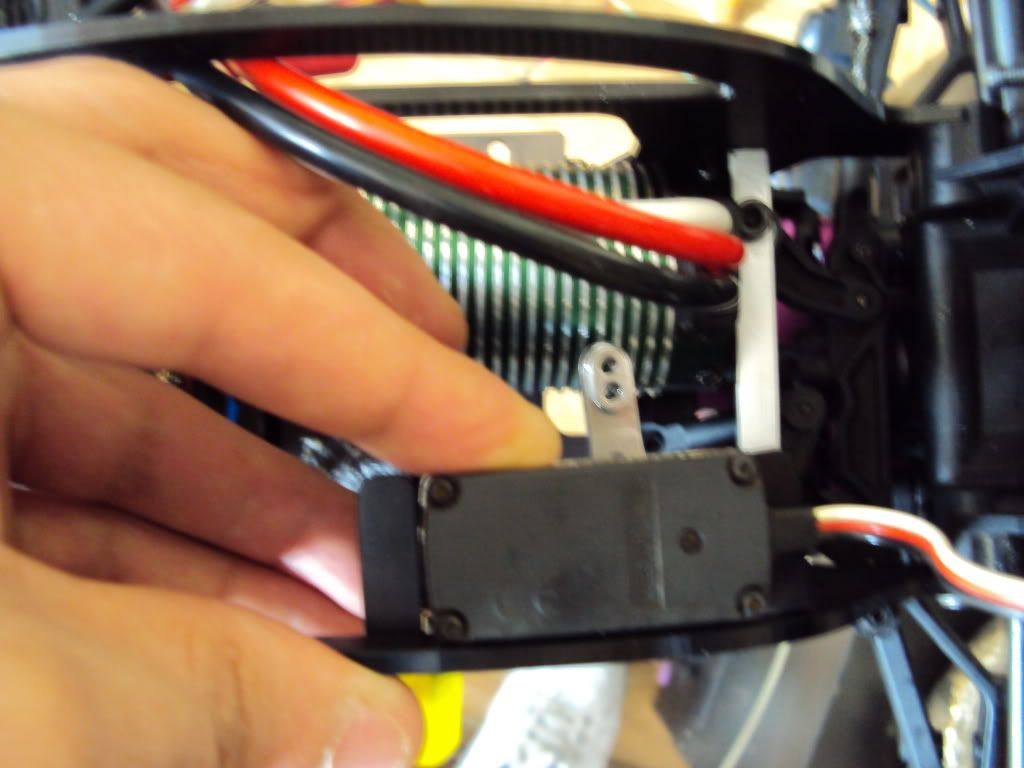 So i thought i would try it mounted on the outside... I dont like how its so vulnerable... but i guess many people do this sort of thing so it should be ok... Has anyone got any ideas for making a stronger longer linkage between the servo arm and the steering assembly??? 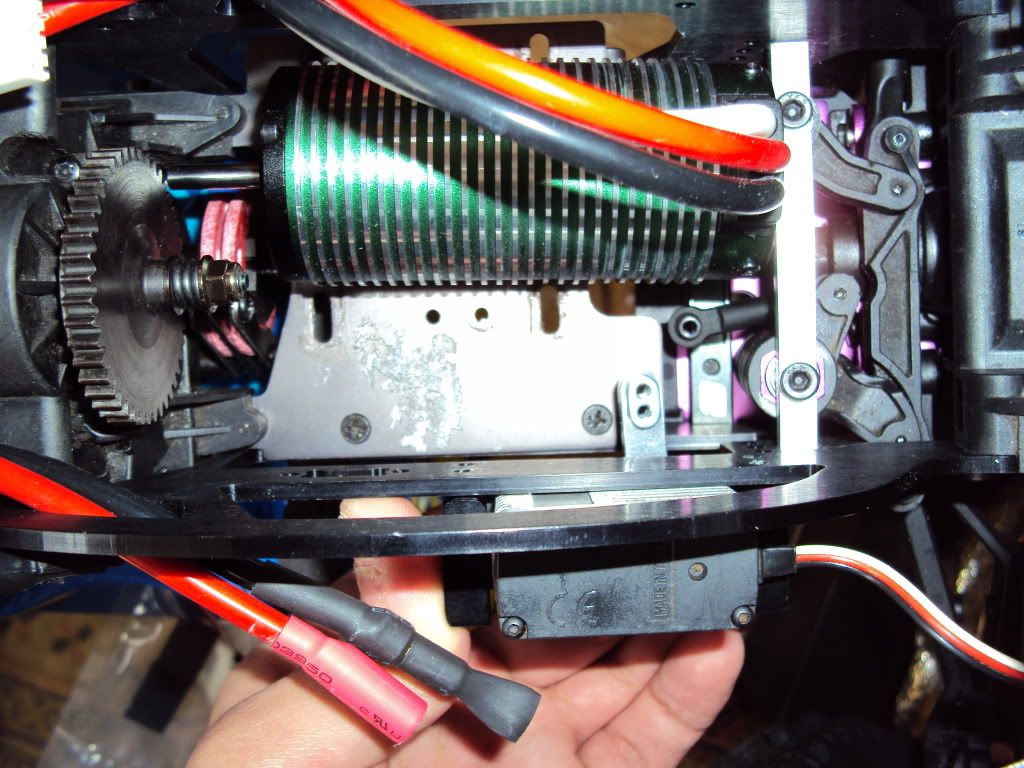 I then had to move the mounting position of my Handle bar which required a little dremeling but its sitting nicely now... Its not really necessary to have it fitted but i am using it to protect the ESC.... 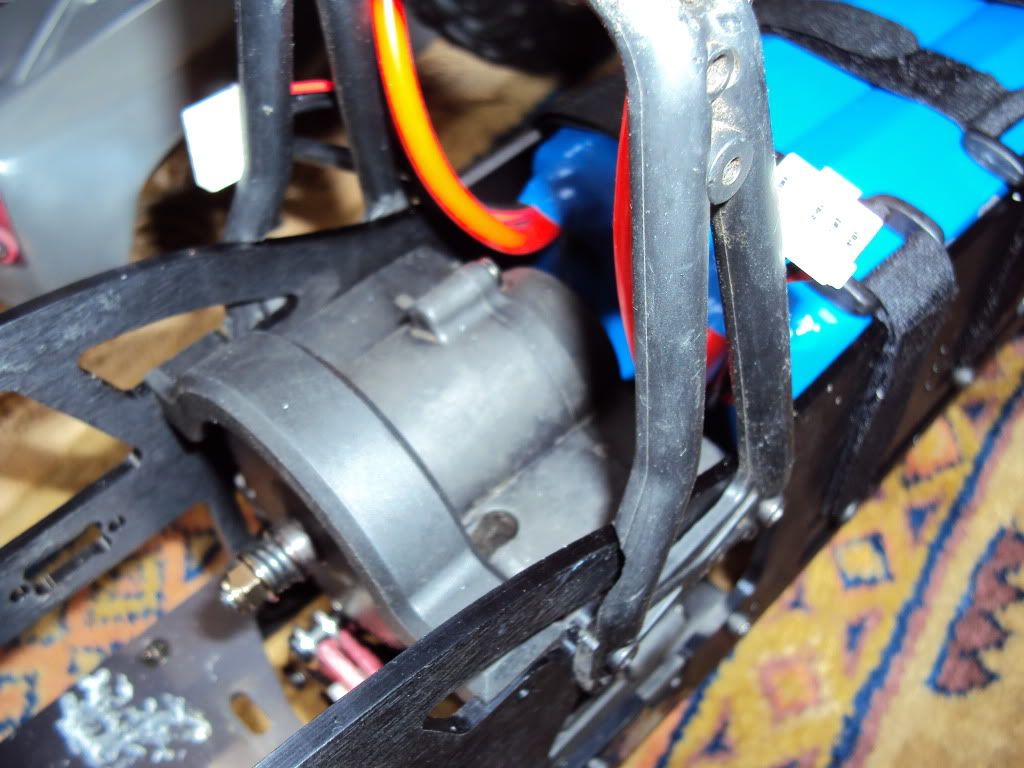 I then drilled some mounting holes for the ESC. Although its mounted high up... It is protected by the roll bar and sits right under the centre of the body and is clear or any possible damage. Also if i do run it in te wet... it will be well away from splashes (i hope... pshhh corrosion x is protecting it anyway) 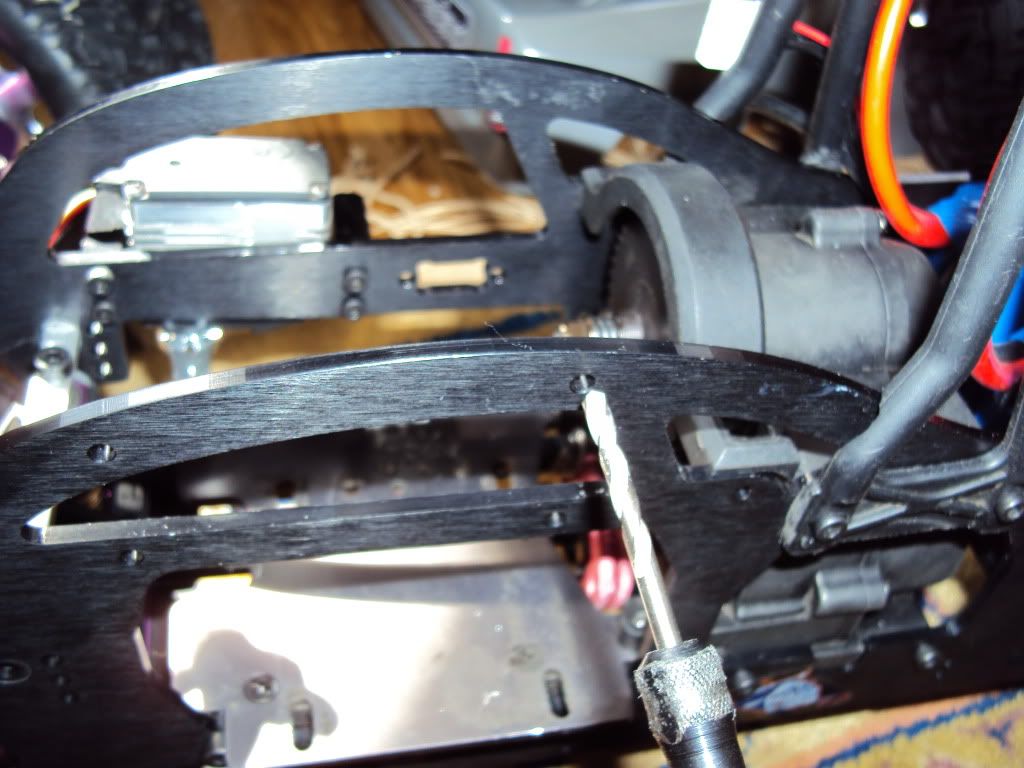 Here it is mounted 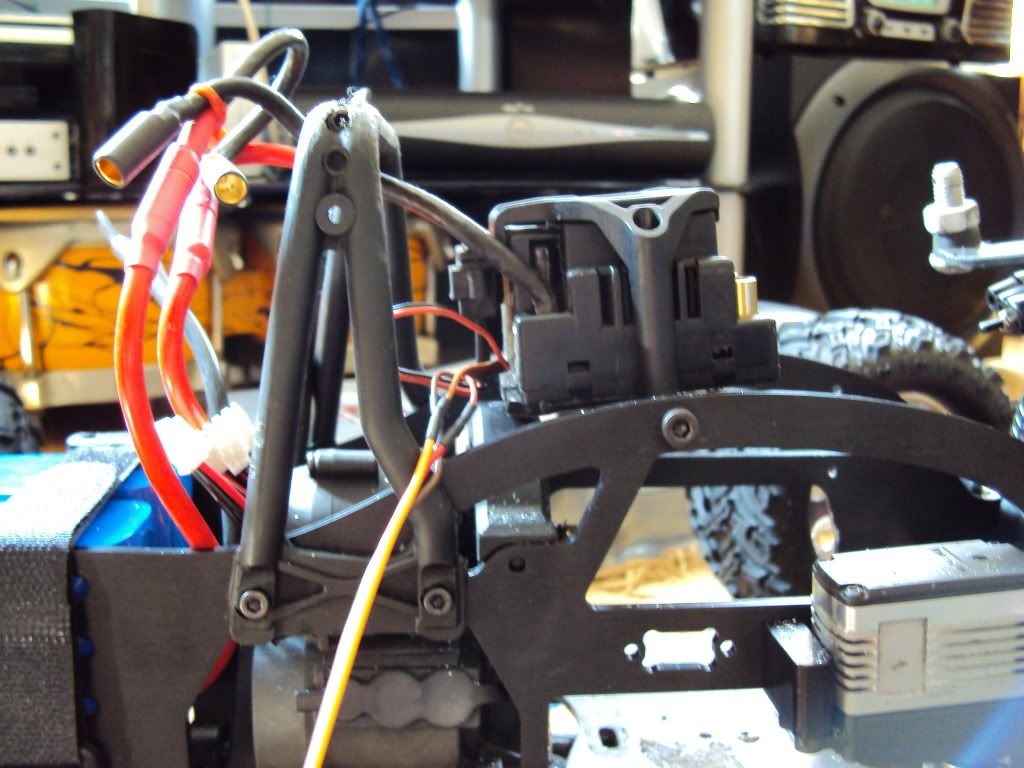 I then decided to find a place to mount my second servo for the brakes... Now because i had to relocate my ESC Position due to the larger batteries at the rear... i had to use a position which i didnt really want to use... But oh well... What do you think??? Do you think there is enough space for the servo arm and all the linkages etc.....???? 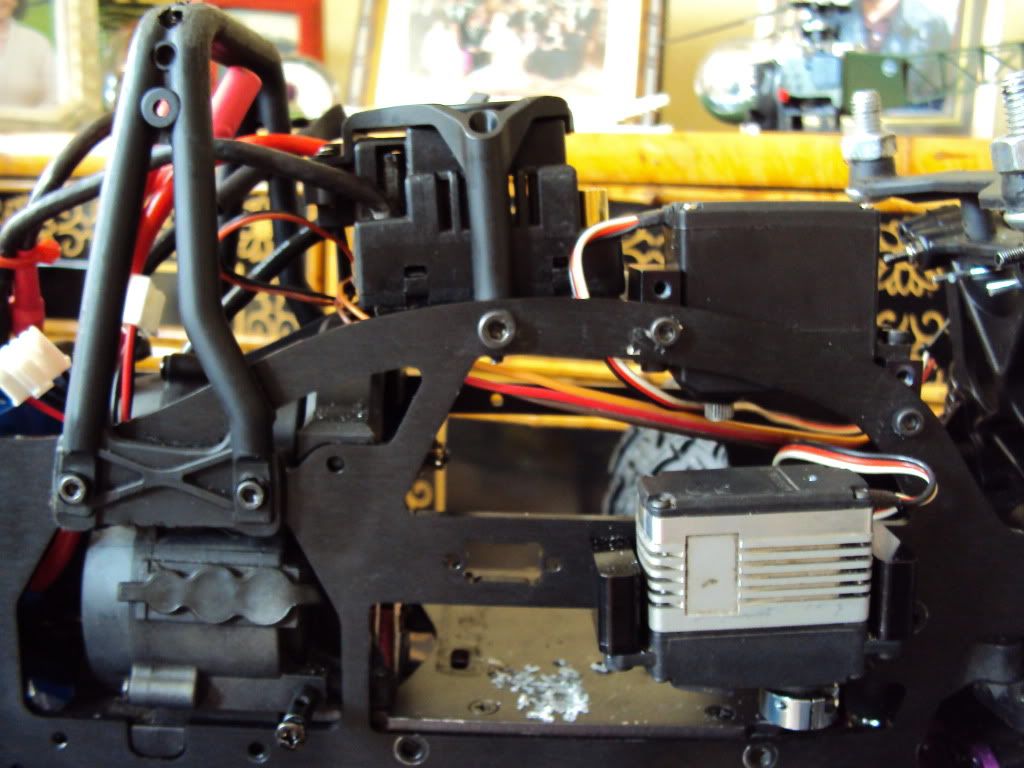 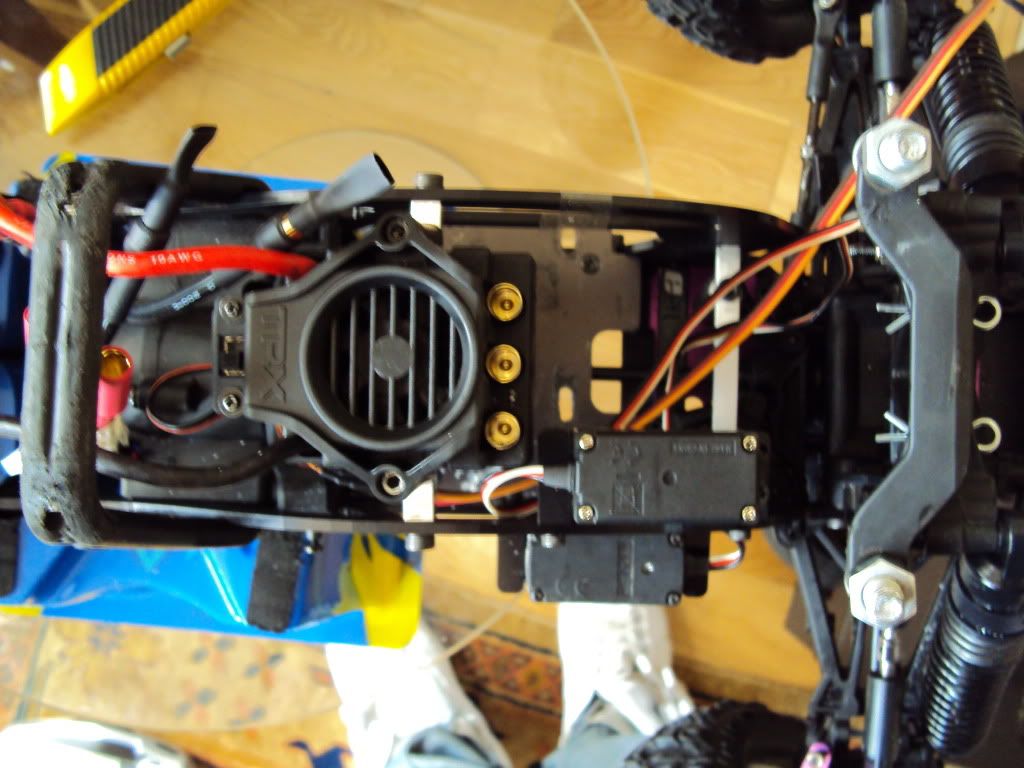 Close up 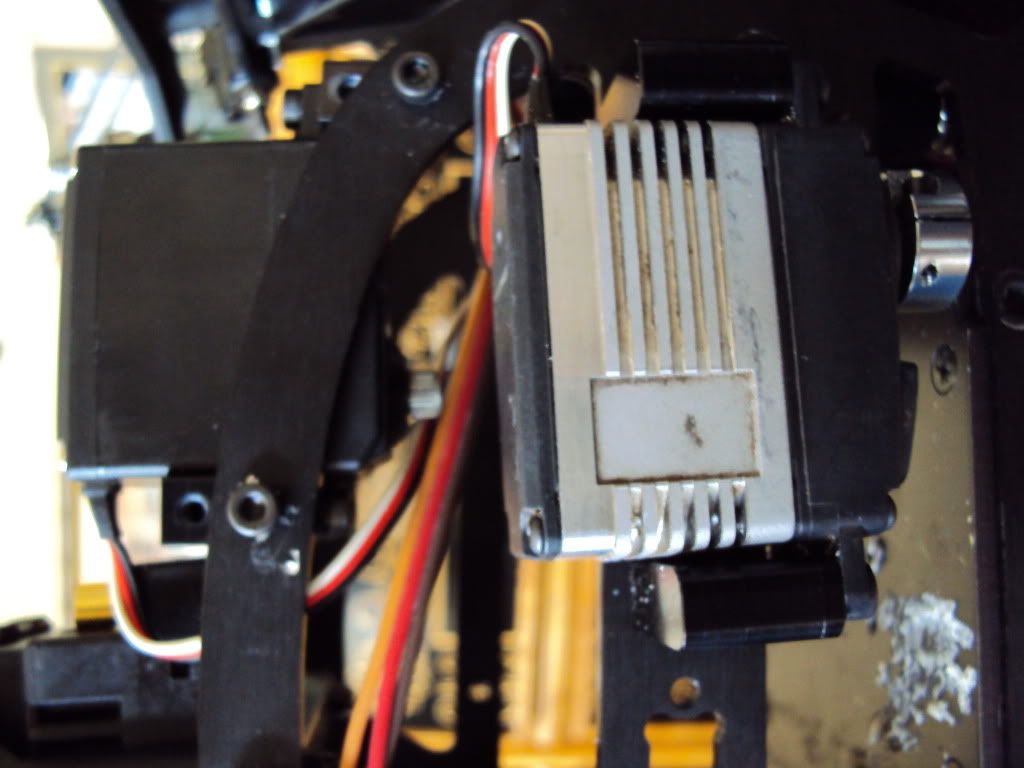 I have yet to finish the Motor mounts... ITS IS BL**DY Hard!!!! Takes ages to grind it down with the dremel! Your help and ideas would be much appreciated!!! THANKS |
|
|
|
|
|
|
|
(#5)
|
|
RC-Monster Titanium
Offline
Posts: 1,007
Join Date: Apr 2010
|
04.27.2010, 07:40 AM
A few things arrived in the post today... A little update...
Titanium turn buckles Metal tie rod ends Brake Linkage kit Traxxas carbon wing Hotbodies wing mount 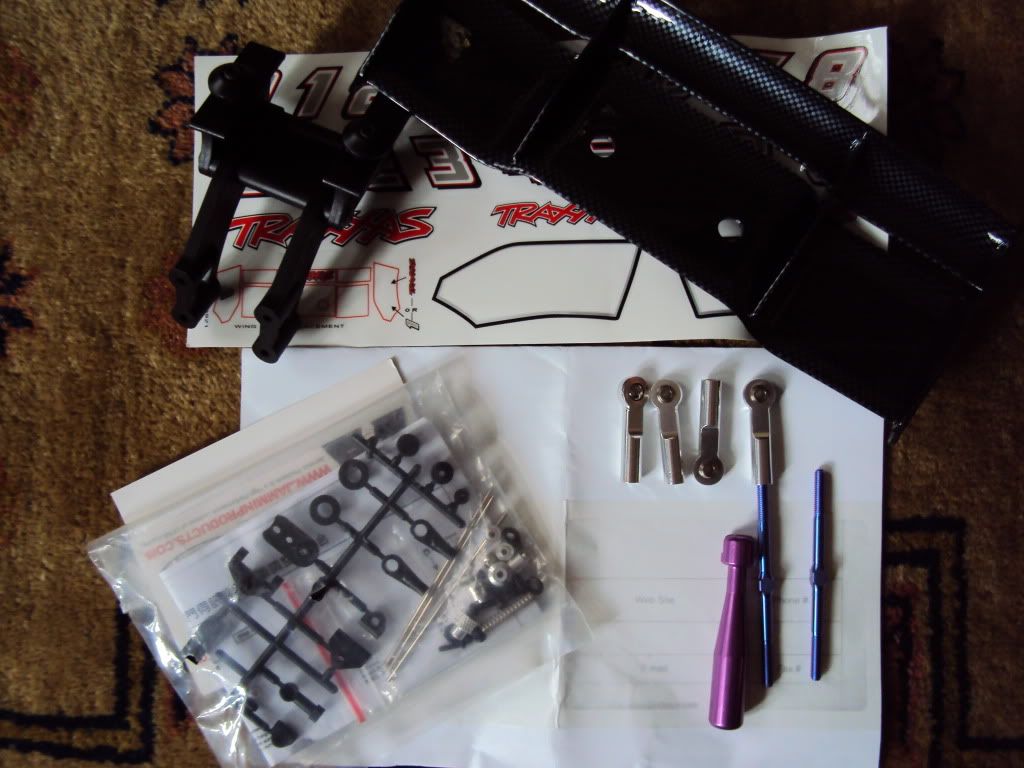 After looking at how the wing and mount would fit, i was suddenly very worried about how much of my fibre glass body i was going to need to cut. I dont want to ruin my Rear GCM decal *  So it got me thinking and i may use the wing mount and a second wing on my Basher Desert rat body (which is being painted at the moment... pics will be up end of the week) But for the time being i was thinking of directly mounting my Carbon wing to the Fibre glass body???? It may not take the biggest pounding but this is just my road body anyway.... 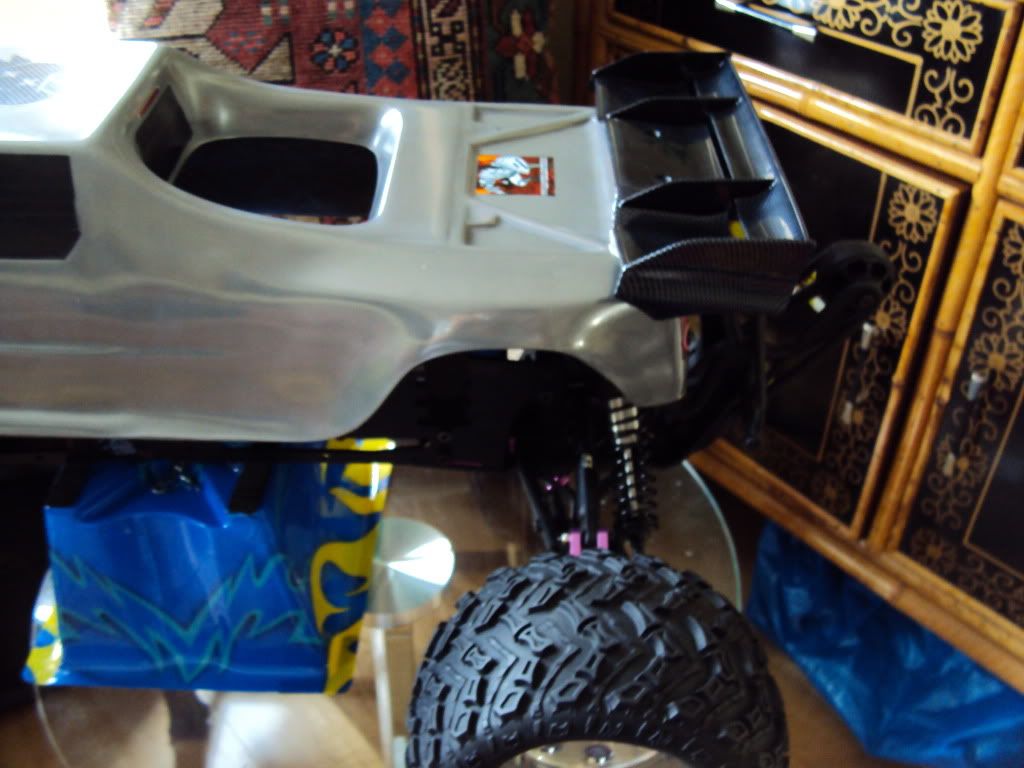 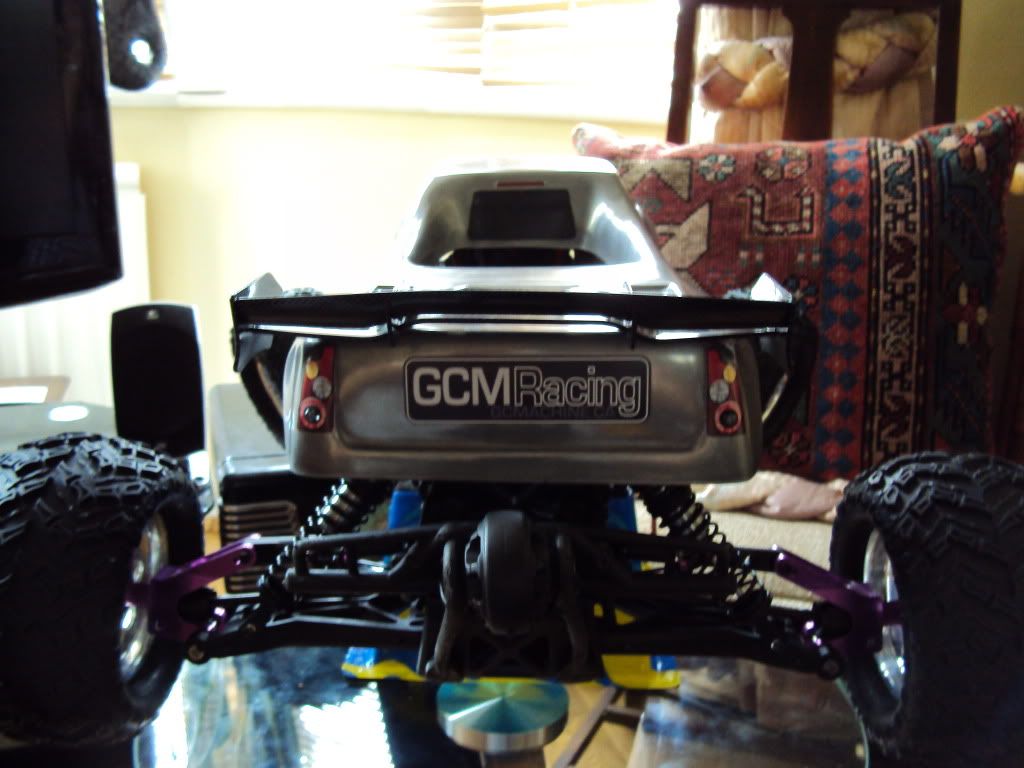 What do you think??? I didnt realise how much of the body i was going to have to alter... and i REALLY dont want to do that. Also i finally decided on mounting both steering and brake servo on the inside of the chassis. I will use a shorter alu servo horn for the steering so it doesnt come into contact with the motor, and i will use my long alu servo horn for the brake which gives enough clearence to mount my brake linkages perfectly... 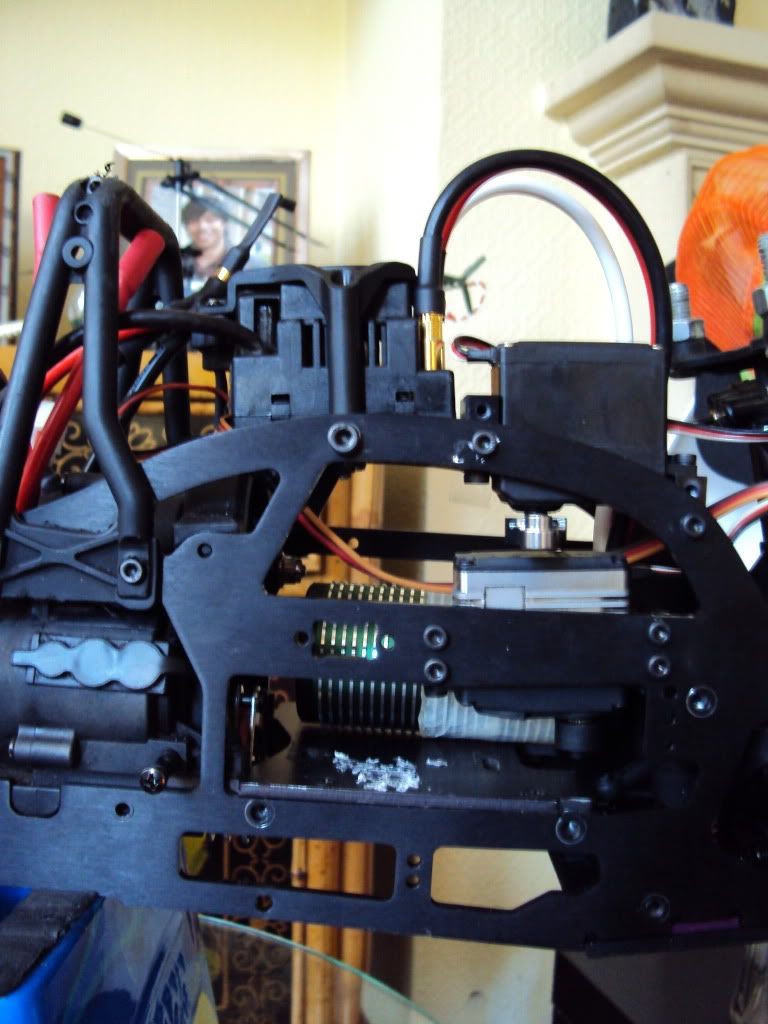 As you can see in the pic below... The alu servo horn is located perfectly just outside the tvps for the brake linkage.  Ill try and get the brake linkage mounted today.... |
|
|
|
|
|
|
|
(#6)
|
|
RC-Monster Titanium
Offline
Posts: 1,007
Join Date: Apr 2010
|
04.27.2010, 07:40 AM
a few lil updates...
When trying to fit my metal tie rod ends to my titainium turn buckles... i noticed that they would only screw on one end. I think this is due to the fact that one side of the turn buckle has a reverse thread which allows you to adjust them when fitted. So i am quite annoyed but live and learn... Ive got them fitted only on one side and platic rod end on the other... But what ever... 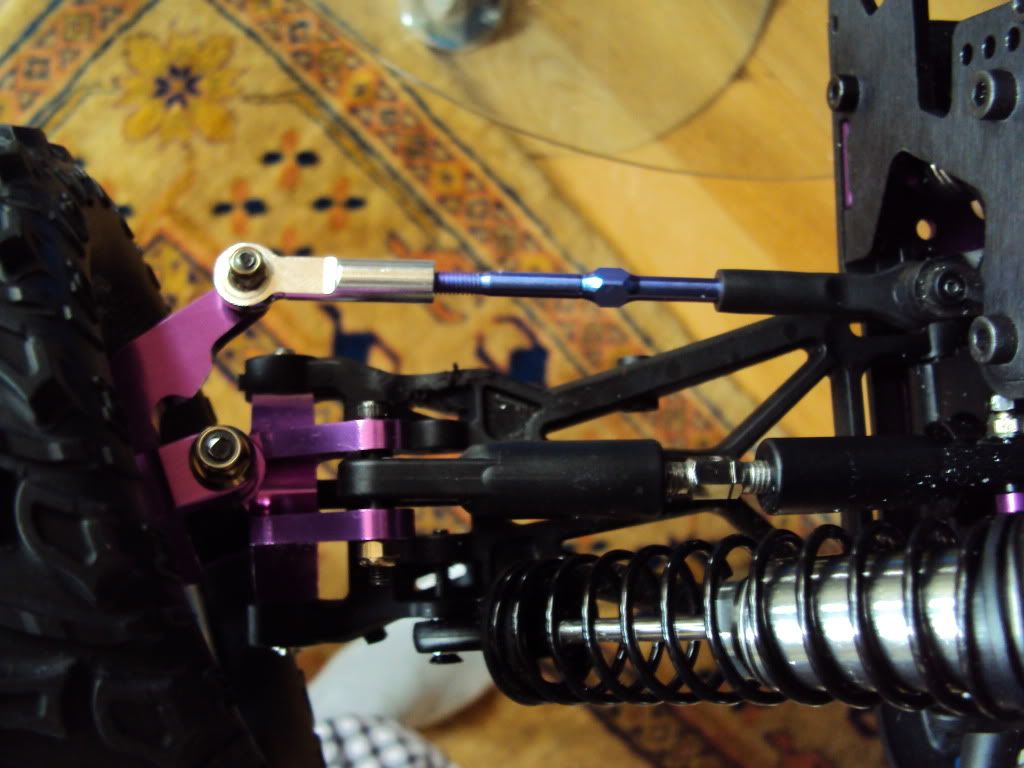 Started my brake linkage too but i dont have a long enough rod so will go to my LHS soon and pick one up... otherwise its coming together slowly... 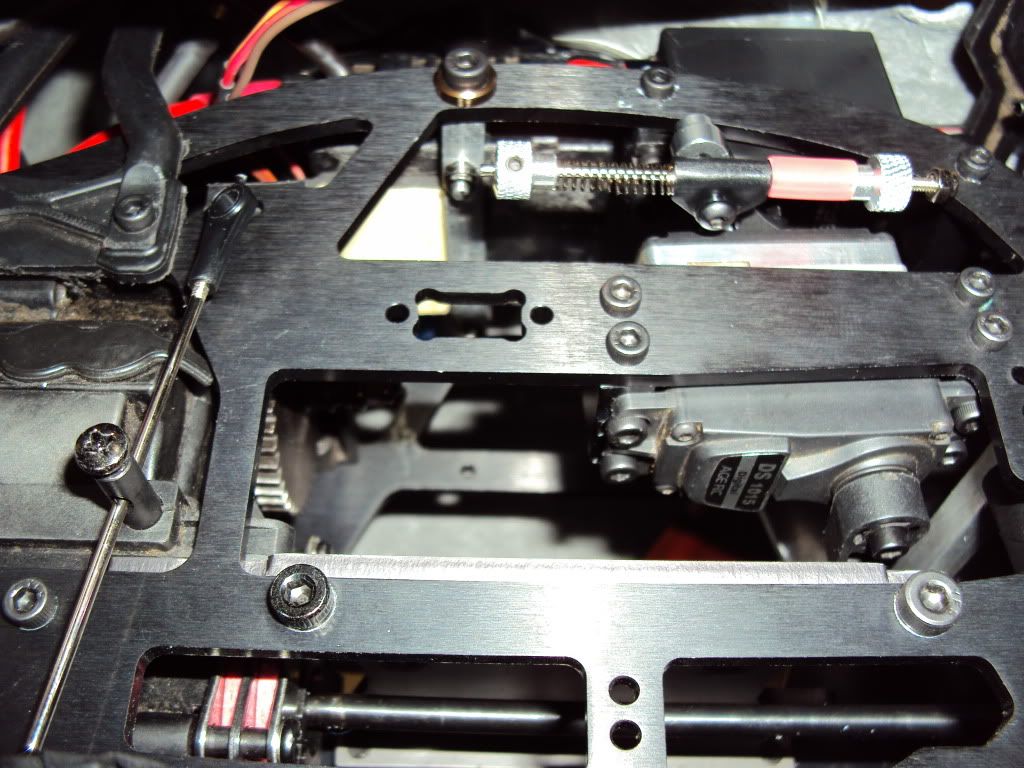 After looking a little more at the Wing, i dont think i would be happy with it mounted to the body... so im going to wait for my PRC mount to turn up and take it from there... here is another pic... as you can see, it just doesnt look right... 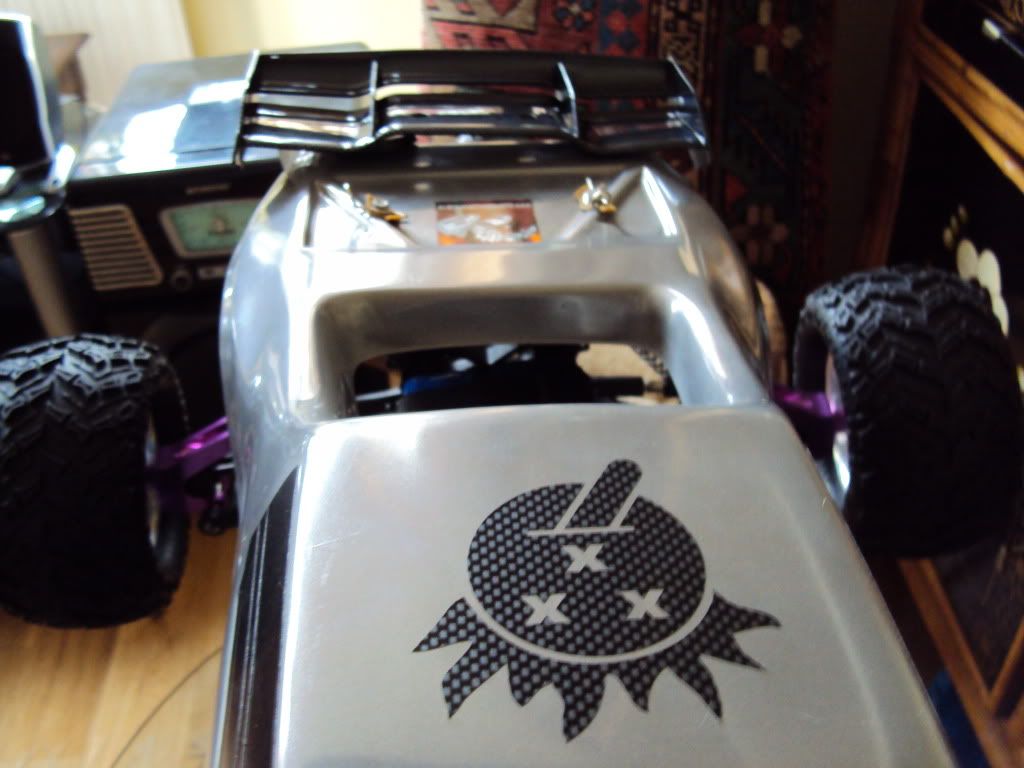
|
|
|
|
|
|
|
|
(#7)
|
|
RC-Monster Titanium
Offline
Posts: 1,007
Join Date: Apr 2010
|
04.27.2010, 07:41 AM
So Another Update... I cant keep up with the postman!!! Anyway a few things arrived again today.....
Some Monster Energy Decals.... Turnigy Temp gun.... Orange Mesh Protector stuff (looks crazy and protects your wires... Cheap stuff too) From HobbyKing HPI Rush Battery box Enjoy the pics *8) *  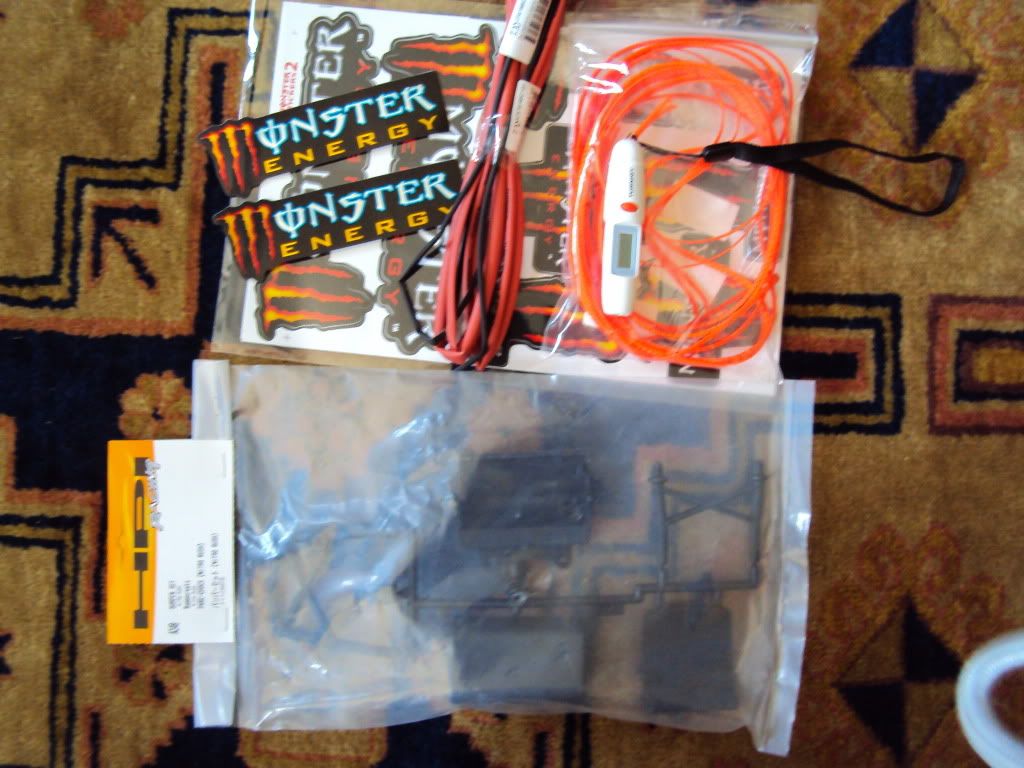 Fitted a couple decals to the body to brighten it up a bit... They are shiny * ] 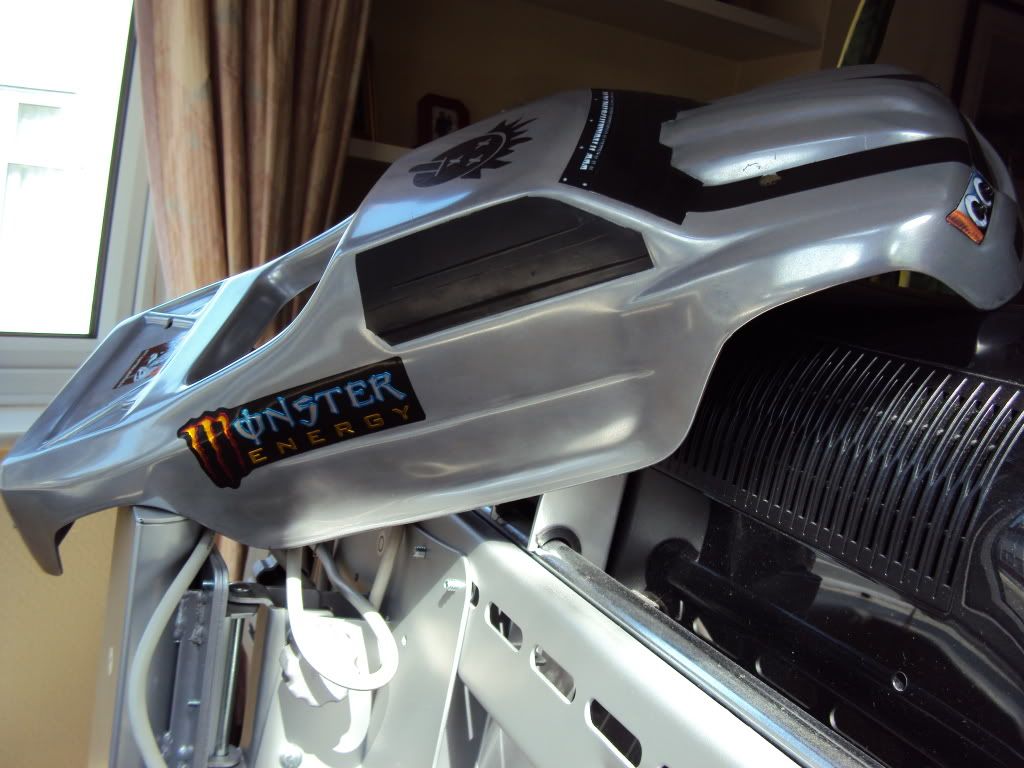 The mesh is great... it freys very easily but nothing a lighter cant fix.... Changes the internals of the truck by brightening it up and makes it clear where the wires are... 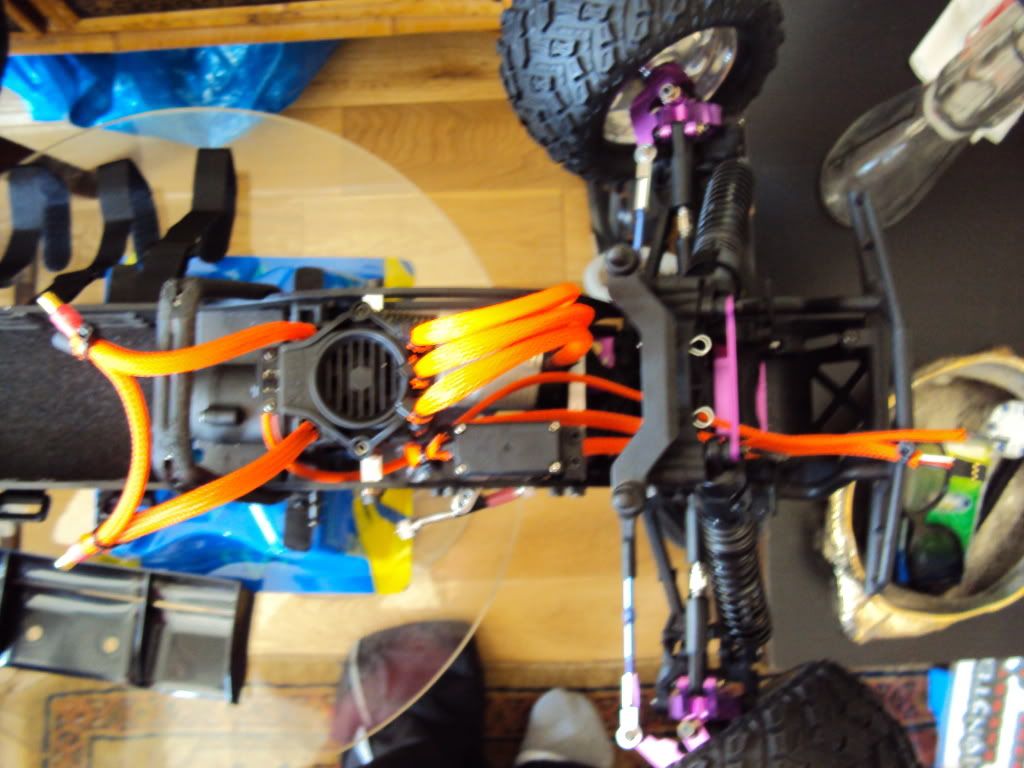 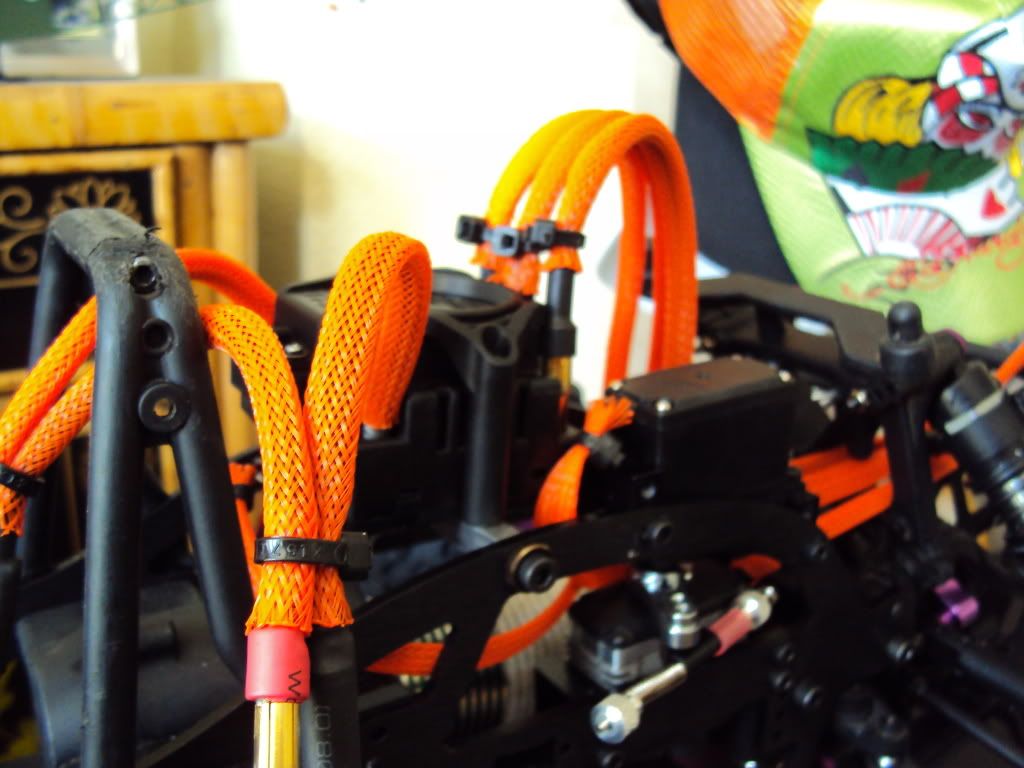 In order to get everything to fit nicely in the battery box which i am mounting at the front of the truck once my PRC Rush battery box mount comes. I had to cut a larger inlet for all the wires, and run the wires through the centre of the shock tower... THIS SHOULD BE FINE RIGHT???? * My receiver is hidden in there with my Y harness for my ESC and Mechanical brakes including my Steering servo wires. It sits very tight against the body as you can see, but it should be fine. 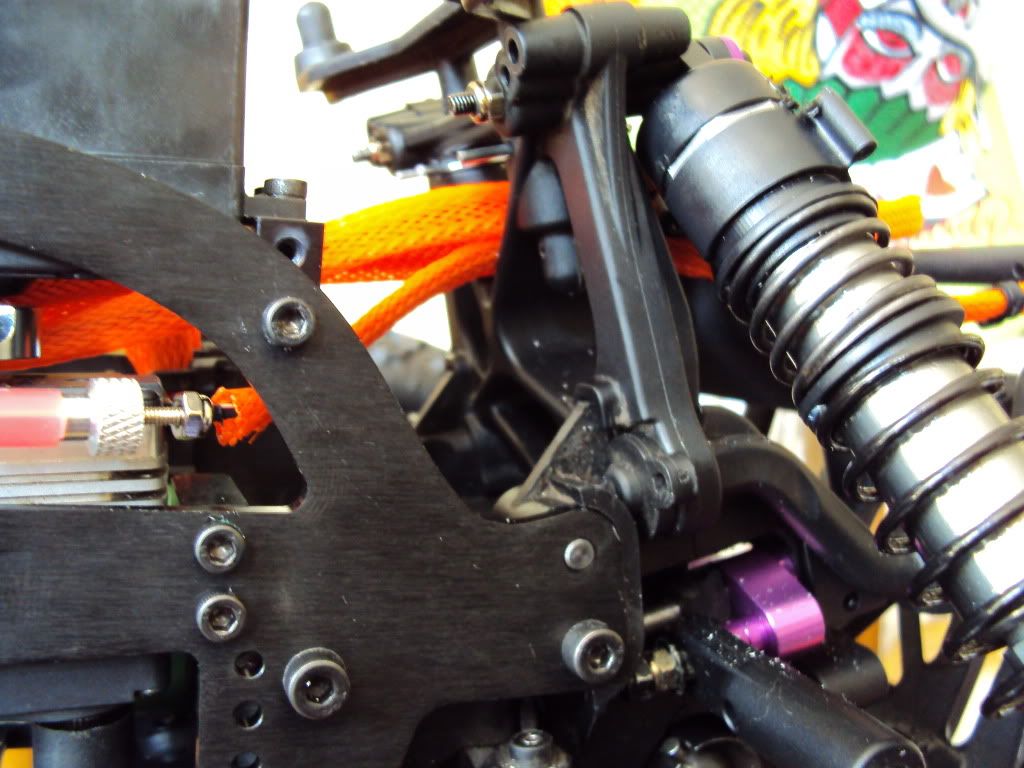 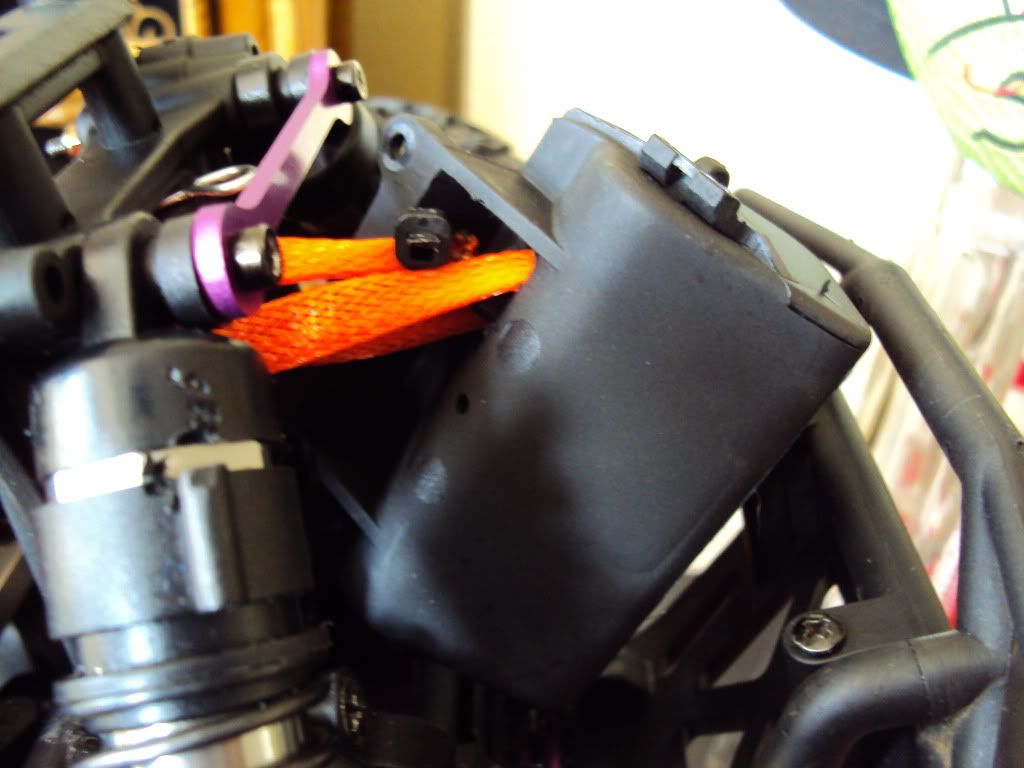 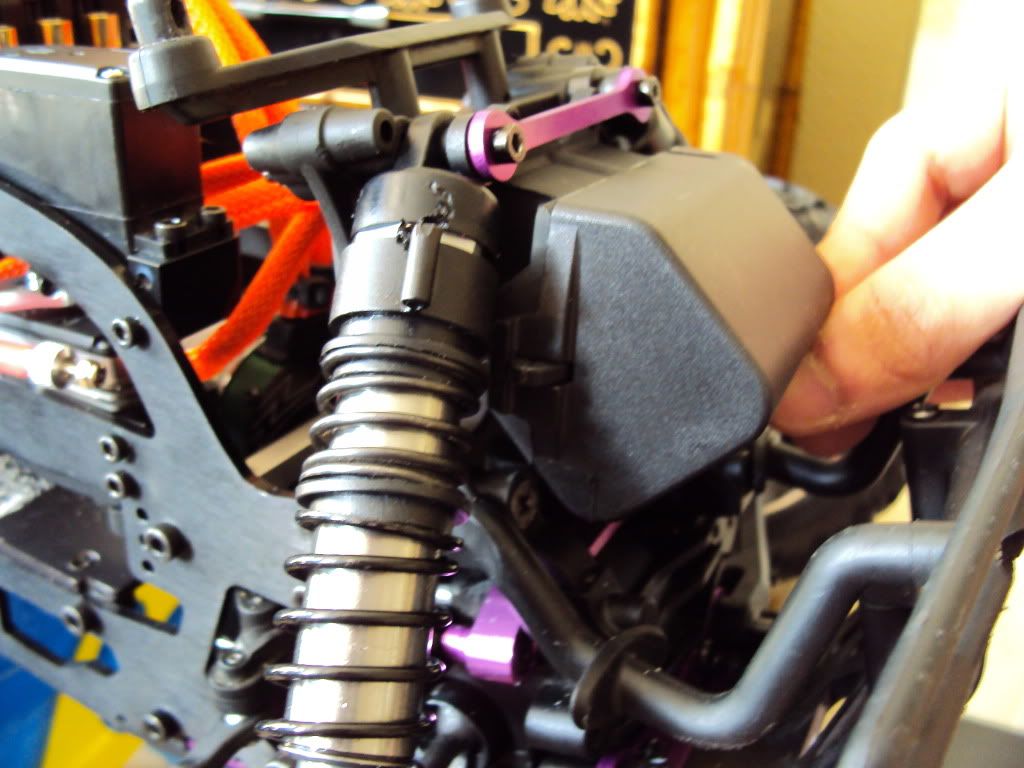 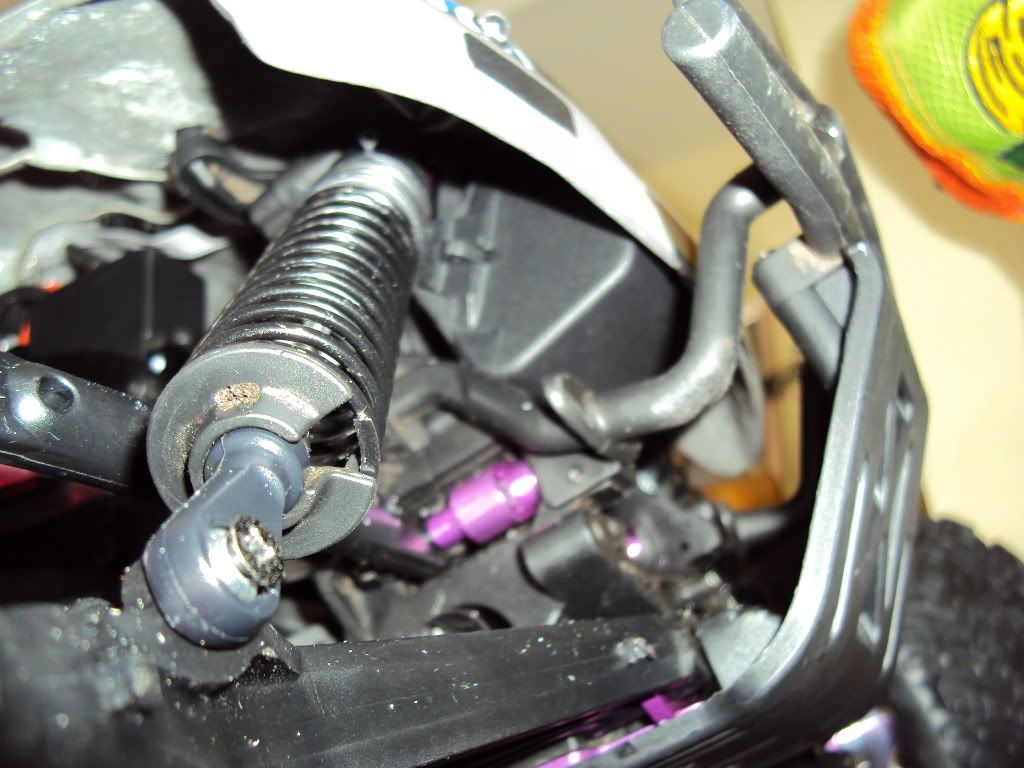
|
|
|
|
|
|
|
|
(#8)
|
|
RC-Monster Titanium
Offline
Posts: 1,007
Join Date: Apr 2010
|
04.27.2010, 07:42 AM
As i received a lot of help from you guys on this forum i thought i would show what i have been working on and copied my progress from another forum... Lots of pics etc... hope you dont mind
|
|
|
|
|
|
|
|
(#9)
|
|
Soldermaster Extraordinaire
Offline
Posts: 4,529
Join Date: Apr 2007
Location: Plymouth, MA, USA
|
04.27.2010, 12:33 PM
 Awesome build man! Do you know where I can buy those FG bodies? It seems like they would be more durable than Polycarbonate. I love that orange cable sheathing- it really accents the truck, especially with the blue lights and blue batteries. 
|
|
|
|
|
|
|
|
(#10)
|
|
RC-Monster Titanium
Offline
Posts: 1,007
Join Date: Apr 2010
|
04.27.2010, 01:06 PM
Thanks man! You can get the Fibreglass bodies only from UK Ebay but the guy ships internationally and he is great to deal with! I wouldnt recommend fibreglass for extreme bashing as it doesnt offer any flex when landing and it can crack, but when you are doing road runs or light bashing it is fine... I bouught it because i kept sliding on my lid at 50mph on the road...
link on ebay http://cgi.ebay.co.uk/WHITE-FIBREGLA...ht_3180wt_1165 |
|
|
|
|
|
|
|
(#11)
|
|
RC-Monster Carbon Fiber
Offline
Posts: 66
Join Date: Nov 2008
|
04.27.2010, 04:19 PM
got to get me some of those blue lights for my crawler. nice truck you have
|
|
|
|
|
|
|
|
(#12)
|
|
Old Skool
Offline
Posts: 7,494
Join Date: Feb 2007
Location: Devon, England
|
04.27.2010, 07:28 PM
Other than the esc being in a funny location, thats an awesome build
 I would run a mounting plate across above the motor, and mount the esc on that so it sits lower, or maybe something over the lipos on a plate, just doesnt seem safe where it is now, even with a roll bar and fibreglass shell. With your ornage sheeving ( nice stuff ), I would put some extra heatshrink tubing over the ends & the bullets again, just to tidy up the ends and prevent fraying. Where abouts you from exactly ( in the UK I take it )? |
|
|
|
|
|
|
|
(#13)
|
|
RC-Monster Stock
Offline
Posts: 13
Join Date: Feb 2010
|
04.27.2010, 07:42 PM
Very nice build thread. The more pictures, the better.
I can see why you have that extra wire on the ESC for series connection, but you can simply connect the batteries in series without that extra wire (since they're bullet connectors). Connect one red to black on each battery, then plug one red and one black from the batteries to the ESC. Pictured below: Unless you had another reason why you installed that extra wire there? 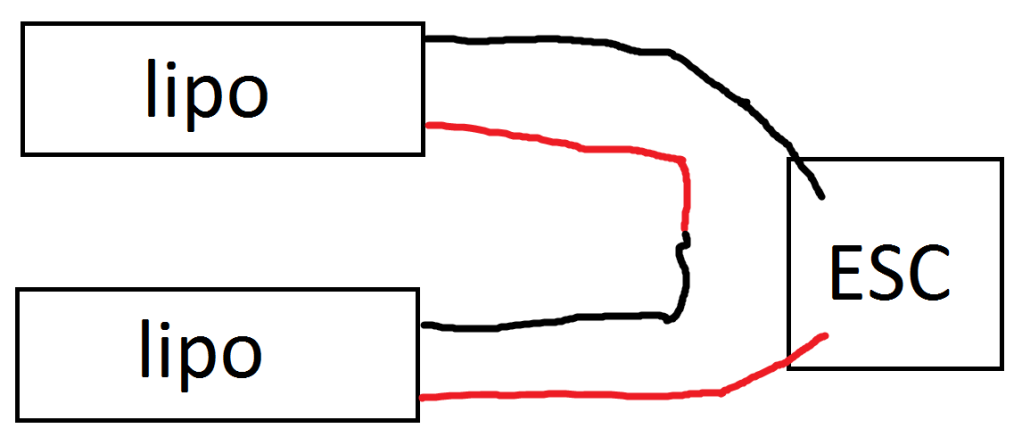
|
|
|
|
|
|
|
|
(#14)
|
|
RC-Monster Titanium
Offline
Posts: 1,007
Join Date: Apr 2010
|
04.28.2010, 04:07 AM
thanks you... espeically for the criticism.
neil - Firstly i orginally had the ESC mounted above the batteries... but due to my new batteries being so large i had to move them forward....Here is a pic of where it was mounted... I cant mount it too far forward otherwise i wont be able to connect the batteries, and the second brake servo gets in the way... I have now moved it furthur back under the roll bar and it also sits lower in the chassis. I was never happy with it mounted to high up 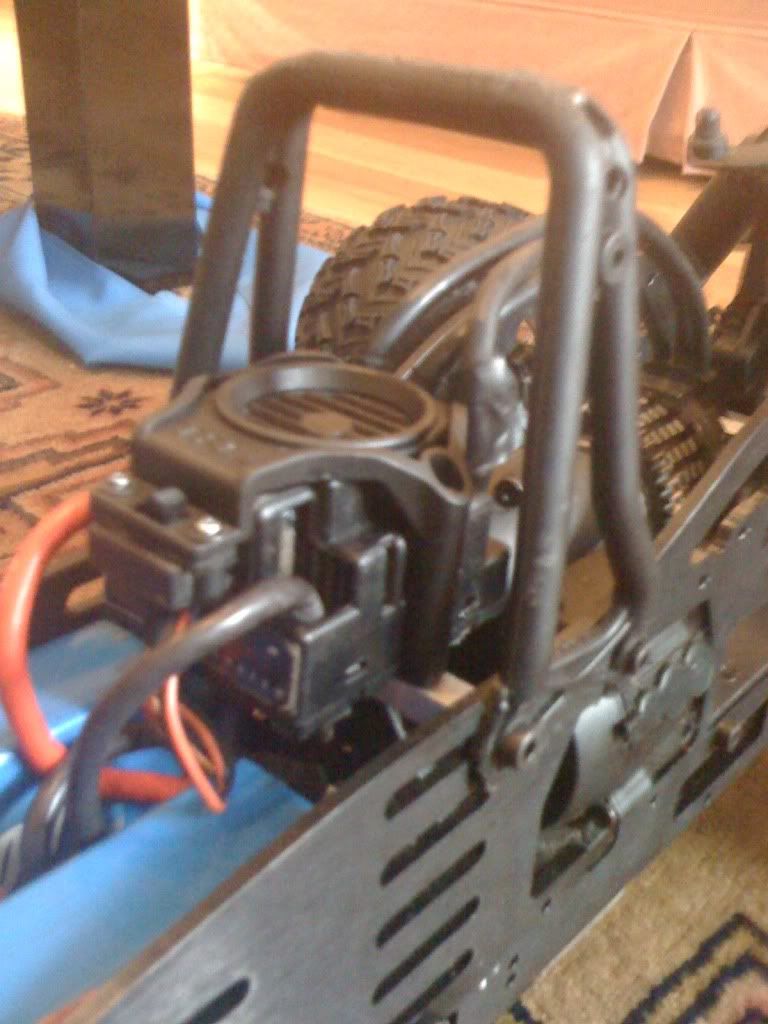 I moved it back yesterday from its most recent position. I am going to have to sand the spur gear shroud a little so it sits nicely. 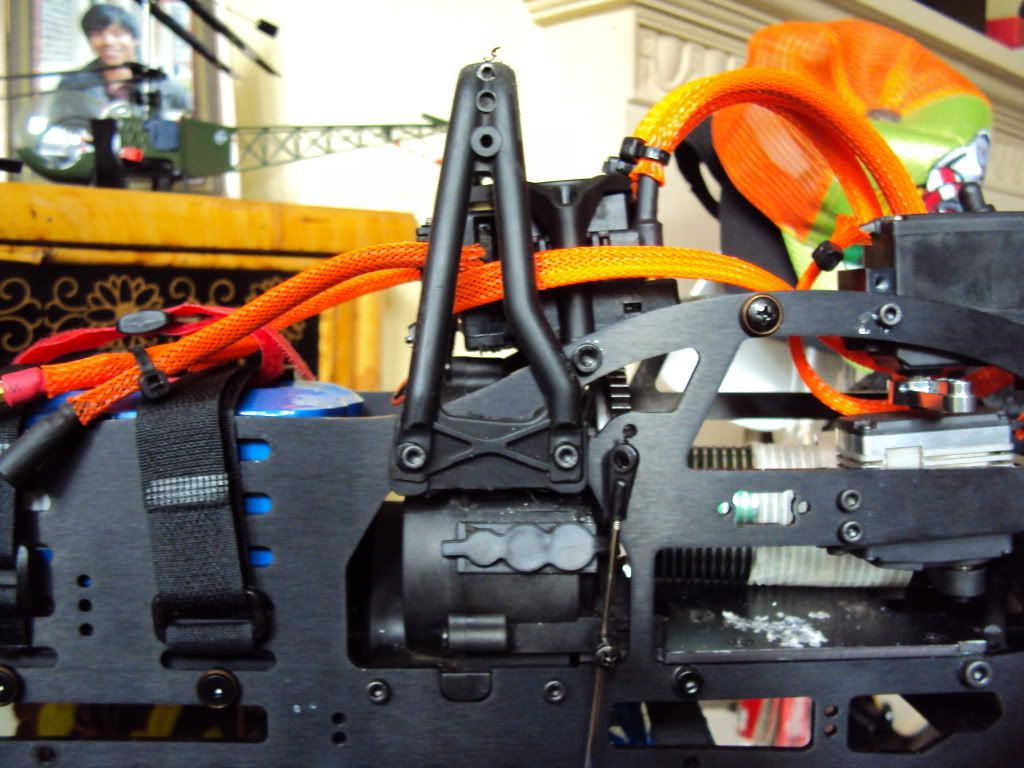 I feel much better with it sitting there.... Where i had drilled two holes, i have now put a brace along that point just to strengthen everything up a little. Regards to the shrink tubing... i will do that, i just havent got large enough tubing at the moment. And neil i am live in London UK.... RTOC thanks a lot man! - This is my first brushless truck... i WAS a nitro person, but they just do not compare do they!!!! I know how dangerous all these lipos can be and how fragile these ESCs are.... so in all honesty i knew i could fit them like your diagram shows but i didnt want to risk blowing anything.... If that is the case... it means one less LEAD Also if i was going to use one Single 5s Battery.... Would i just connect one red connector to one side of the ESC and black connector to the other???? Thanks a lot for the help and pointing these things out! |
|
|
|
|
|
|
|
(#15)
|
|
|
Old Skool
Offline
Posts: 7,494
Join Date: Feb 2007
Location: Devon, England
|
04.28.2010, 01:43 PM
Quote:
I like those shells too, little ££ for me but I may find a standard lexan version for my TXT-1- 18" wheelbase is about the same as your savage I think. Cant wait to see it up and running
|
|
|
|
|

 |
«
Previous Thread
|
Next Thread
»
| Currently Active Users Viewing This Thread: 1 (0 members and 1 guests) | |
 Linear Mode

|
|

Powered by vBulletin® Version 3.8.11
Copyright ©2000 - 2026, vBulletin Solutions Inc.
vBulletin Skin developed by: vBStyles.com
Copyright ©2000 - 2026, vBulletin Solutions Inc.
vBulletin Skin developed by: vBStyles.com