

Pink E-Revo build - 56K warning |

|

|
(#1)
|
|
HOOH HUAH HOOH! Aww Baby!
Offline
Posts: 868
Join Date: Oct 2007
Location: olyWA
|
Pink E-Revo build - 56K warning -
10.12.2007, 02:31 PM
I have this posted on RCZ but I thought I would share over here too.
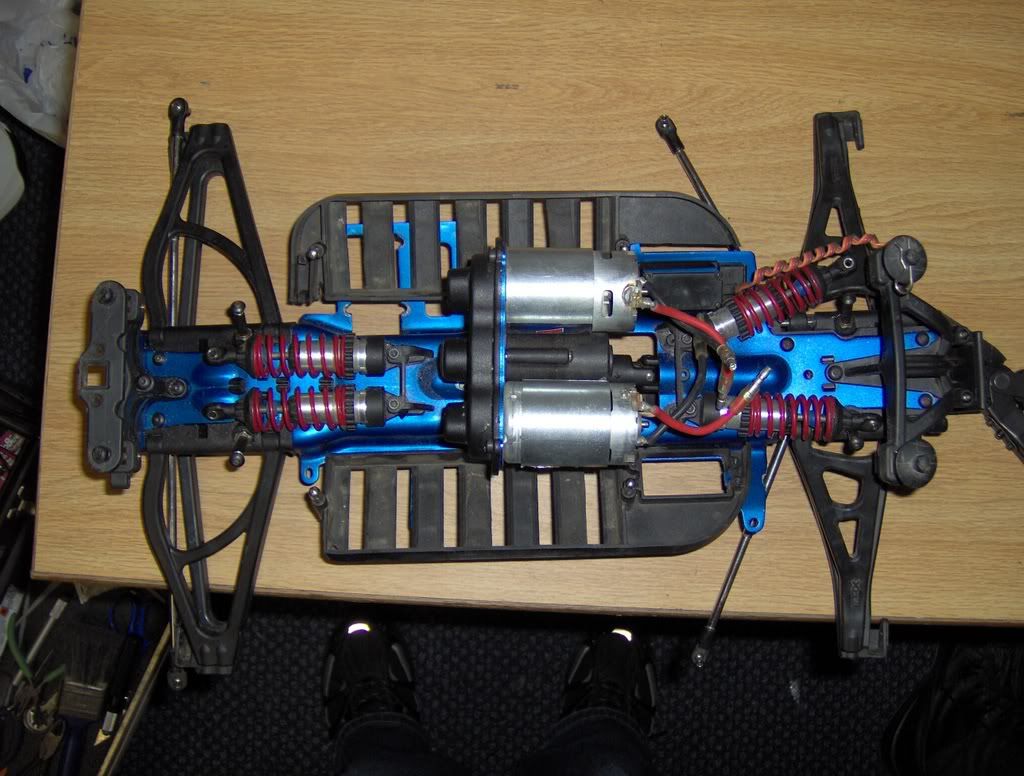
I've been looking to get my girlfriend a truck of her own. She likes my Revo and I originally had a RC10GT lined up for her, but the GT was just too small. I found a good deal on a RTR E-Maxx and a Revo rolling chassis. I'm taking the E-Maxx tranny, Titans, EVX, and part of the chassis to build a nice base for the E-Revo. The rest of the E-Maxx will be used for a crawler project of mine, but that's another thread. Along the way it will get the treatment of anything pink I can find for a Revo, including a nice lid. On to the pics. The donor-  The rolling chassis- 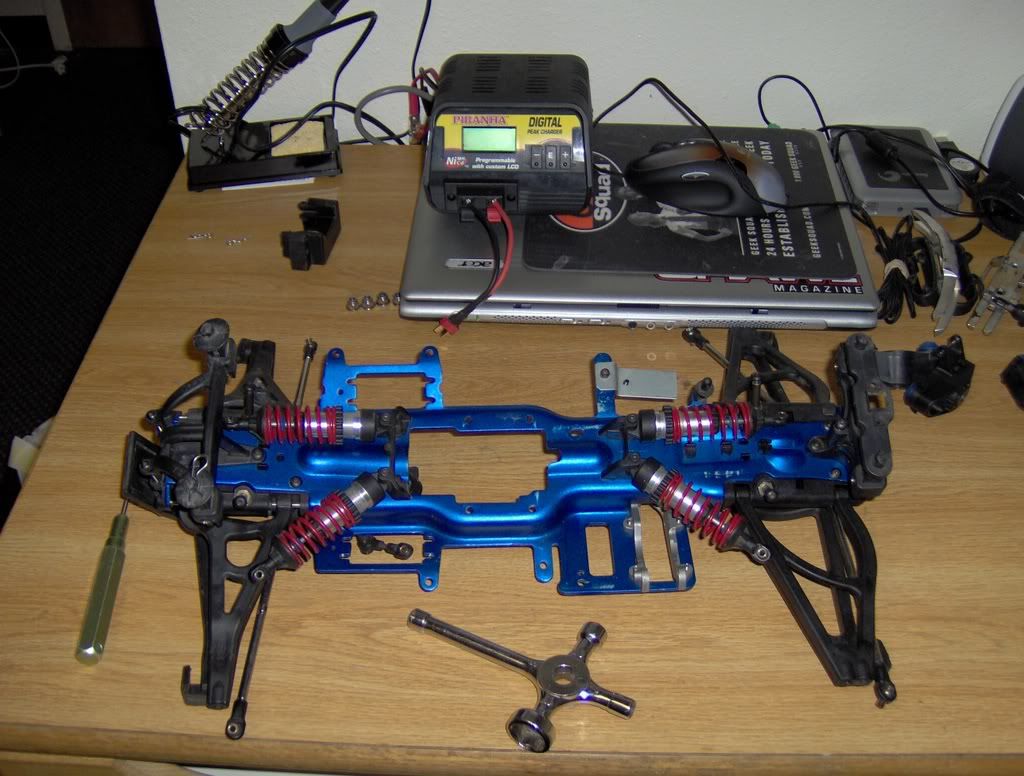 Stripped 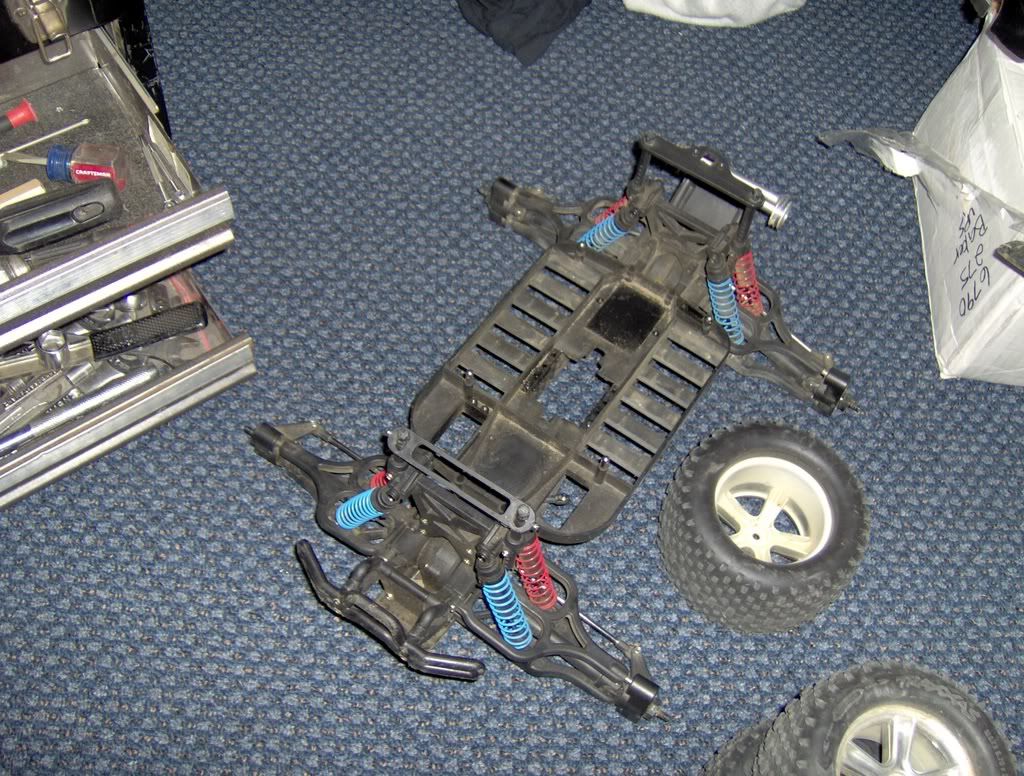 Modified the engine mount and tranny mount area. Still needs more trimming 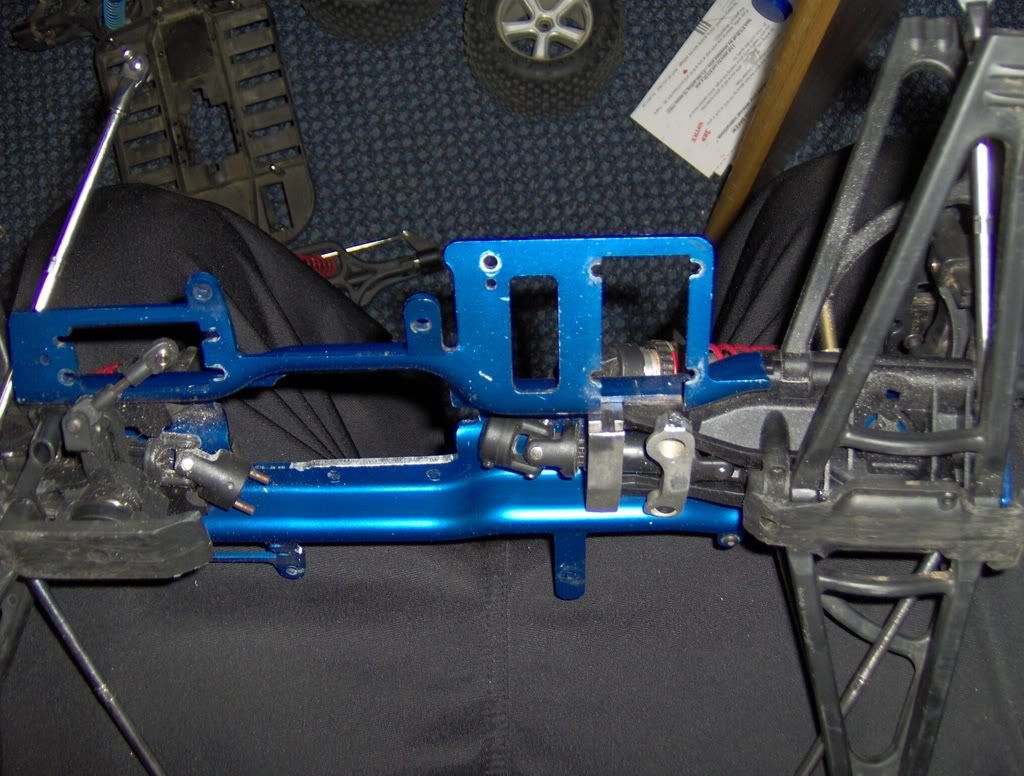 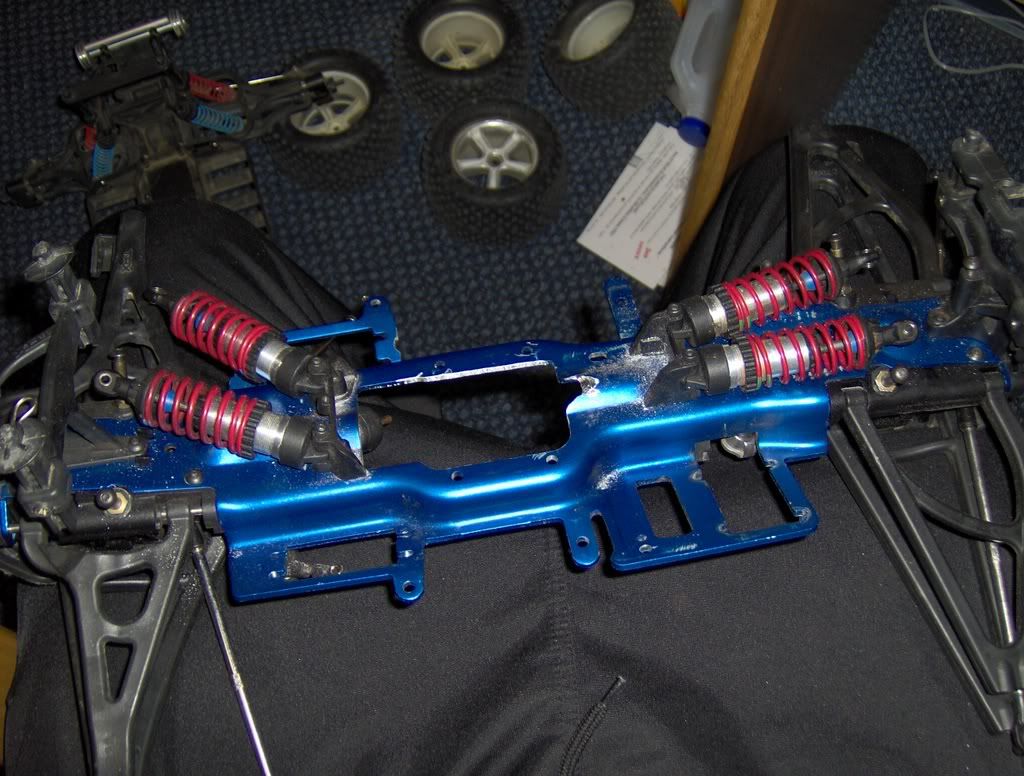
|
|
|

|
|
|
|
|
(#2)
|
|
HOOH HUAH HOOH! Aww Baby!
Offline
Posts: 868
Join Date: Oct 2007
Location: olyWA
|
10.12.2007, 02:32 PM
Onto some more progress. I have strep throat, so I've been home sick from work. Luckily my hands work :D Hopefully she'll go out with friends this weekend and I can get a lot of work done.
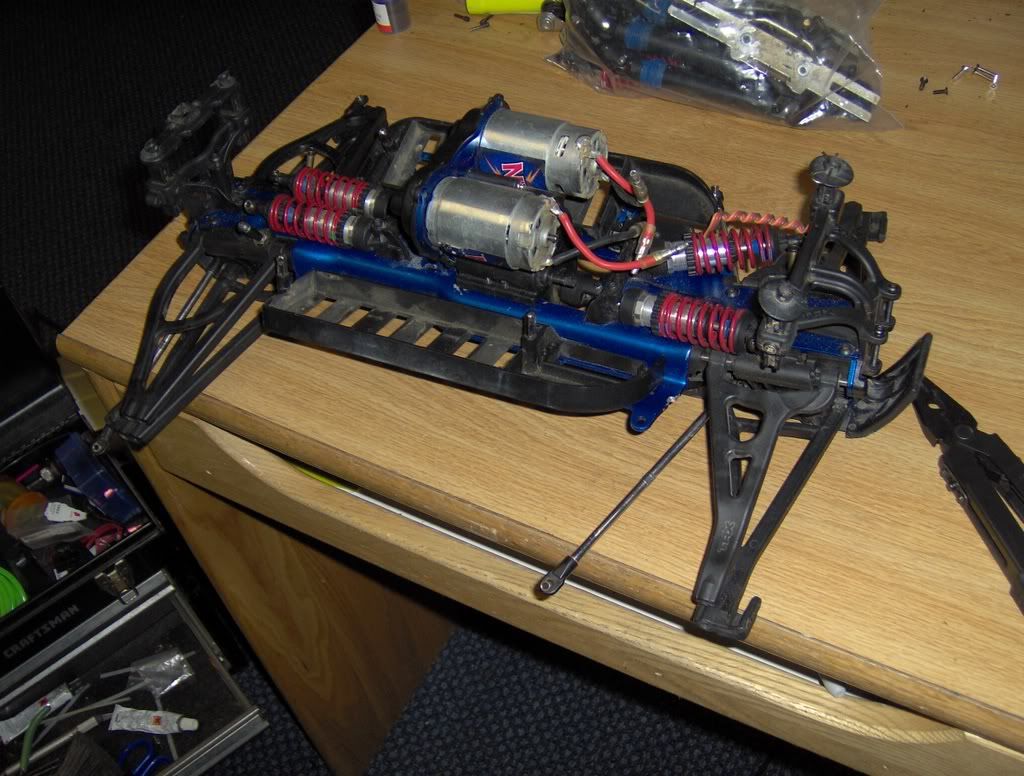
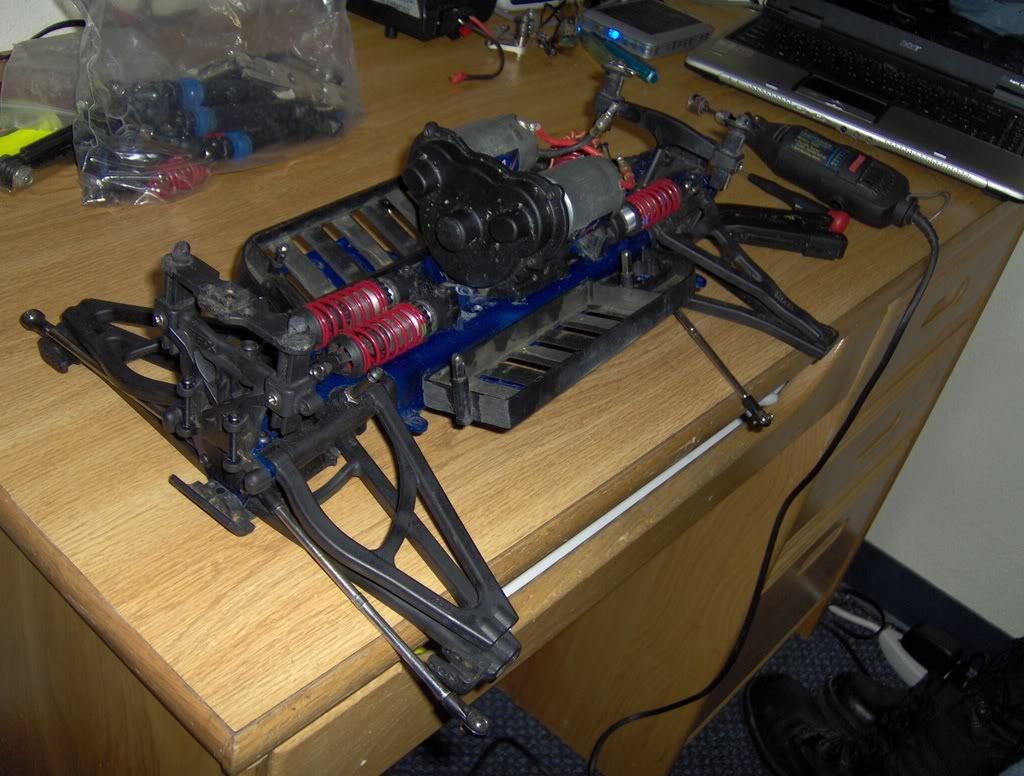
Alright, I started off by making more room for the transmission. This turned out to be a little harder than I thought. I had to shave a lot of material from the bottom of the chassis for the rear driveshaft to spin freely. I also am only using the center two holes on each side of the tranny. I think they will do the trick. When I go to brushless and LiPos, then it might be necessary to change some things but that's down the road. Notice in the second picture the clearance issues I was talking about. 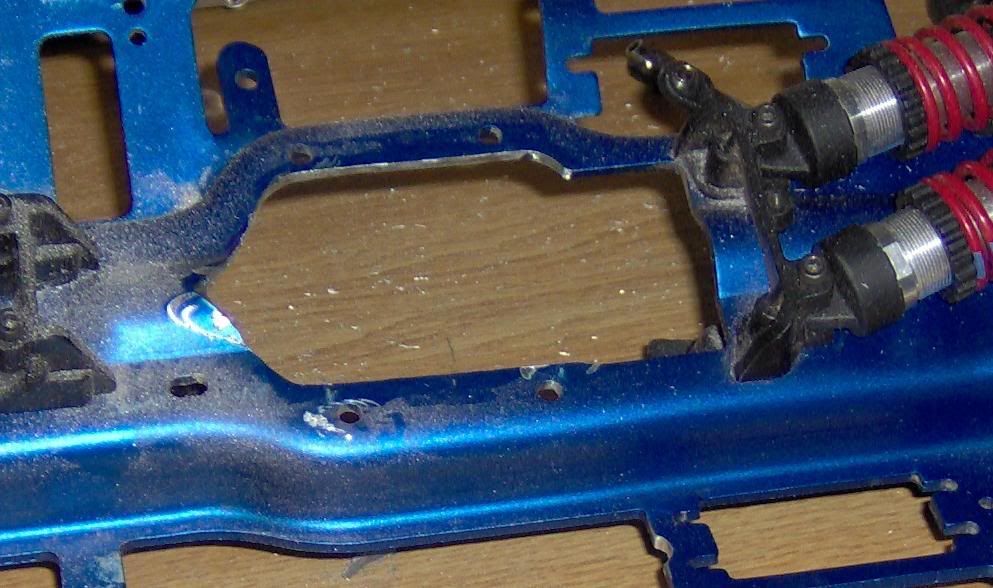 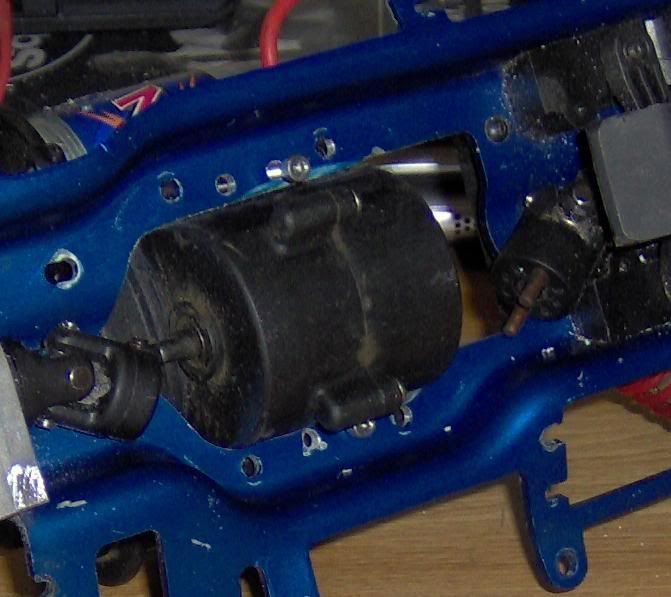 Here you can see how much material I had to take off. I could have just cut it all out but that would have made it look hacked and that's not my kind of work. I'll make it smoother on the final assembly. 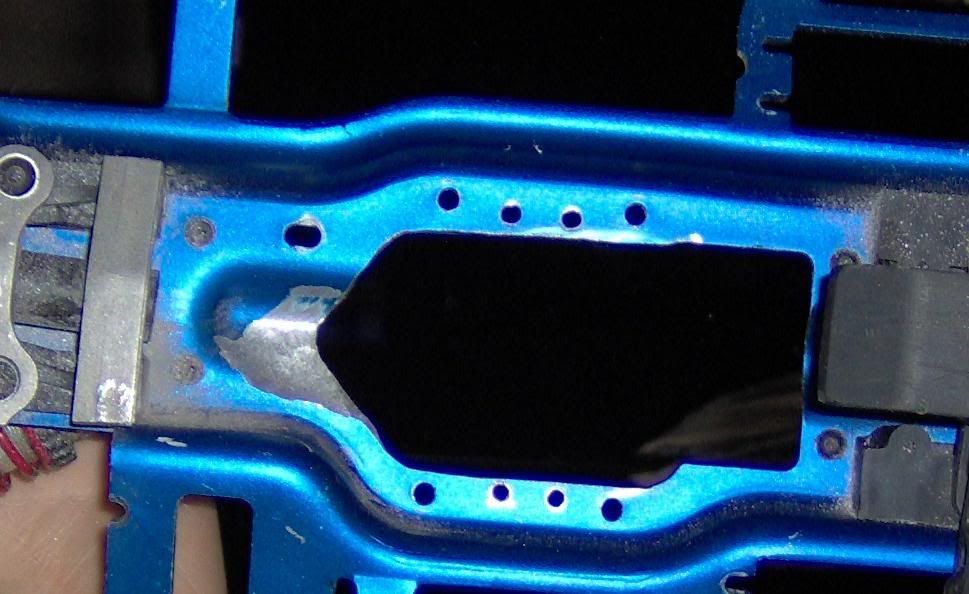 Here's the tranny mocked up 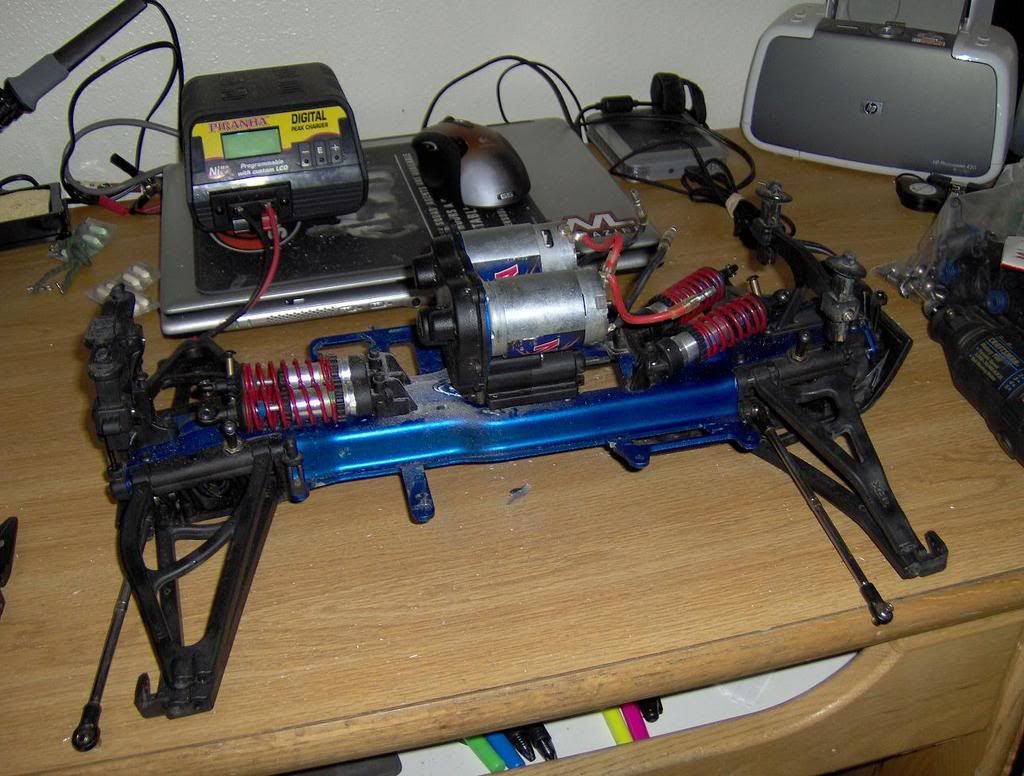 Take a look at these two pictures and you can see the clearance I was talking about. Pretty close but it will work. Next was the center shafts. On the E-Maxx tranny, the Revo shafts will not fit deep enough. You can trim the E-Maxx tranny shaft or you can take some material off the half shaft. I decided trimming plastic was easier and less expensive in a mistake. I also had to hack off the two small pins coming out of the front shaft. Usually these pins line up and secure the brake disk, but since that's gone they aren't needed. Here's a picture, they look mangled but they're actually not that bad and I can clean them up nice. 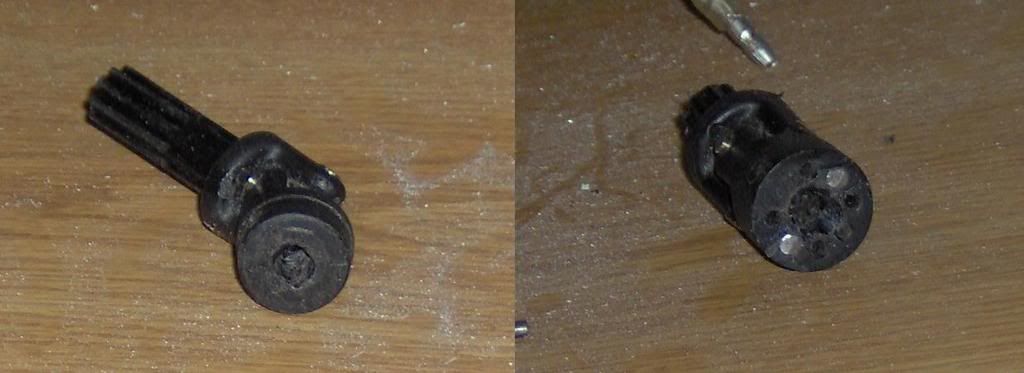 The rear was long enough but the front was way too short. I bought a set of half shafts from my LHS for $7.50. I will have to shorten them, but they will do the trick. 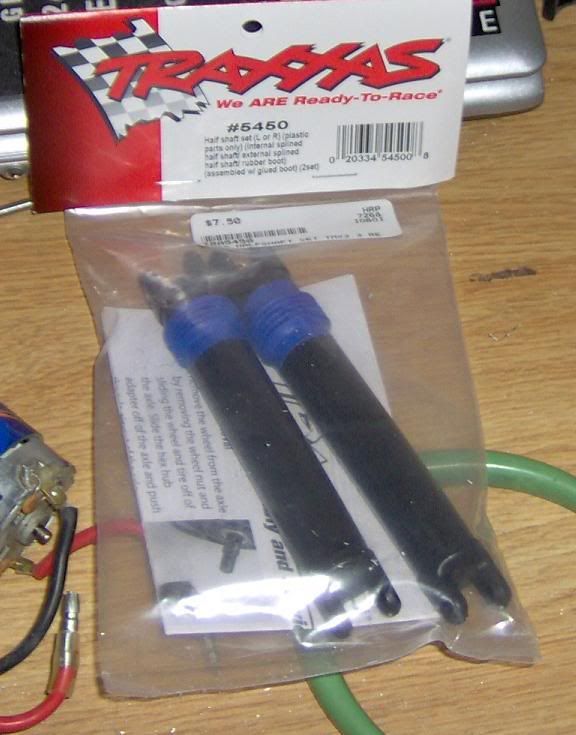 Now, don't do what I did. Take a second and look at the shafts. I didn't realize this until I hacked off the one side of the old shaft. The pin with the e-clips (note: don't lose that little suckers!) secures the whole assembly together. Taking off one clip allows you to take off the u joint without stretching, binding, or cursing. Put the old tranny side u joint and the diff side u joint on the new half shaft and assemble the pins. 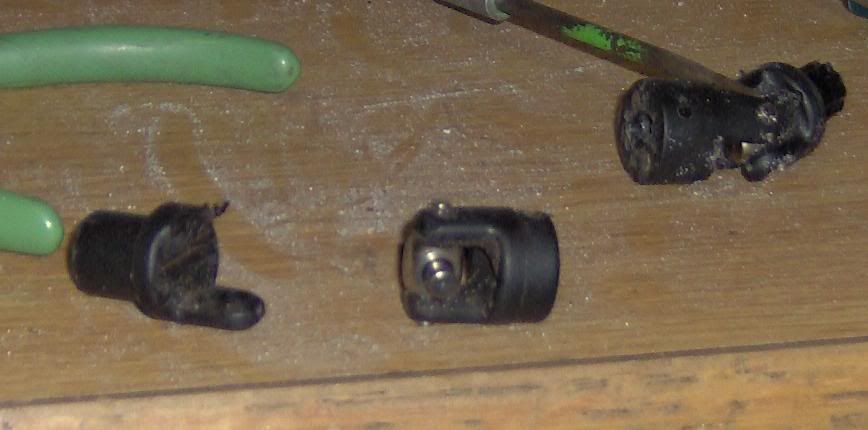 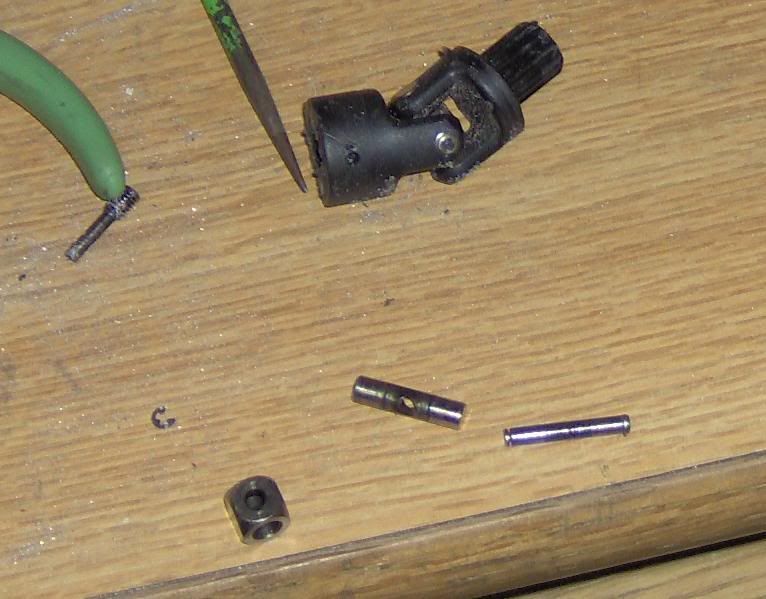 This is where I stopped today. She came home right when I got done cleaning up so the next time I resume building I'll start with showing how I'm chopping the half shafts. |
|
|
|
|
|
|
|
(#3)
|
|
RC-Monster Brushless
Offline
Posts: 2,436
Join Date: Nov 2005
Location: Edmonds WA
|
10.12.2007, 03:26 PM
In your last post, third picture down. Those two cast aluminum braces - I think they were for the motor mount? I didnt keep those in my Revo, and hasnt seemed to matter so far.
Also, when you are done hacking the chassis, you should send it out and have it powdercoated pink. I think that would look nice for her. 
|
|
|
|
|
|
|
|
(#4)
|
|
j-womp

Offline
Posts: 88
Join Date: May 2007
Location: NC
|
10.12.2007, 03:39 PM
looks like u done your homework on this build, but why did u get them long shafts when u could have use a rear one to fit perfect?
|
 |
|
|
|
|
|
(#6)
|
|
HOOH HUAH HOOH! Aww Baby!
Offline
Posts: 868
Join Date: Oct 2007
Location: olyWA
|
10.12.2007, 06:29 PM
Her birthday is on the 20th but we're celebrating on the 28th or sometime around there. So it should be done by then and I'll have a test run sometime before.
I used the long shafts because they're easy to cut down and are good spares for any shaft on her E-Revo or my Revo. Those braces actually keep the rear end from flexing. The one with the screws matters most since it is actually keeping the two front halves of the bulkhead in place. You could leave them out, but I won't. In my opinion, it will only be a matter of time before you hear some clicks and moans coming from your rear end. I've had a 2.5R, a big block, and now a TZ-TX in my Revo and the rear end is still in good shape. I just took the rear diff apart, cleaned, lubed, and threw it all back together. Everything looked great and as long as I take care of it and keep the slipper properly adjusted it will be fine. Same thing for a brushless truck, keep that area braced and you should see a good life span out of the rear diff. If you start blowing ring gears, try a aluminum cup and shim it well. |
|
|
|
|
|
|
|
(#7)
|
|
HOOH HUAH HOOH! Aww Baby!
Offline
Posts: 868
Join Date: Oct 2007
Location: olyWA
|
10.14.2007, 02:32 AM
More updates...
First, the pile of goodies. I forgot to get the rest of the paint at the hobby shop. She was with me and it was hard enough to distract her and buy all the stuff, haha. Anyway, here's the new stuff: '07 ProLine Chevy Silverado, PL Velos (gonna mount the Sportraxx on there), Tamiya Pink Paint, and pink shock socks- 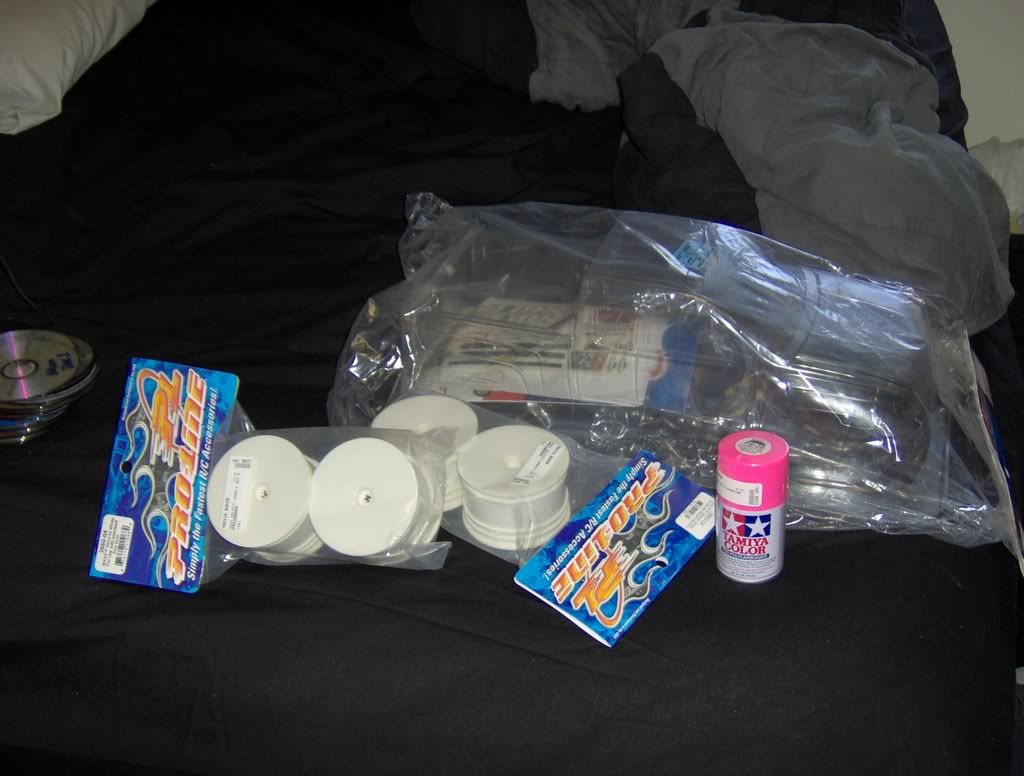 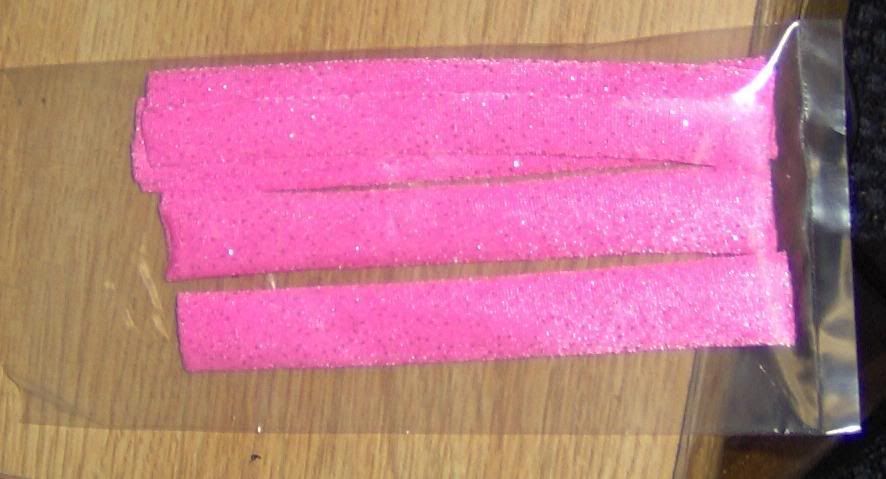 Got the front driveshaft finished-  Here it is mounted- 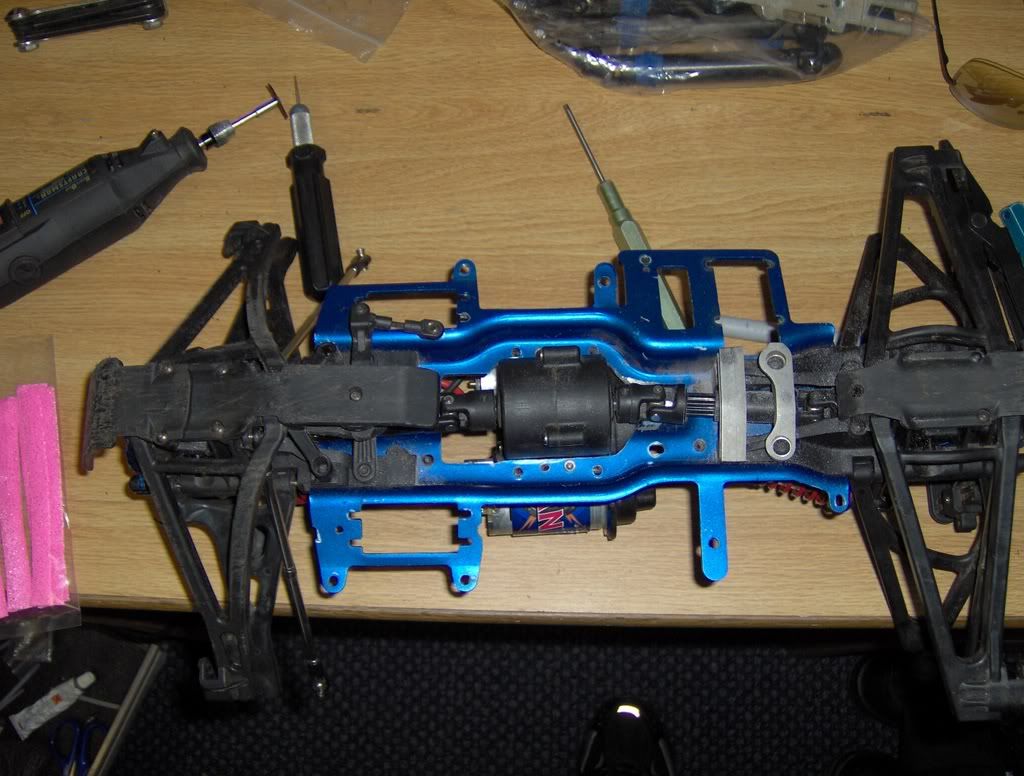 Servo mocked up in it's position, only using one in this build. Right now it's a z650m. Gonna upgrade to a 358 or a 357 later- 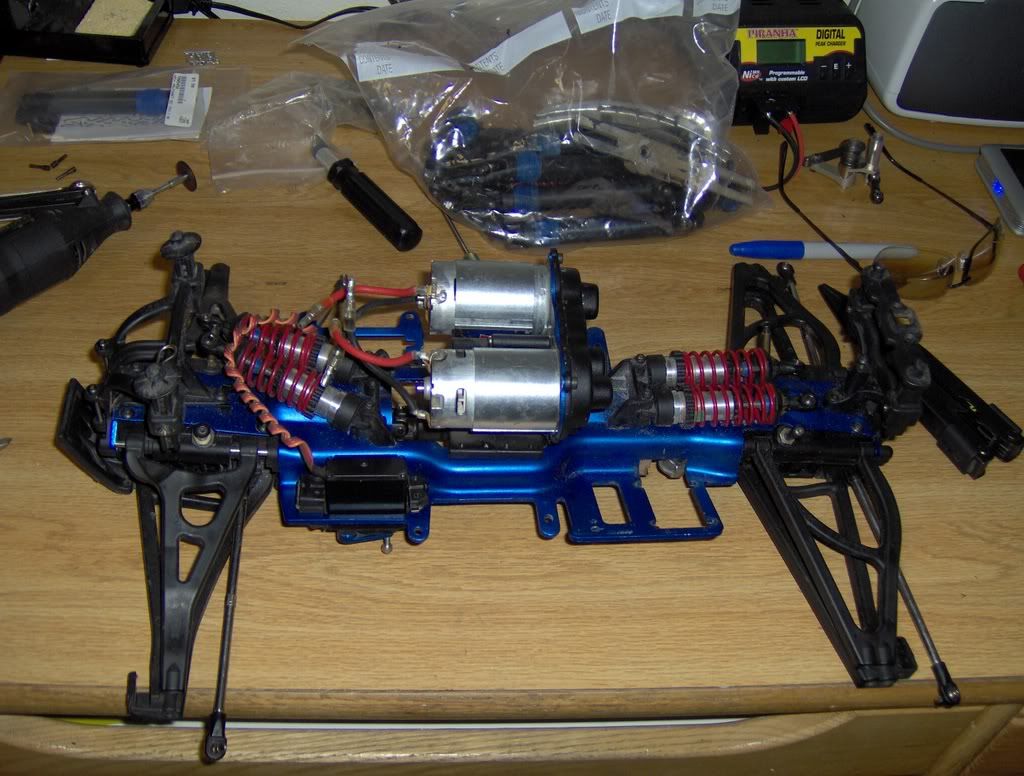 The poor E-Maxx chassis giving the ultimate sacrifice :( 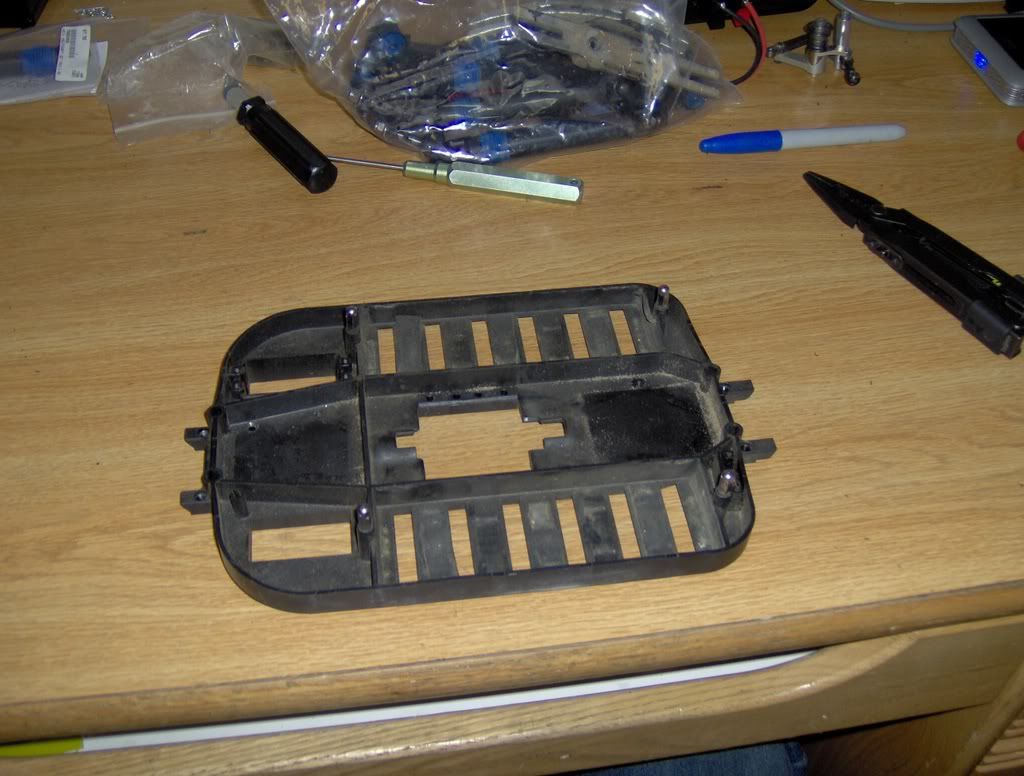 Start of the surgery- 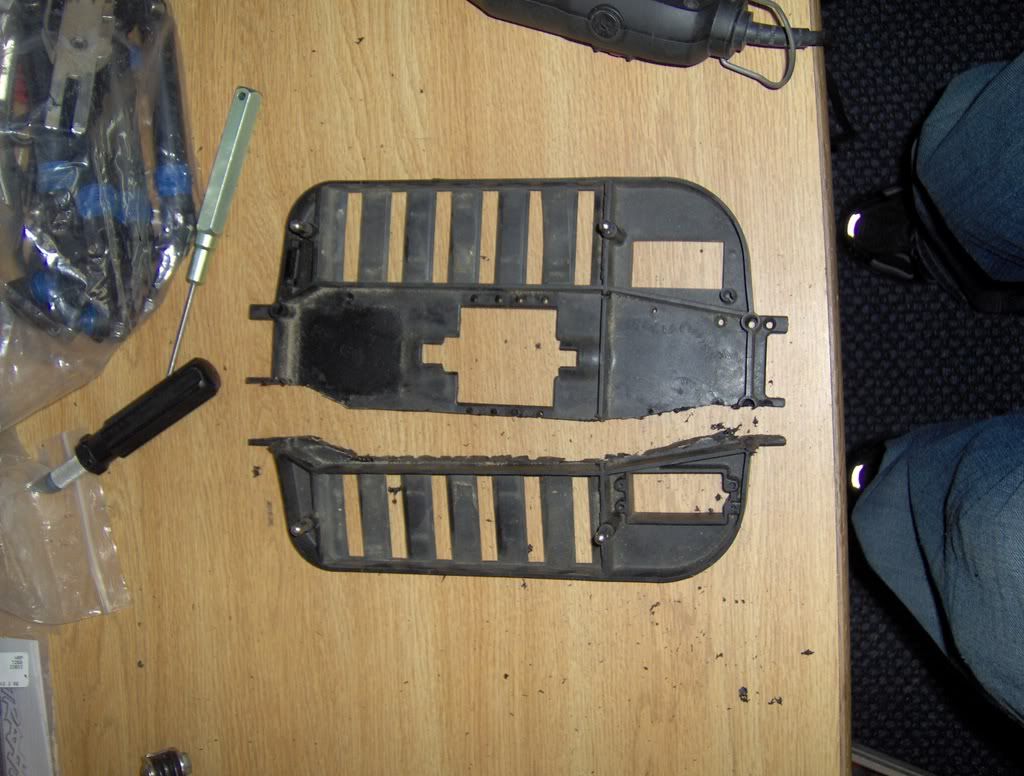 Other side- 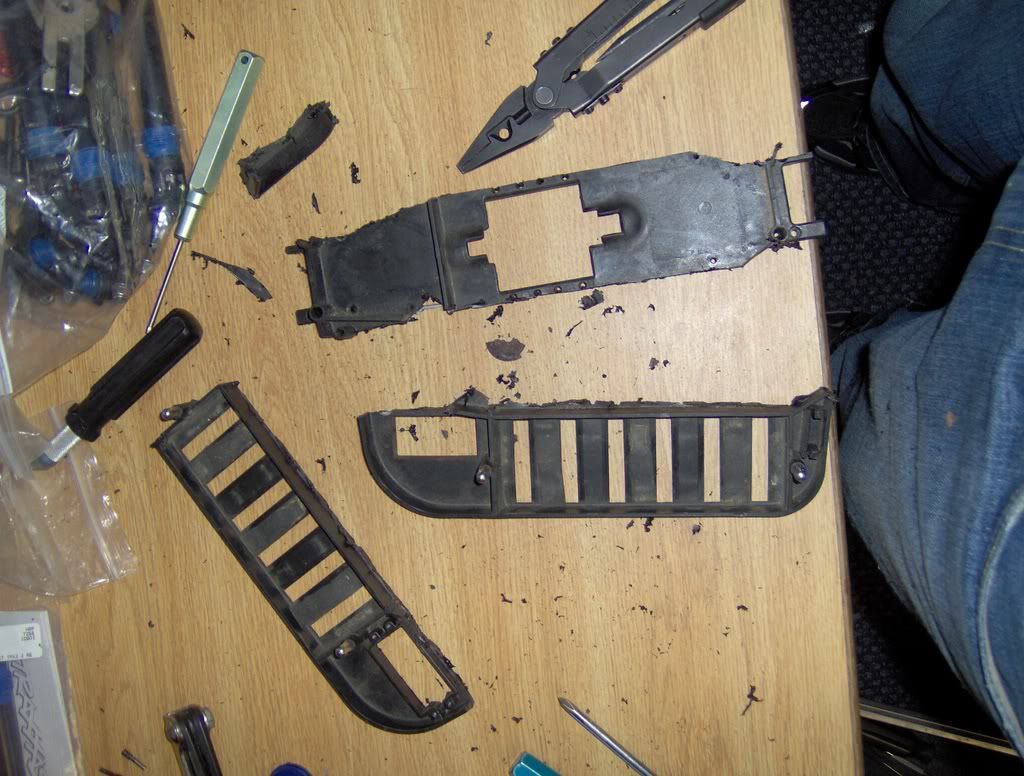 Final major trimming- 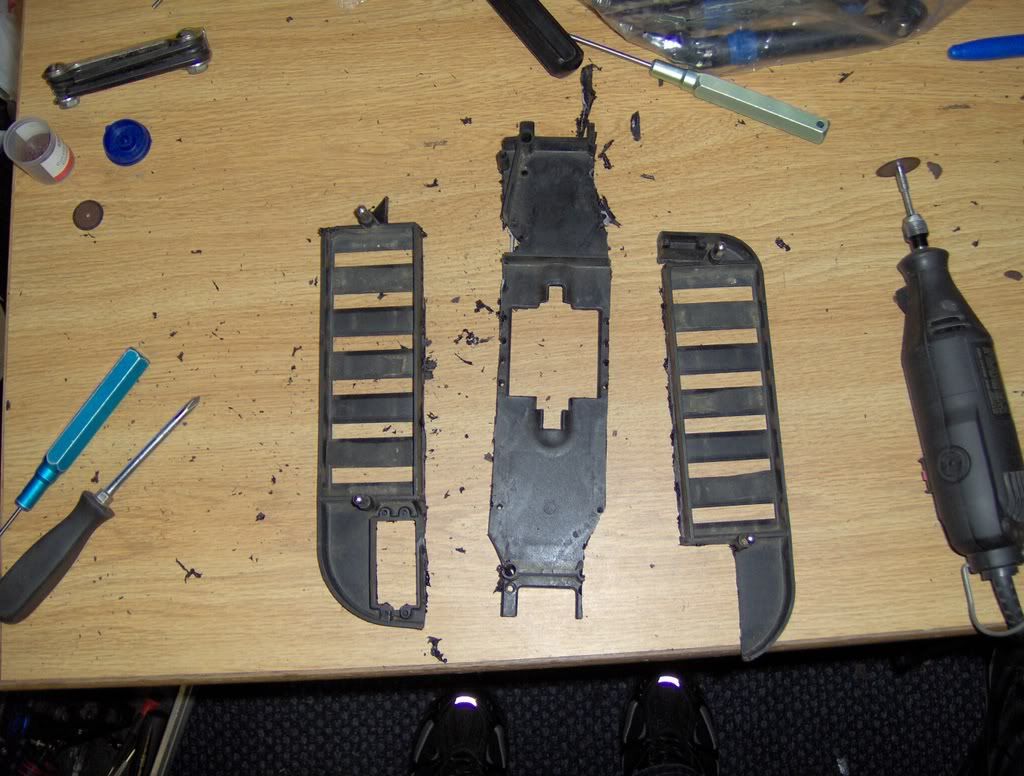 Finished up, cleaned, ready to go on- 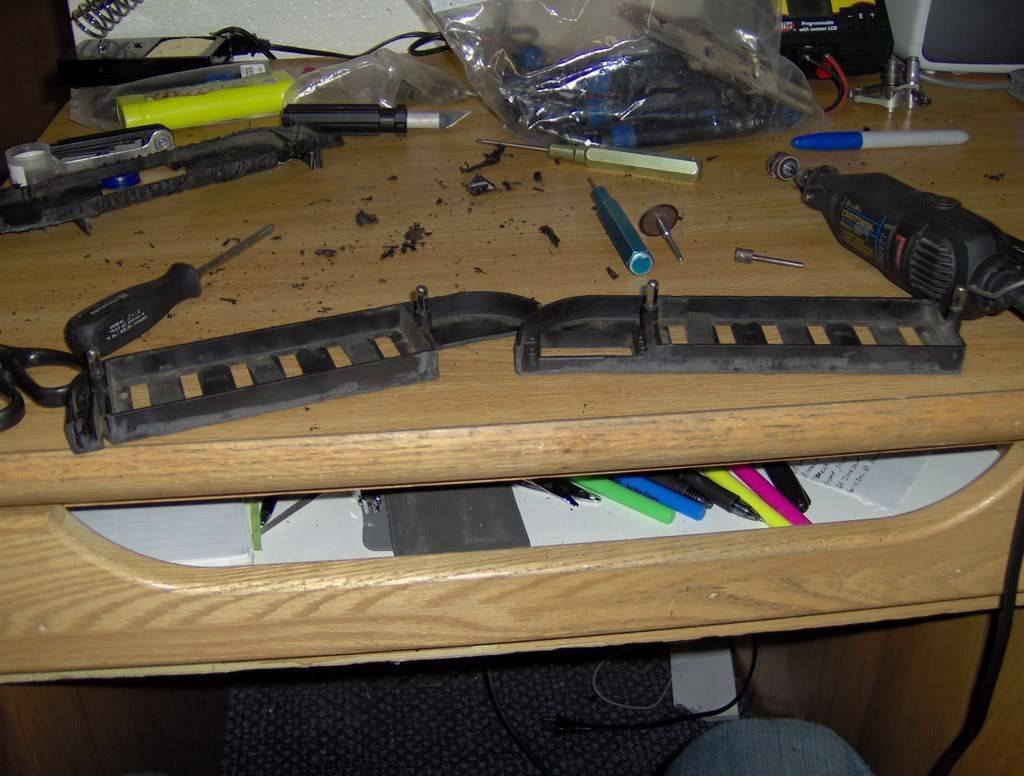
|
|
|
|
|
|
|
|
(#8)
|
|
HOOH HUAH HOOH! Aww Baby!
Offline
Posts: 868
Join Date: Oct 2007
Location: olyWA
|
10.14.2007, 02:32 AM
Mocked into place, note that the shift servo location is saved, as well as the switch location. I also bent up a couple of the tabs on the chassis to match the angle of the trays and the major points of the tray supports-
   Radio box mocked into place- 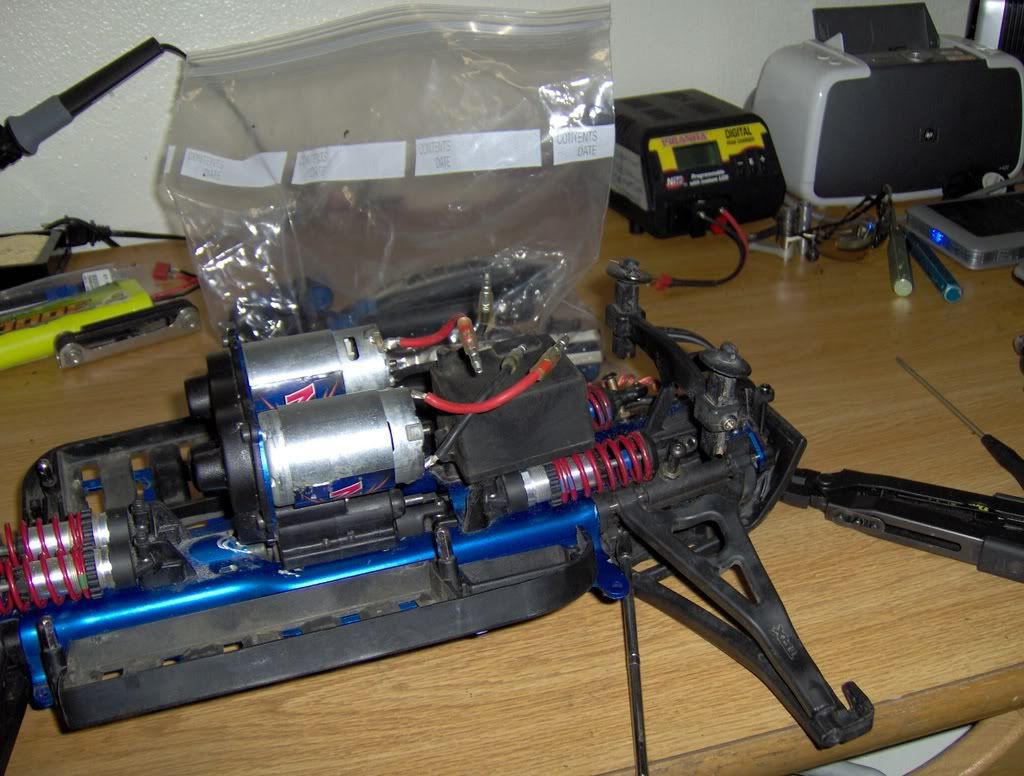 EVX mocked up, I'm pretty sure I'm gonna make a support/mounting plate for it. I don't want it all the way back by the body mounts but I also don't want it too far forward over the shocks- 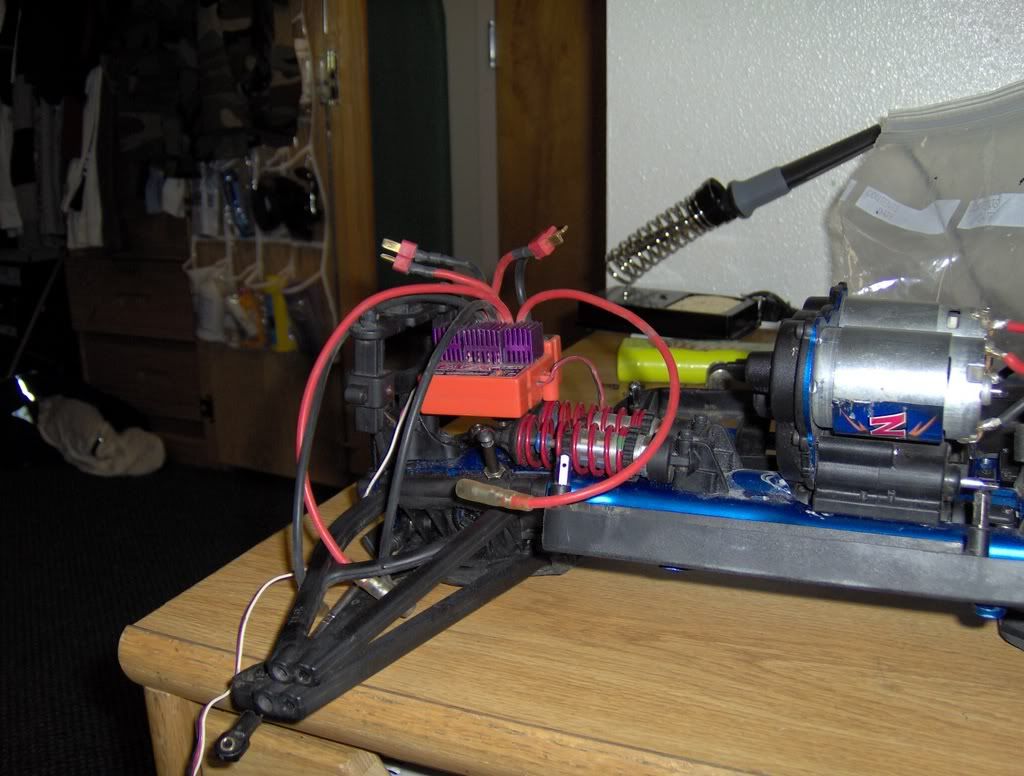 That's it for today. I'll post up more info and pics when I get some free time ;) |
|
|
|
|
|
|
|
(#9)
|
|
RCM Brushless Savage
Offline
Posts: 186
Join Date: Apr 2007
Location: San Antonio, Texas
|
10.14.2007, 09:41 AM
Dang that looks pretty clean, almost like stock. Def. cool project and it looks like it'll turn out great.
|
|
|
|
|
|
|
|
(#10)
|
|
j-womp
Offline
Posts: 88
Join Date: May 2007
Location: NC
|
10.14.2007, 10:38 AM
looks good to me, hope she likes
|
|
|
|
|
|
|
|
(#11)
|
|
RC-Monster Stock
Offline
Posts: 33
Join Date: Aug 2007
|
10.14.2007, 12:53 PM
copy cat...lol the one thing I see that you cut off on the one battery holder is the rear part this way you can use it to put a screw in to hold it but other than that looks good, oh and don't forget to flip your diffs this way when you get it going it will run the right way
|
|
|
|
|
|
|
|
(#12)
|
|
HOOH HUAH HOOH! Aww Baby!
Offline
Posts: 868
Join Date: Oct 2007
Location: olyWA
|
10.14.2007, 02:02 PM
Thanks guys, I'm trying to make it look factory.
rchotrodz - I know, I know. I actually had the idea before I saw your thread. I was a little bummed when I saw someone else do it but I didn't let it stop me. 2nd place ain't so bad, haha. When I disassemble for deanodizing and final nick nacks I'll flip 'em, thanks for the reminder. |
|
|
|
|
|
|
|
(#13)
|
|
RC-Monster Stock
Offline
Posts: 33
Join Date: Aug 2007
|
10.14.2007, 04:56 PM
here is a good way to mount the esc using an aluminum plate and where to drill the holes
|
|
|
|
|
|
|
|
(#14)
|
|
HOOH HUAH HOOH! Aww Baby!
Offline
Posts: 868
Join Date: Oct 2007
Location: olyWA
|
10.14.2007, 08:15 PM
Nice shoes, those the New Balance 473s? I just bought some the other day. Thanks for the tip.
|
|
|
|
|
|
|
|
(#15)
|
|
RC-Monster Stock
Offline
Posts: 33
Join Date: Aug 2007
|
10.14.2007, 08:21 PM
I don't know I guess so they are your shoes
 what do the stripes on the red springs mean you have blue in the front and green in the back, mine has green in the back and white in the front what is the difference? what do the stripes on the red springs mean you have blue in the front and green in the back, mine has green in the back and white in the front what is the difference?
|
|
|
|
 |
«
Previous Thread
|
Next Thread
»
| Currently Active Users Viewing This Thread: 1 (0 members and 1 guests) | |
 Linear Mode

|
|

Powered by vBulletin® Version 3.8.11
Copyright ©2000 - 2026, vBulletin Solutions Inc.
vBulletin Skin developed by: vBStyles.com
Copyright ©2000 - 2026, vBulletin Solutions Inc.
vBulletin Skin developed by: vBStyles.com